2-3 Zone Defense Basketball: Weekly Plan for Coaches
Weekly guide for coaches to implement the 2-3 zone defense, with practice plans, diagrams, scouting workflows, and video playlists.
Key takeaways
- Establish a clear 5-day install cycle with daily goals like alignment and rotations.
- Prioritize top-of-key traps and corner traps to disrupt passes and force skips in practice.
- Develop quick, connected rotations and constant communication to close gaps after every trap.
- Use diagrams and whiteboard visuals to align staff and build clip playlists.
- Document alignments and opponent tendencies; share diagrams and video clips for consistent execution.
Practical Workflow: Week-by-Week 2-3 Zone Install
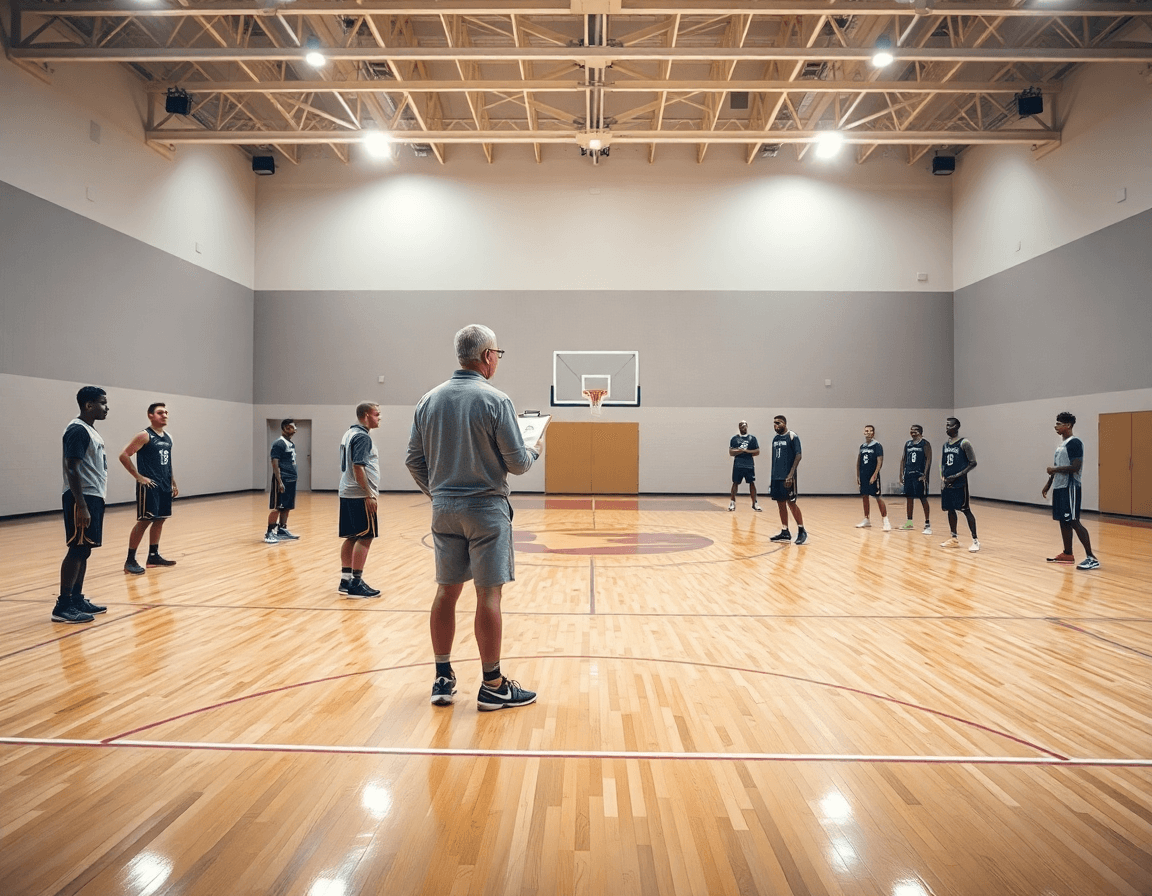
In week-by-week terms, I run a deliberate 5-day cycle for the 2-3 zone install. This is our week-by-week plan. Start with scouting the opponent: identify how they move the ball, where they attack gaps, and which players are primary initiators. Then set the base alignment — guards at the top, a threat at the high post, and the center in the paint. In this cycle, we focus on how traps land when the ball crosses the arc.
Define daily goals that map to the weekly plan: Day 1—alignment; Day 2—rotations; Day 3—trap the top of the key; Day 4—rebounding and ball movement; Day 5—review with clips. This cadence keeps the team on a steady pace and fuels our weekly workflow for the defense.
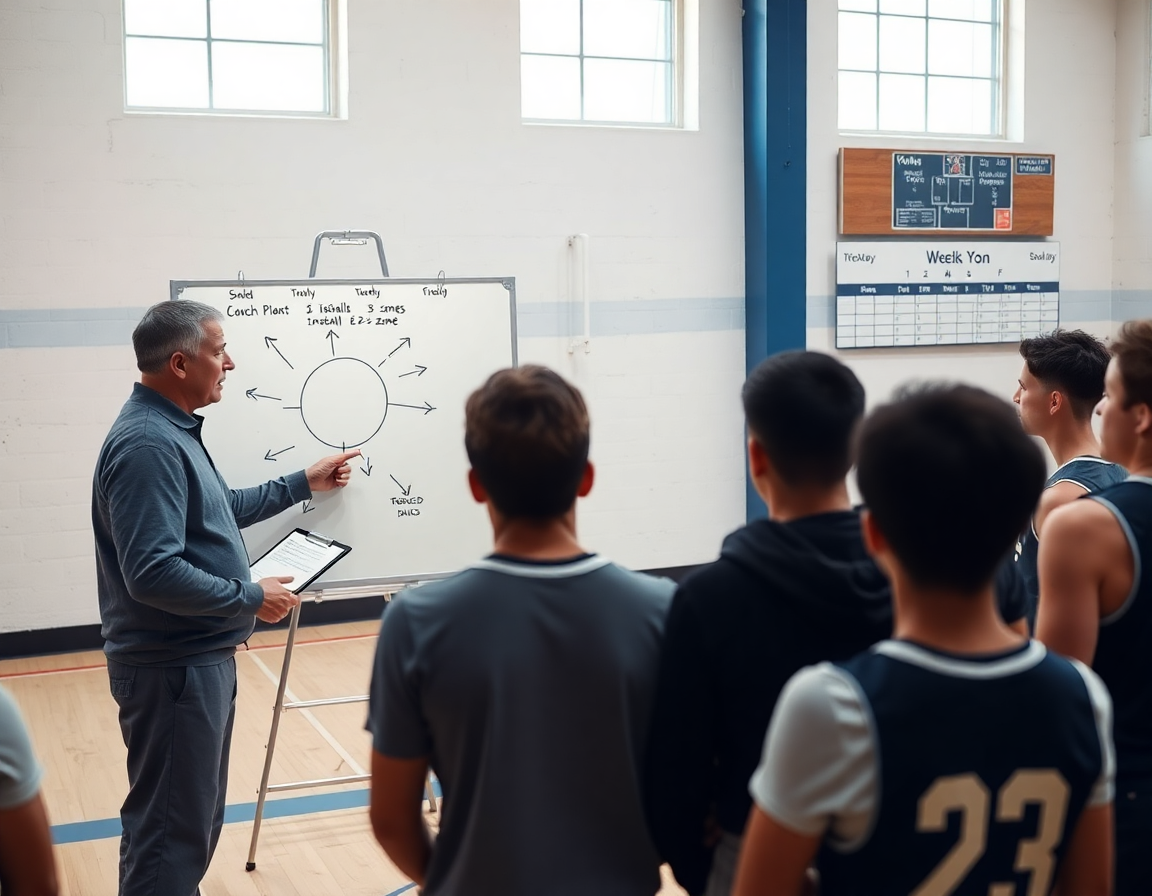
Leverage a library of drills and diagrams to speed deployment in practice plans. Use diagrams for the top of the key traps, corner traps, skip passes, and rotations from the weak side. A well-organized diagram set saves you time briefing players in the plan, especially when you’re showing players how to attack skips and reverse ball movement.
Use a shared practice plan and whiteboard visuals to assign responsibilities to assistants. On the floor, we split duties: one coach runs the drills, another cues ball reversals, and the third handles the rebounding emphasis. Having clear tasks speeds execution during the week and keeps everyone aligned as your 2-3 zone install progresses.
Exportable PDFs and clip playlists keep weekly implementation consistent across staff. After practice, export the PDF checklist for the week and attach short video clips of key moments—the top of the key trap, the corner trap, or a skip-pass sequence—for instant review with players.
Structure & Roles in the 2-3 Zone
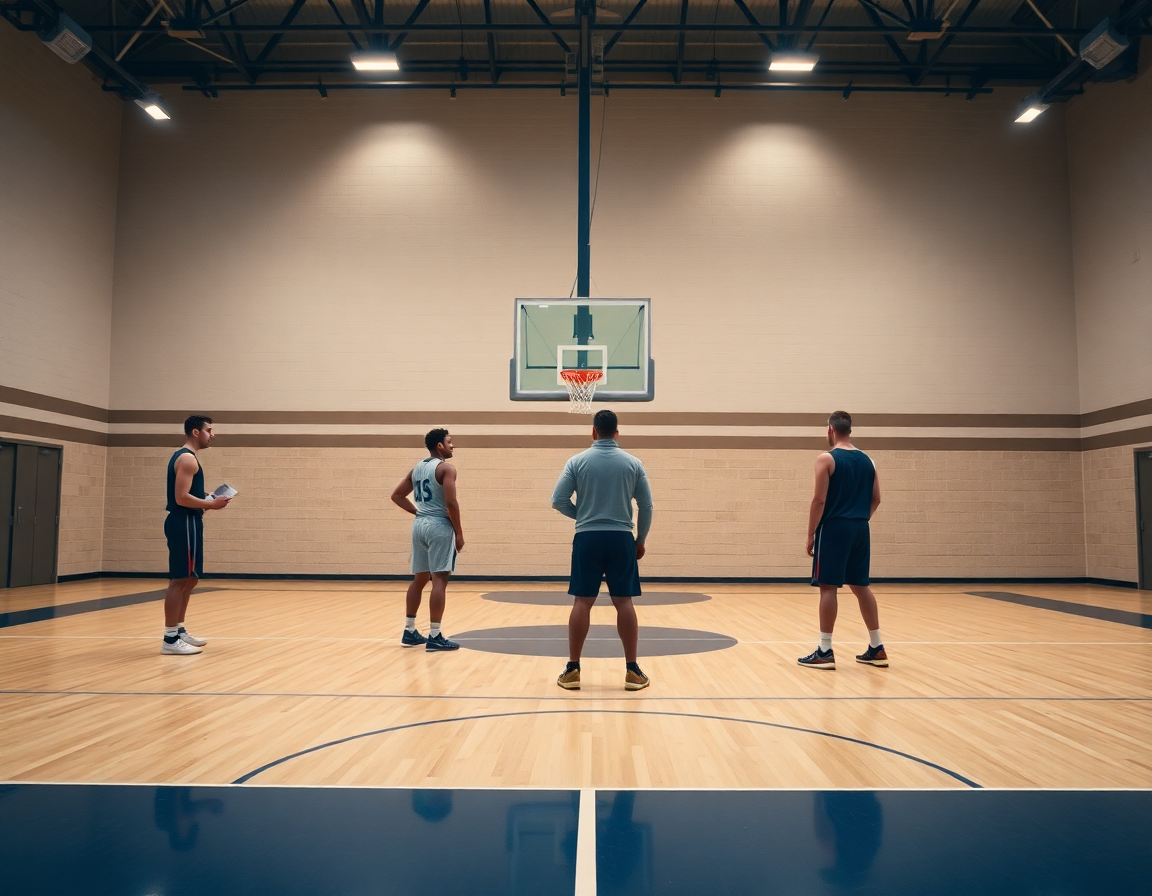
In the 2-3 zone, the look starts with the two guards at the top pinching the lane to slow ball penetration. The wings shade the ball handler and force passes away from the middle. The center in the paint protects the rim and anchors the defense. This is the baseline we build weekly plans around.
Positions include top-of-key, wings, corners, high post, and low post; each role supports zone integrity and helps close the gaps. The high post can flash to pressure the ball—reading the drive and guiding rotations—while the low post stays ready to recover and deter reverses. When we talk through alignments, players understand how each spot supports the whole scheme, not just their own assignment.
Communication is constant. As ball movement shifts, teammates call rotations and stick to their assignments to prevent easy lanes to the rim. We drill the idea of trapping the top of the key and corner traps to corral skip passes, turning patient ball movement into contested decisions. With quick chatter and sharp eye discipline, rotations become second nature.
2-3 variations like 2-1-2 or matchup zones shift responsibilities but keep core spacing intact. Cam Henderson popularized the compact, aggressive look at the top; we honor that lineage while tailoring it to our personnel and scout notes. The goal is a flexible framework that stays true to the zone’s spacing and recovery rules.
Document alignments and changes in diagrams and share with staff for consistency. In the plan for the week, this lives on the whiteboard as clear diagrams, with short video clips showing rotations and a scouting note flagging each opponent’s tendencies against the zone. CourtSensei helps weave planning, diagrams, and video into a repeatable routine for the staff and players.
Traps, Rotations, and Ball-Pressure Concepts
In our weekly plan for the 2-3 zone defense basketball, we run select trap options to disrupt ball movement. Start with a top-of-key trap to pressure the primary ball handler, then rotate to a corner trap to drive passes toward the wing. A wing trap gives us another angle without collapsing interior space. The goal is to disrupt ball movement and force a skip pass, testing your reads and keeping the defense connected.
Once a trap lands, quick and connected rotations are non-negotiable. Our sequences drill players to snap from trap into appropriate gaps and recover balance with minimal wobble. In a typical drill, after the top trap the weak-side guard slides to cover incoming skips, while the center in the paint reads post-trap shooters. The emphasis is on communication so calls and confirmations keep the defense aligned during transitions.
Skip passes are the trigger for reloading the defense and closing gaps. Our players learn to anticipate the skip pass and rotate accordingly, resetting the angle of attack and preserving ball movement. In practice, we mirror transitions from pressure to containment: guards at the top coordinate with the high post and the center in the paint to deter straight-line drives while keeping interior protections intact. Emphasize a controlled pace on the floor as we execute skip-pass rotations to shrink gaps.
Zone Defense Drills to Build Fundamentals
When we install a 2-3 zone, the first order of business is building the fundamentals with purpose. In the plan, I map a progression that starts with simple positioning and ball-pressure, then moves to more dynamic actions. On the whiteboard, the guards sit at the top, the high post reads the pass, and the center in the paint protects the rim. We anchor the session with a few quick, repetitive clips—a short video clip showing disciplined closeouts and the exact angles we want, then we translate that into live reps. The goal: players feel comfortable making the correct reads as the gap closes and the shot clock starts to sting.
Deflection, timing, and active hands drive this work. We tilt toward deflection drills that force hands to the ball on every pass, then layer in rotations that keep the shell intact when ball movement accelerates. A common sequence: guard at the top pressures the ball, wing players sprint to rotate into the gaps, and the center anchors the lane—ready to trap the top of the key or set a corner trap if the passer tries a skip pass. If we see the skip pass open, we sprint to deny it and reset with another quick ball reversal. The scout note from yesterday’s opponent highlighted a dangerous skip pass, so we locked in on active hands and rapid hands-high rotations in this session.
We finish by bridging the shell into live, but controlled, reps: 3-on-3 reps that emphasize rotations and traps under real game pressure. We pace the session so players feel the rhythm—guards at the top eyeing the passer, the high post guiding rotations, the center contesting without fouling. Afterward, a short video clip is saved to a playlist for assistants and players, so the cycle is easy to replicate in the next week, and every rotation feels a touch more automatic.
Scouting, Adjustments, and Countermoves vs Opponents
As we build the weekly plan around a 2-3 zone defense, the first step is a real read on the opponent through scouting reports. We study their perimeter shooters, pace, and where they want to attack us. With CourtSensei, I pull clips from the previous game, mark tendencies, and decide how much top-of-the-key pressure we apply and how likely we are to trap. That intel shapes our practice focus, the diagrams on the whiteboard, and the talking points I share with assistants.
Against ball reversals and skip passes, we tailor targeted adjustments. If they move the ball quickly, we tighten the top and prepare a quick trap or counter-drive. We drill the counter-dribble actions and tighten rotations so flags don’t get buried in gaps. The goal is to force tough decisions for the ball handlers and keep the ball moving to our weak-side shooters.
We’ll select 2-3 zone variations to counter specific offenses. For some teams, a trap at the top of the key disrupts rhythm; for others, a corner trap off a skip pass keeps shooters from setting up in rhythm. We align guards at the top and work a center in the paint to close lanes, while emphasizing disciplined rotations to deny easy touches and contest every pass.
Maintain a living scouting report with recommended rotations and player-specific cues. Use notes to tag guard positioning, high post reads, and center positioning so assistants and players know exactly what to do, in real time. Shareable video playlists let players review the clips before and after practice, linking decisions on defense to real game outcomes.
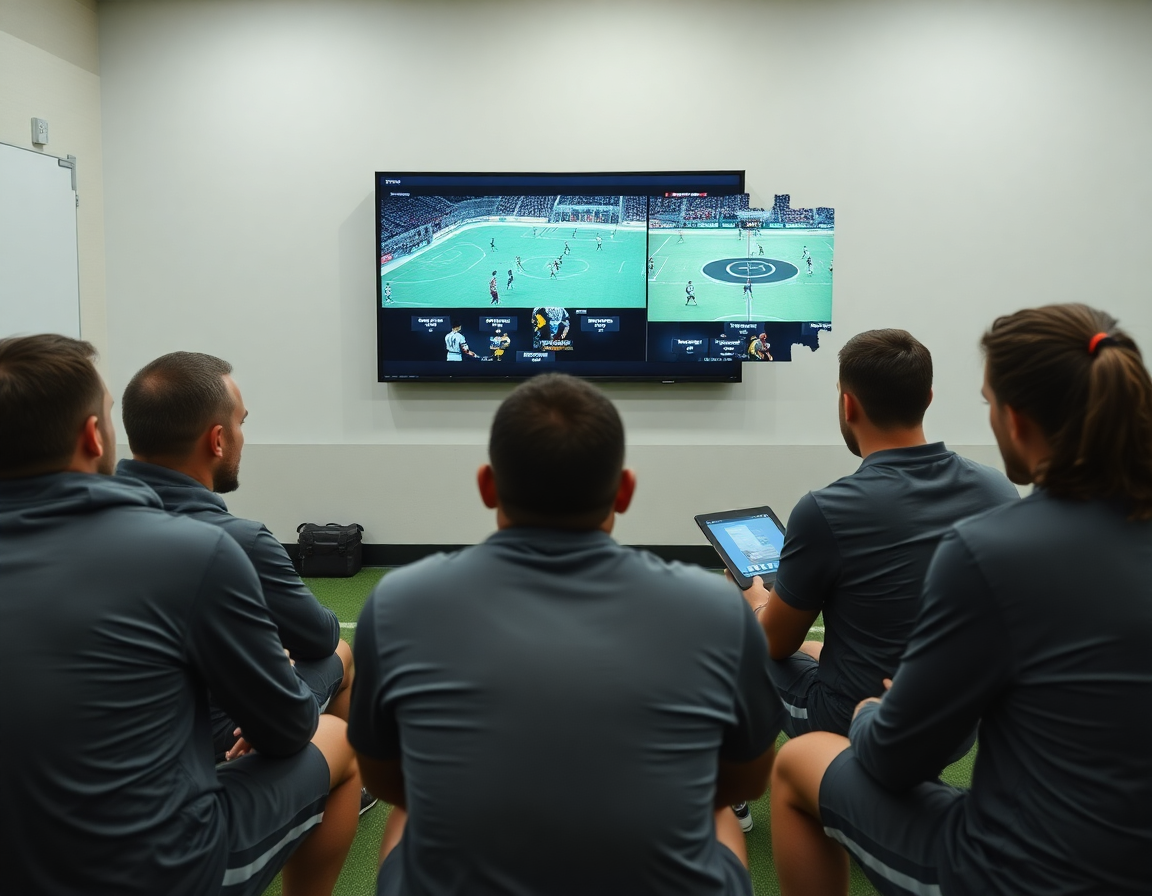
Video Review & Playlists: Teaching with Clips
In the weekly plan for the 2-3 zone defense basketball, I build a robust clip library of zone reps. I pull short video clips that highlight the key spots—guards at the top, the high post, and the center in the paint—and drop them into a focused workflow. Then I assign player-focused playlists for review, so each coach can track who needs more work on ball movement and rotations. This keeps player feedback constant and actionable.
Annotate clips with notes on positioning, rotations, and communication cues. I’m tagging every clip with concrete pointers: where the top defender should slide, how the weak-side wing recovers, and the cues we use to communicate switches. A quick line on “rotate here” or “call out this gap” makes the difference when players watch later. It’s not just mapping moves; it’s teaching the language of the defense so players internalize the movements.
Create shareable playlists for players and staff to reinforce concepts outside practice. With shareable links, assistants can assign specific clips to individual players, and players can study them on their own time. The goal is consistent reinforcement—short, focused clips that show the same concept from multiple looks: skip passes, ball movement, and the trap at the top of the key. This is where player feedback becomes real-time learning.
Export diagrams and PDFs to accompany video for a cohesive teaching package. When a video clip demonstrates a rotation, export the diagram from the whiteboard to illustrate the exact angles and spacing. Pair the PDFs with the clips in the scouting notes so the staff and players have a complete, portable teaching package that travels from the plan in the training week to the floor at practice.
If you build plans like this every week, CourtSensei keeps your drill library, whiteboard, and video clips in one place — try it free.
FAQ
What is a 2-3 zone defense in basketball?
The 2-3 zone defense is a shell that protects the rim and denies easy interior passes. It places two guards at the top of the key, wings in the gaps, and a center anchored in the paint, with the high post serving as a read man. It’s a zone, not man-to-man, so you defend gaps and force ball movement to trigger rotations and contested shots from the perimeter.
How is a 2-3 zone defense structured?
The base alignment features two guards at the top of the key, wings in the gaps, a high post, and a center in the paint. This spacing slows ball reversals and sets up top-key traps or corner traps. Variations like the 2-1-2 or matchup zones adjust where players shade and recover, but the underlying principle—protect the paint and protect against skips—stays the same.
What are the main advantages of using a 2-3 zone?
The advantages include solid rim protection and pace control. By clogging interior lanes, you force teams to swing the ball and take tougher outside shots. The setup discourages dribble penetration and improves team rebounding with multiple defenders keeping active hands. When rotations and communication are crisp, the 2-3 can neutralize interior mismatches and shrink gaps for shooters.
What are the weaknesses of the 2-3 zone?
The weaknesses include exposure to strong outside shooting and quick ball reversals to the corners. Rebounding can suffer as bodies spread, and post-ups or dribble penetration to the high post can create open looks. Teams with rapid ball movement and accurate skip passes can exploit gaps if the rotations lag or become late.
When should you use a 2-3 zone defense?
Use a 2-3 zone when the opponent relies on interior drives, lacks shooters on the wings, or you need to control tempo. Start with a look early, then blend in man-to-man as the game evolves. Deploy in bursts after a make or to slow a hot start, and adjust based on scouting notes—especially how they handle skips and reversals.
How do you trap in a 2-3 zone?
Trapping begins with a top-of-the-key trap on the ball handler, then shifts to a corner trap as the ball moves. The weak-side guard slides to cover skips while the center stays ready to protect the rim. Emphasize clear, loud communication and quick, connected rotations so you avoid gaps and maintain ball pressure throughout each possession.
