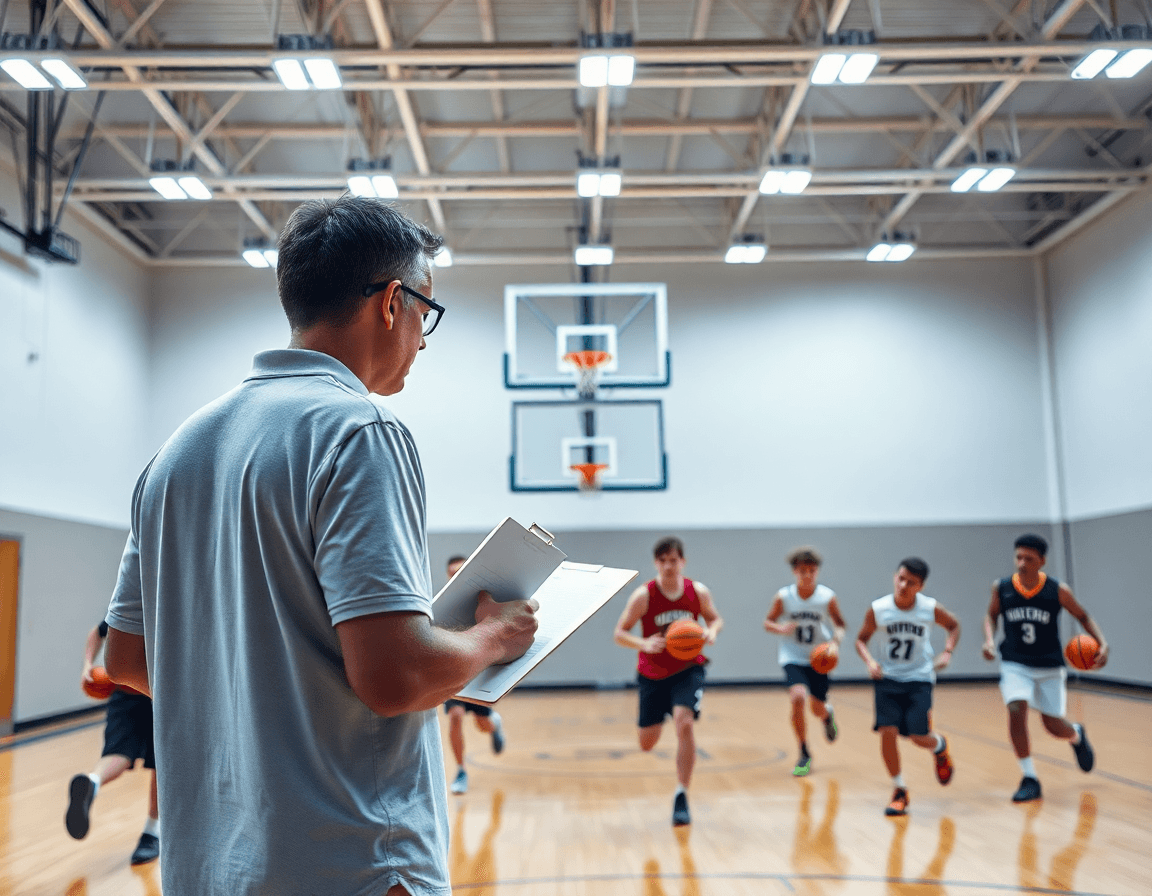
3 on 3 basketball drills youth: Weekly coach workflow
Coach-focused weekly workflow for 3 on 3 basketball drills youth—plan, diagram, clip, and share drills to maximize touches.

Key takeaways
- Anchor weekly rhythm with 3-on-3 half-court drills to maximize touches and decision-making for youth.
- Small-sided games emphasize spacing and reads; players move without the ball and rotate on defense.
- Standardize with a Practice Plans library; exportable, searchable plans keep tempo and alignment.
- Clip key possessions and build a Video Clips playlist; coaching cues align on the Whiteboard.
- Use live scrimmage to enforce decisions; finish with takeaways and Scouting notes for next week.
Why 3-on-3 is your weekly youth practice anchor
As a coach who runs a youth program with a steady weekly rhythm, I anchor each week with 3-on-3 half-court drills. These formats maximize touches and decision-making for youth players, letting them read ball screens, react in space, and finish under pressure. A weekly anchor keeps practice pacing predictable—drill blocks flow into competitive reps, with built-in rest to prevent fatigue and mistakes from piling up. When you treat 3-on-3 half-court as the backbone of the week, you’re not chasing random drills; you’re building a repeatable practice plan that scales from early season to playoffs. For coaches running 3 on 3 basketball drills youth, this anchor helps maintain consistency.
These small-sided games basketball drills maximize spacing and quick reads. In 3v3 formats, players learn to move without the ball, rotate on defense, and trust the ball to find the open man. The compact setup accelerates decision making and builds comfort handling and passing under pressure, which makes the flow of offense more predictable for the next drill in the week.
From the floor to the cloud, the workflow ties it all together: In Practice Plans I outline a 3-on-3 block each week; on the Whiteboard I diagram rotations and actions for that block. After each session, I clip a couple of possessions and drop them into a short Video Clips library. I share the clips with players via Playlists so they can review on their own. For opponents, Scouting notes feed into the drill library so the team practices what matters in the 3-on-3 format.
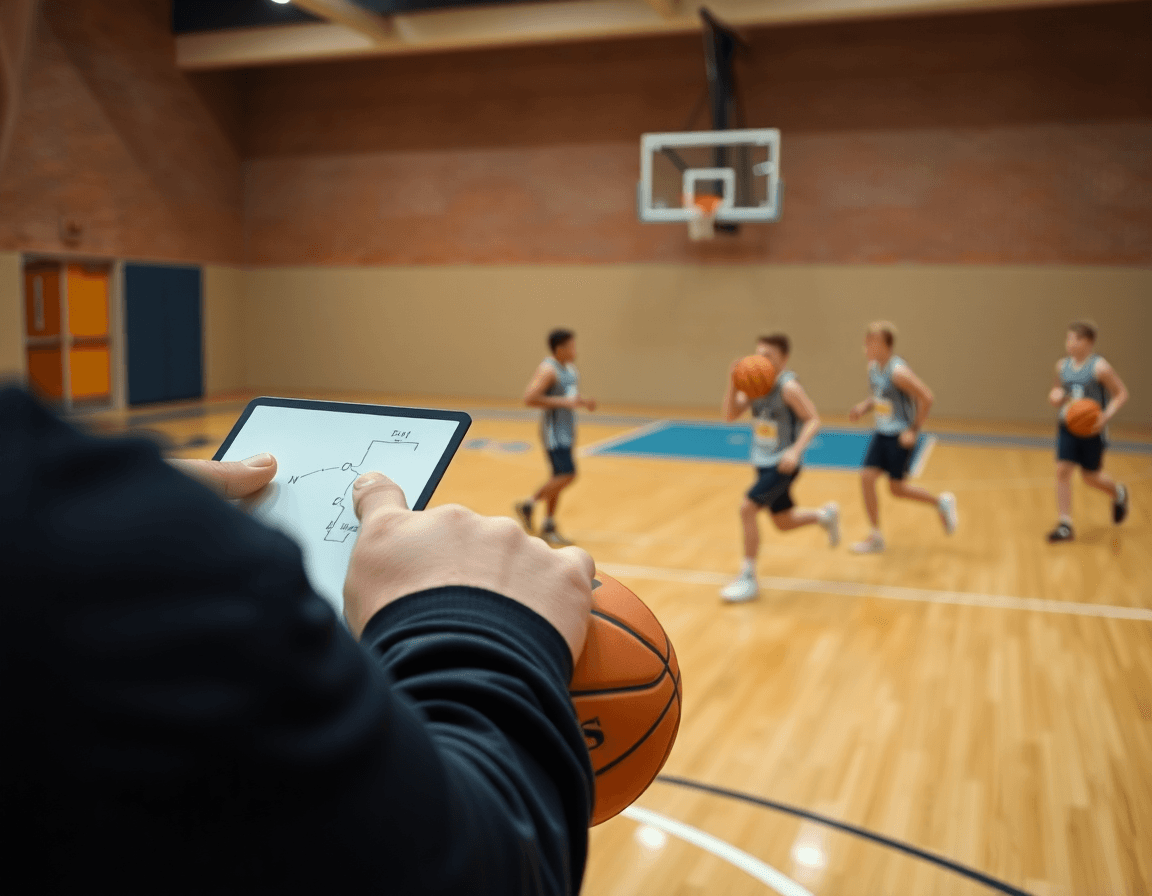
Practical workflow: 60-minute 3-on-3 session blueprint
Set up starts in my Practice Plans: a clean 60-minute framework for a youth 3-on-3 session that I can share with assistants. I draft it, then export a PDF to keep everyone aligned. On the Whiteboard, I sketch the sequence from warm-up through a quick wrap, with emphasis on spacing and decisions.
Warm-up runs 8-10 minutes, with touch-based ball handling to wake up feet and hands. I run 2–3 stations: ball-handling drills, short passing sequences, and light layups. The plan assigns each station to a coach via Practice Plans so players rotate quickly and no time is wasted.
Skill blocks 8-12 minutes focus on dribble, pass, and catch techniques. We run quick drills: drive-and-kick patterns, pass-and-receive sequences, and catch-and-shoot rotations. I clip a couple moments from earlier sessions and drop them into a short Video Clips playlist for later review, while the Whiteboard keeps coaching cues visible for the group.
Then we move into the 3-on-3 half-court rotation (15-20 minutes) with fixed teams so players learn how to read help, space correctly, and make decisions. I diagram simple sets on the Whiteboard—P&R options, flares, and quick passes—then run them in live reps. A couple of clips later, I build a short Playlist with the sequences so players can study the reads at home.
Live scrimmage (15 minutes) to enforce decisions under pressure, with coaches calling out reads and adjustments. Afterward, we cool down 3-5 minutes and I capture takeaway notes in the Scouting section, tagging a few scout plays for next week. We pull a few clips into a Review Playlist so players see their decisions in action.
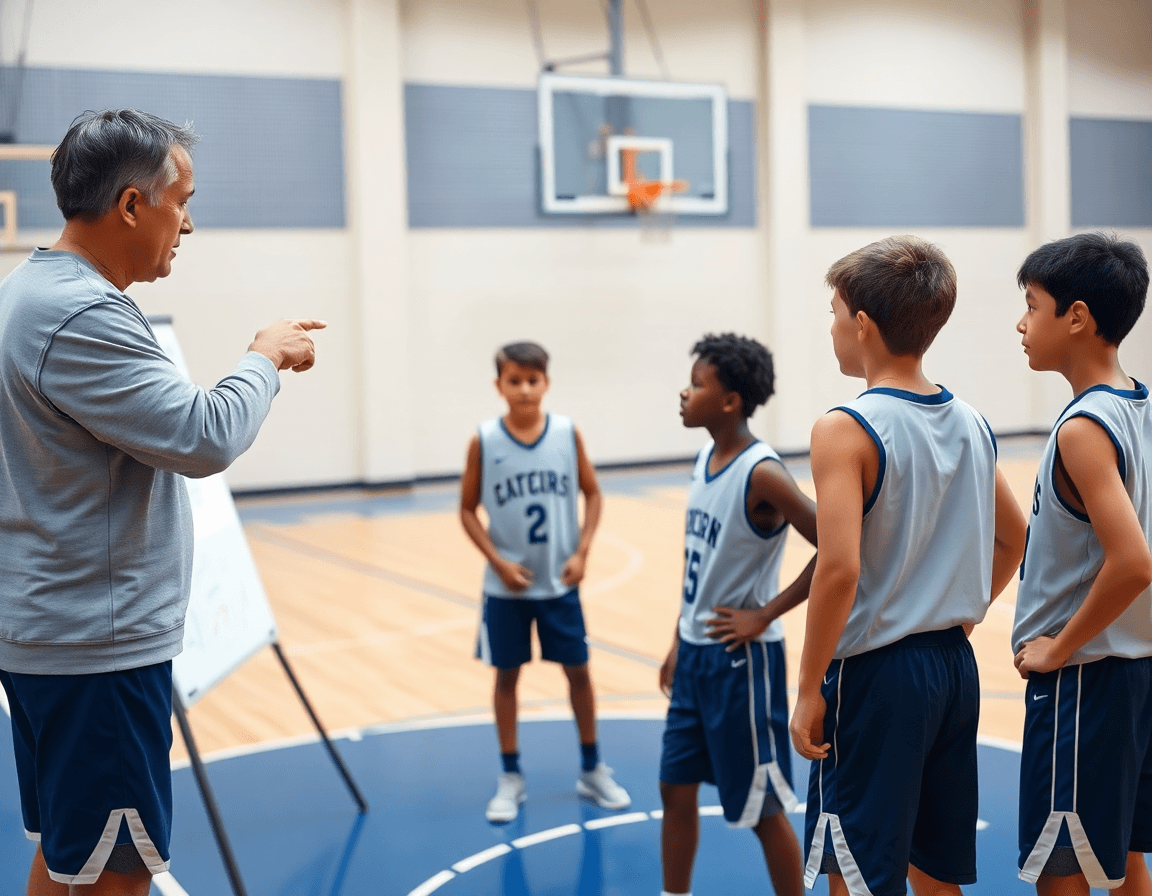
Standardize drills with a practice plans library
Standardize drills with a practice plans library
As a coach, I start each week by leaning on a well-organized practice plans library. The library lets me catalog drills by skill, goal, and age-appropriate intensity, so I can pull exactly what I need for a given group. When I’m dialing in 3-on-3 half-court drills, I can tag them by ball handling, passing, or spacing in 3-on-3 to keep everything searchable. This isn’t guesswork—it’s a curated catalog that keeps the tempo and standards consistent from session to session.
Exportable Practice Plans let me share the plan with assistants or captains without handing over a messy notebook. I export a clean, PDF-friendly plan for pre-practice logistics, and I send a quick captain’s note with the main objectives. It’s not about copying a program; it’s about giving everyone a clear roadmap for the week, so we move as one unit through every drill in the plan.
Re-use and adapt plans week-to-week for consistency. I’ve got a core set of templates for different age groups, and I tweak progression notes as players develop. A single youth basketball practice plan can evolve while preserving its structure, so we’re not reinventing the wheel every Tuesday. This approach supports small-sided games basketball drills and keeps our tempo tight.
Attach drill cues and progression notes for quick recall. On the plan, I drop concise cues like “spacing in 3-on-3” or “read the help-side defender” so assistants and players know exactly what to emphasize. Those cues pair with progression notes from week to week, helping us stack difficulty in a controlled, visible way.
Track what worked and what didn’t across sessions. I log outcomes, tweaks, and player feedback right in the library. Over time, the evidence-based tweaks shape our ongoing youth basketball practice plan, turning data into a durable practice rhythm. Poente: catalog by skill, export plans, reuse weekly, attach cues, and track results.
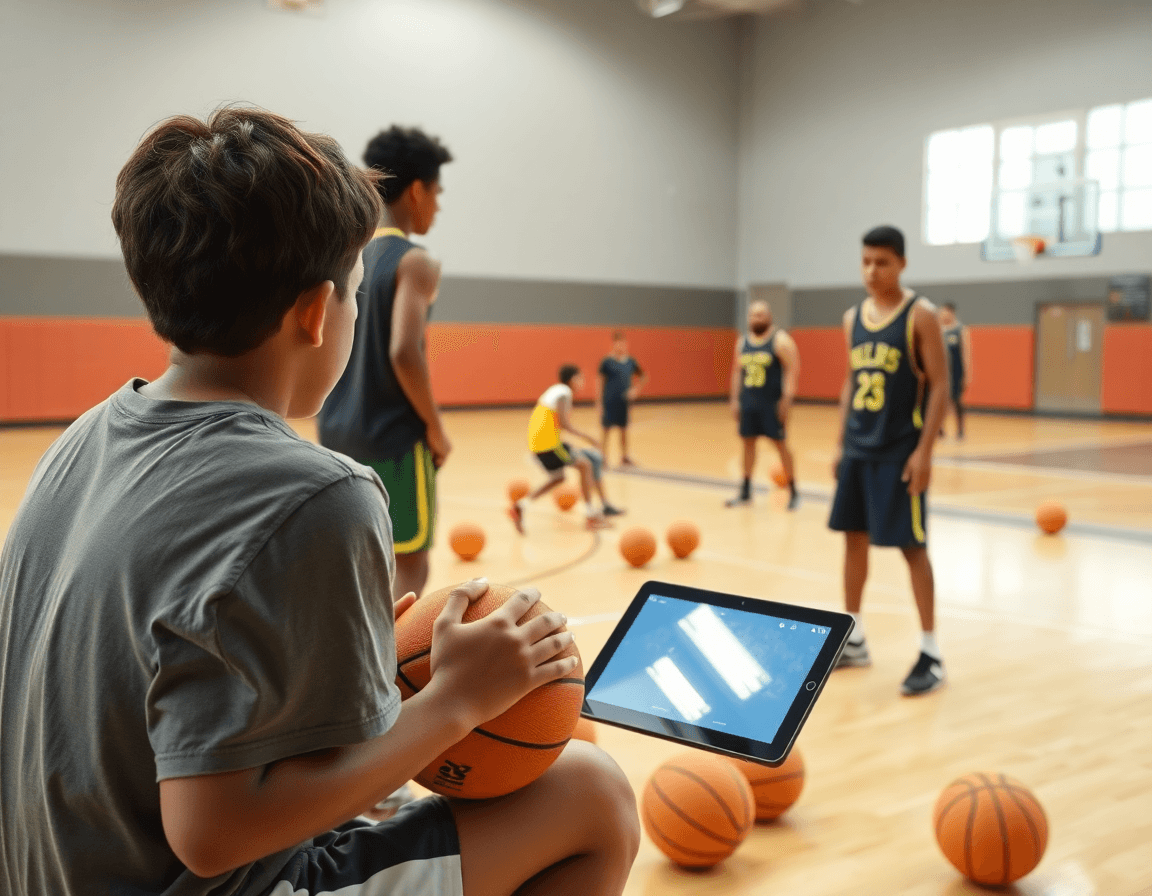
Diagram and communicate plays: whiteboard to game-ready actions
Before we even start the drill, I pull up the whiteboard and diagram the 3-on-3 actions (BLOB/SLOB/ATO/PnR). For a shell drill, I map out how the ball should move through two quick passes and reads, then where our wings fill when a guard driver collapses the paint. The goal is to lock in the core reads and spacing so the drill flows without a hitch. If the diagram matches the plan for a 3-on-3 half-court session, we hit the floor with purpose and tempo.
Once the diagram is clean, I export it as PDFs for assistants and players. My assistant coaches get a compact diagram packet they can reference during stations; the players get a one-page visual to study in the locker room and before we lift into live play. Those PDFs keep the weekly youth basketball practice plan tight and shareable, so everyone’s on the same page when we switch from shell work to live 3-on-3 action.
On the court, those visuals translate into concrete on-court movements and spacing. If the board calls for a flare cut and compact spacing in 3-on-3 halfcourt sets, we rehearse the motion, timing, and ball movement until the read is automatic. The aim is to shorten decision making under pressure and keep the tempo high in small-sided games basketball drills.
With the diagrams in hand, we use them to standardize cues and rotations in live play. Each rotation is paired with a clear cue—eyes on the ball, hips squared, feet under pressure—so the group moves as a unit. The diagram becomes our on-court language, smoothing the transition from drill to game-ready actions in 3v3 halfcourt situations.
Video workflow: clip, tag, and share 3-on-3 clips
Video workflow begins the moment practice ends. I skim through clips from our 3-on-3 half-court drills and pull the most telling reps—ball handling sequences, quick passes, and spacing reads. I export short segments, usually 15-25 seconds, so we can zero in on one idea at a time. In the video library, these clips become the backbone of the weekly plan, and you can see how a drill translates to game-like situations on the floor. Video Clips.
Where we start is a solid tagging system: Tag plays by concept—dribble-drive, kick-out, paint touch. The tags line up with our plan and the moves sketched on the Whiteboard. If a clip shows a decision in tight space, I tag it and save it for targeted review with the squad, so the team spends less time guessing and more time applying the concept in a live 3v3 halfcourt.
Next comes Playlists. I assemble one per player, mixing clips on ball handling drills, passing, and spacing in 3-on-3. Each playlist creates a personal study path—watch, compare your reps, and note where you can force a decision faster. When players revisit a clip before a drill, the work becomes tangible, not theoretical.
sharing video with players and coaches for quick feedback is the goal. I send short links after practice, with time-stamped notes and a couple of questions. Players open the clip, see the moment, and reply with tweaks or requests for clarification before the next session. This keeps feedback fast and actionable.
Finally, we use short, focused reviews to measure progress. In a tight 10- to 15-minute window, we pull a handful of clips and track improvements in decision making and spacing in 3-on-3 half-court drills. The video workflow keeps the team aligned and ready to translate drills into game-ready reads.
Scouting and counter-plays for 3-on-3: prep for next opponent
After the last scrimmage, I jot a simple, lean scouting report focused on 3-on-3 tendencies and opponent tendencies. The aim is to keep it readable and actionable for the bench. For this opponent, patterns show up in a few clear ways: they push tempo off defensive rebounds, run quick diagonals to free shooters, and rely on skip passes to the weak side. They attack mismatches with quick passes and sprint actions. This quick read helps shape our weekly youth practice plan without overcomplicating things.
From there I translate those tendencies into scout plays. On the whiteboard I diagram counter-moves: when they push tempo, we slow it with early ball reversals and a high-front look; when they trap the ball, we practice simple skip passes and decision-making in 3-on-3 half-court drills; when they overload, we space the floor to create drives and kick opportunities in 3-on-3 half-court sets. These diagrams feed directly into our plan blocks, so every drill links back to what we anticipate.
Those scouting insights get folded into our practice plan blocks. A 12– to 15-minute segment uses 3-on-3 half-court drills to practice situational defense, spacing, and quick decisions, followed by a short ball-handling and passing-under-pressure sequence. The goal is to build clear, repeatable reads for the players during live action, without overloading decisions.
I then pull a few short Video Clips that illustrate each tendency, tag them in a Playlists, and share with the team for quick review before the next session. Watching the clips together helps players recognize patterns in the flow and reinforces the counter-choices we’ve built into our plan for the next game.
If you build plans like this every week, CourtSensei keeps your drill library, whiteboard, and video clips in one place — try it free.
FAQ
What makes 3-on-3 the perfect youth game for structuring a weekly practice?
3-on-3 is the ideal weekly anchor because it packs more touches, clearer reads, and faster decisions than full-court drills. Half-court play keeps practices tight and predictable, which is key for younger players. With fixed teams and short cycles, you move from technique to live reps without draining energy. Use a simple practice plan to scale the week and track progress in the game-like format of 3-on-3. This setup also improves spacing.
What 3-on-3 drills work best for 7- to 9-year-olds, and how do you scale them?
Start with simple ball-handling in tight spaces, then move to quick passes and catch-and-shoot sequences in 3-on-3. For ages 7–9, keep drills short, include plenty of rest, and use fixed teams so kids gain confidence. Scale by reducing space, increasing defenders, or adding a defender who contests shots. Emphasize ball handling and spacing at every rep, and finish with a short game to lock in cues.
How do you run a structured 3-on-3 drill in a youth practice to maximize touches?
To run a 3-on-3 drill, start with a short warm-up, then a skill block before live reps. Keep teams fixed so players learn reads and spacing. Use a clear diagram on the whiteboard, then cue players as reps unfold. Pause for quick coaching points, reset, and finish with a short scrimmage. Save a couple of clips afterward for review in the playlist.
Why does spacing matter in 3-on-3 and how do you teach it in weeks?
Spacing matters in 3-on-3 because it creates driving lanes, open passes, and help-side balance. Teach it in blocks: shell drills, then drive-and-kick, then a 3-on-3 flow with deliberate spacing cues. Use diagrams on the whiteboard, then enforce spacing during live reps. Revisit weekly and tie it to reads like cutting, screening, and finding the open man.
What equipment do you need for youth 3-on-3 drills, and how should you set up stations?
Essential equipment is simple: a few basketballs, cones, pinnies, and a whistle. Set up two to three stations around the court so kids rotate quickly. Keep safety in mind, document cues in your practice plan, and track what works for next week. That setup keeps workouts organized and predictable for your youth basketball drills.
How long should a 3-on-3 drill last in practice, and what progression cues help beginners?
How long should a 3-on-3 drill last in practice, and what progression cues help beginners? Plan short bursts: 2–4 minutes of skill work, 5–7 minutes of structured 3-on-3 reps, and a 15–20 minute live block with fixed teams. Use clear progression cues like read the help, space, and fast passing. Pause for coaching points, then drop key reps into the playlist for later review.