Basketball Defense Drills You Can Do Solo: A Weekly Coach’s Plan
Master basketball defense drills by yourself within a coaching plan. Build a solo drill library, annotate with visuals, and share video clips for players.
Key takeaways
- Establish a weekly solo defense routine focusing on defensive stance and defensive footwork to build consistency.
- Leverage a reusable drill library and playlists to guide players through solo work without partners.
- Keep a living drill library with tagging and concise coaching notes to scale across groups.
- Structure a simple progression for defensive stance and defensive footwork with short reps and review.
- Export PDFs and short video clips to reinforce routines between sessions and sustain accountability.
Why solo defense drills deserve a place in your weekly plan
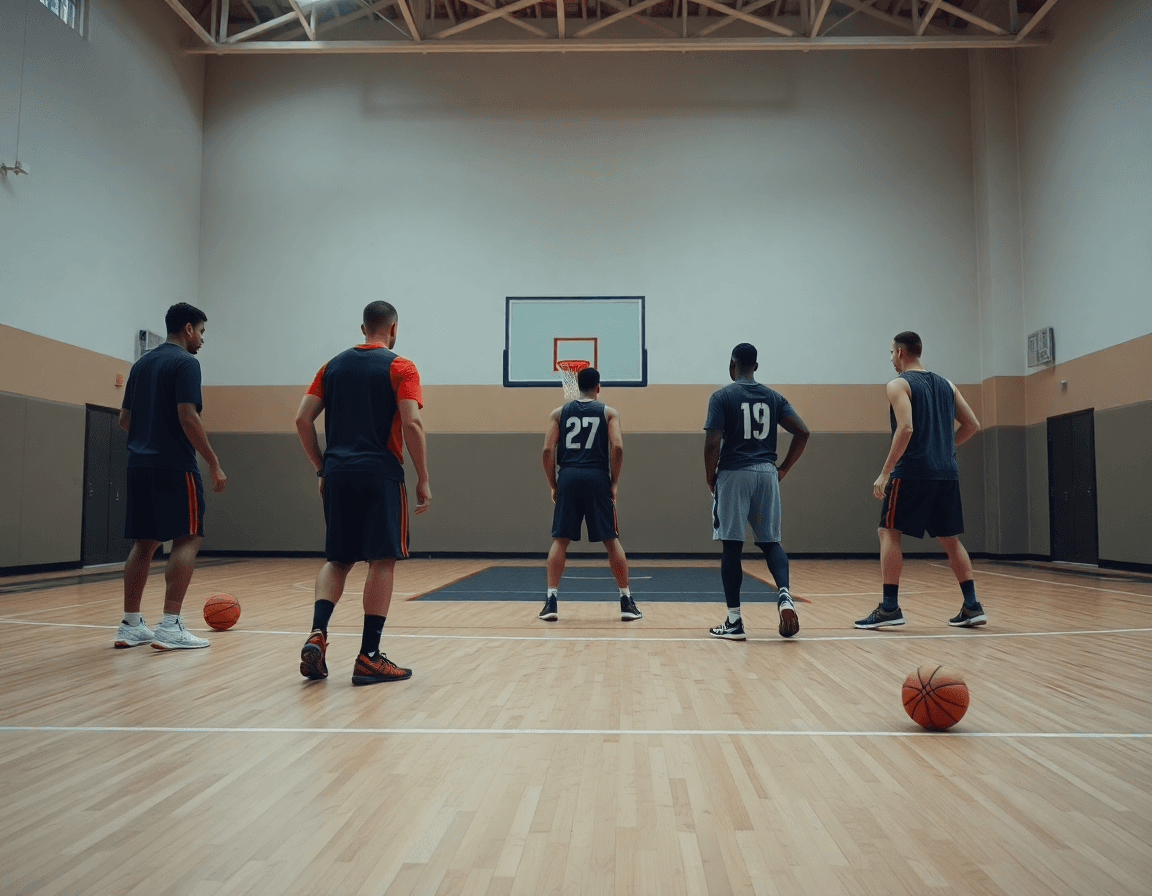
Even when you don’t have a full lineup to chase, solid defense starts with fundamentals. The core skills—defensive stance, defensive footwork, and lateral movement—drive everything else on the floor. A weekly routine focused on solo drills builds consistency, conditioning, and reaction time that translate to 1-on-1 and help-side defense. I treat solo work as a standard part of the plan, not an afterthought. In my weekly coaching plan, I tuck a lightweight library of solo drills into the schedule and pair them with shareable playlists so players stay accountable. This is how I keep the foundation solid, even when practice rosters are thin. And yes, these are examples of basketball defense drills by yourself that players can perform with limited space.
To keep the team synchronized, I build a reusable drill library focused on the staples: defensive stance, defensive footwork, closeouts, and change-of-direction work. These blocks sit in a central library that I pull into every weekly plan. The benefit is consistency and speed: a coach can run the same core sequences with different groups and still push each athlete toward the same standard. I label each drill so assistants grab the right piece for that day’s emphasis, whether we’re chasing better lateral quickness or stronger on-ball footwork.
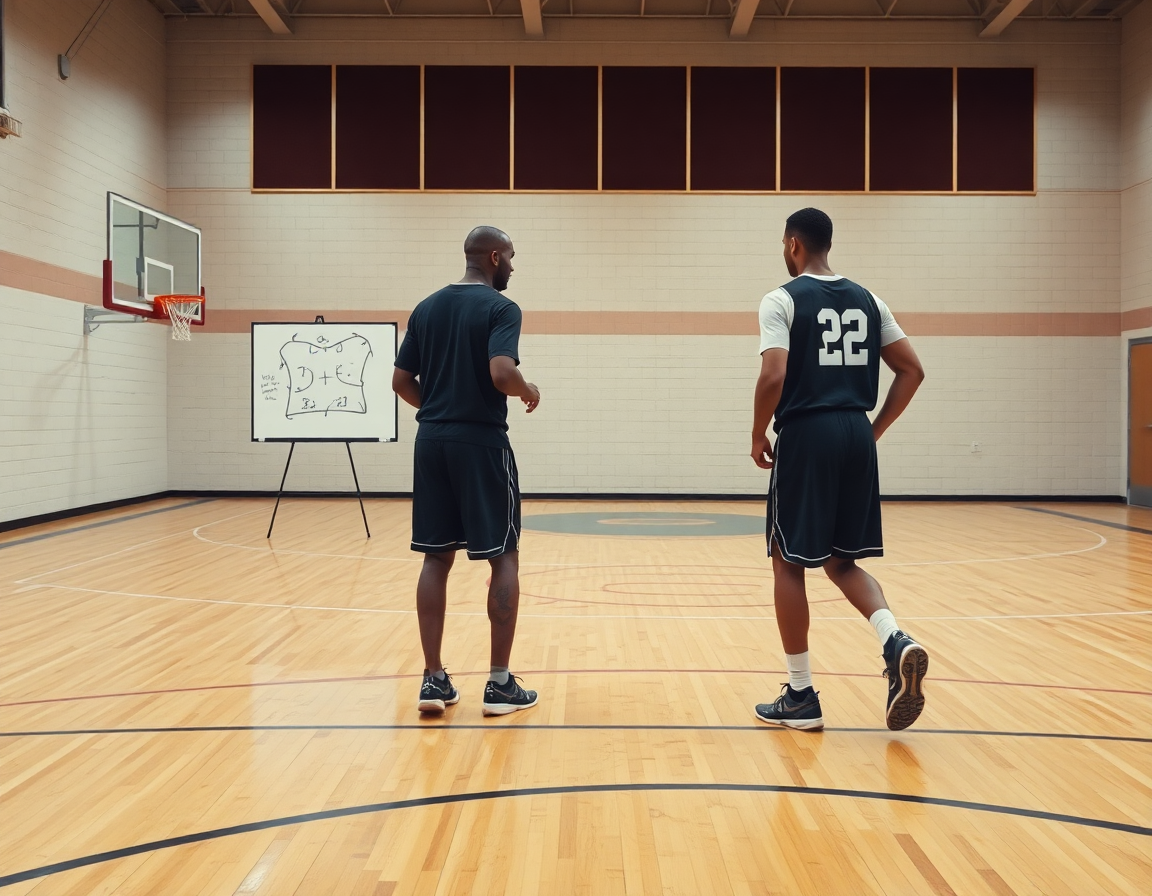
On the tactical board, I diagram movement for each solo drill: start in a solid stance, slide laterally, then sprint to close out. A quick export to PDF gives players a clean reference they can study between sessions. The whiteboard becomes a living checklist that threads through the plan, helping players visualize sequence and tempo even when the action is solo.
Video clips are the bridge between practice and game day. I trim clips from earlier sessions into short clips, assemble them into playlists, and share the links with players. They can watch, pause, and replicate the exact footwork, stance cues, and closeout cues we emphasized that week. When a player misses a detail, I reference the specific clip and the matching drill in the library to reinforce fundamentals without needing a partner.
Build a solo defense drill library you can reuse
Build a solo defense drill library you can reuse
In my weekly plan, I start with a solo defense drill library I can lean on anytime. I curate drills by category: defensive stance, defensive footwork, defensive slides, closeouts, and on-ball positioning. Tagging each drill lets me pull the exact mix I need in seconds, so I’m not re-building the wheel every week. Think of it as a living catalog for “basketball defense drills by yourself” that scales with your team’s needs.
I also add concise coaching notes tied to core concepts—shell drill entries, anticipation cues, and transitions between stance and slides. The notes keep the plan aligned with your defensive vision and make it easy for assistants to coach the same language across groups. When you search by keywords like “defensive stance” or “lateral quickness,” the right drills surface with you already knowing the intent.
Next, I build playlists for players to practice solo. Each playlist groups drills by goal—shifting to a stop on the ball, closing out with purpose, or maintaining on-ball defense in a drive-and-kick scenario. I attach short PDFs or shareable links with clear assignments, so a player can work on their 1-on-1 defense even when you’re not on the court with them.
From a workflow standpoint, the ability to store, label, and export your drill library and practice plans directly from the system is a game changer. Export a PDF practice plan, gather related video clips, and hand players a clean, repeatable solo routine that reinforces the fundamentals you defend with every week.
Core solo drills to sharpen stance and feet
As I map the week, I start with core solo drills to sharpen stance and feet. In the plan, I lock in a simple progression for defensive stance and defensive footwork that a player can run without a partner. On the whiteboard I sketch the angles, cues, and connect each drill to a quick video clip for later review.
First up is a low, athletic stance with proper knee bend and active hands. The player stays low, hips back, chest over the knees, and hands in a ready position. I drill this in a short circuit: 30 seconds per rep, 4 rounds, then a quick review clip in the playlist so the shooter sees where the hips need to stay through the toes and how the hands stay active without drifting. It’s the foundation you build every other drill on, and it slots neatly into the plan as a starter segment before shell work.
Next, defensive slides with minimal crossing and no hopping; push from the trail foot. I emphasize keeping the feet under control, hips square, and the slide length consistent. A solo session here is about repetition with purpose: slide to the line, hold, reset, and move to the next cone. I export a PDF checklist from the drill diagram and attach the corresponding video excerpt so players can review the mechanics during film time.
Then I layer in cone drills for change of direction and lateral quickness—zig-zags and ladder patterns that force tempo changes without losing stance. The goal is to stay compact and move efficiently, which translates to better on-ball defense when the moment comes.
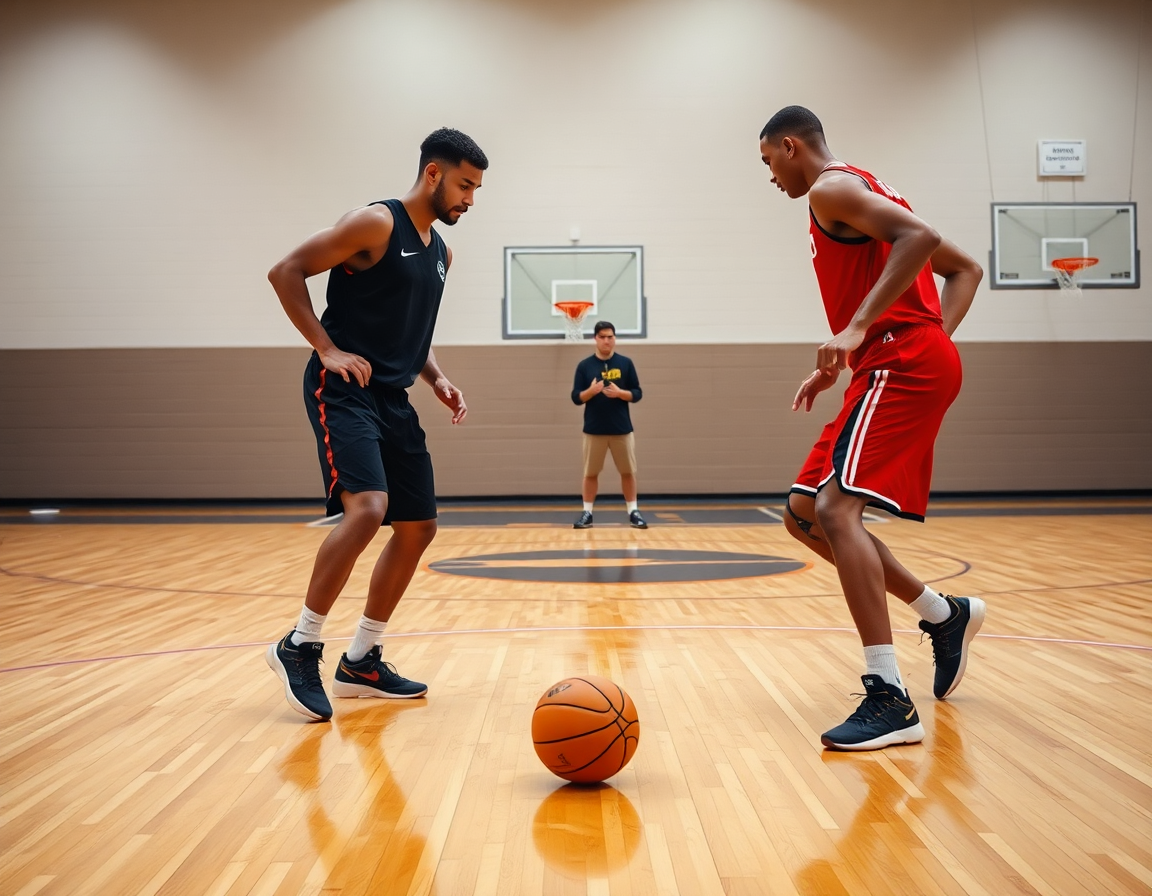
On-ball positioning drills wrap things up: stay in front, contest without fouling, and mirror the ball handler’s feet. A short clip in the playlist shows the correct balance between pressure and spacing. I finish with notes on common mistakes and quick fixes you can implement in the solo session, then link the drill to your practice plan so players can review before the next workout.
Structuring your weekly plan around solo drills
Structuring your weekly plan around solo drills demands a reliable workflow. I block out dedicated days for basketball defense drills by yourself, centering on the pillars that translate into game speed: defensive stance, defensive footwork, and defensive slides. I build a reusable drill library to pull from for future weeks.
Pair solo drill blocks with corresponding video clips to reinforce technique during review. I map a closeout block to a short clip showing proper stance and foot placement, then pull up a shell drill rotation and an on-ball defense sequence to watch together after the session.
Before each solo session, I sketch movements and rotations on the whiteboard to map transitions and responsibilities for each defender. Exportable PDFs help assistants run consistent sessions and track progression, while the linked diagrams keep everyone aligned when I’m not in the gym.
On a typical week, I stack three solo blocks: a Monday focus on defensive stance, footwork, and slides; a midweek session around closeouts and shell drill; and a Friday sprint through 1-on-1 defense and change of direction. Each block links to a tailored video playlist for quick review.
Finally, convert solo drills into repeatable practice plans and playlists so assistants can run smooth sessions and players stay on the same page.
Practical Workflow Step
Step 1: Define the weekly defensive focus. I pick a central aim for the week—stay in front, closeouts on the strong hand, or pivot-and-fade defense. This anchors my weekly coaching plan and keeps the basketball defense drills by yourself practical.
Step 2: Select 3–5 solo drills that target that focus and add them to a practice plan. I pull from a reusable drill library—defensive stance, defensive footwork, and quick lateral slides—then tag each drill with purpose and progressions to match the week’s emphasis.
Step 3: Diagram each movement on a whiteboard and attach short coaching notes. I map out on-ball movements, angles for slides, and recovery routes, so players can visualize the flow without a partner. The notes reinforce what I want to see in your shell drill or change-of-direction sequences.
Step 4: Build a printable PDF plan and create a video playlist with short clips illustrating correct form. The PDFs provide a clean reference for drill order, while the video clips reinforce the key positions in defensive stance and lateral quickness throughout the week.
Step 5: Assign drills to players via shareable links; track completion and notes for the next week. This keeps the workflow transparent and lets you see who’s locking in on the defensive moves you’ve outlined—especially the on-ball defense and closeouts.
Step 6: Review video clips with players to reinforce technique during the next session. A quick walkthrough before warmups helps fix mistakes in real time and ties back to the plan you laid out at the start of the week.
Track progress and adjust for next week
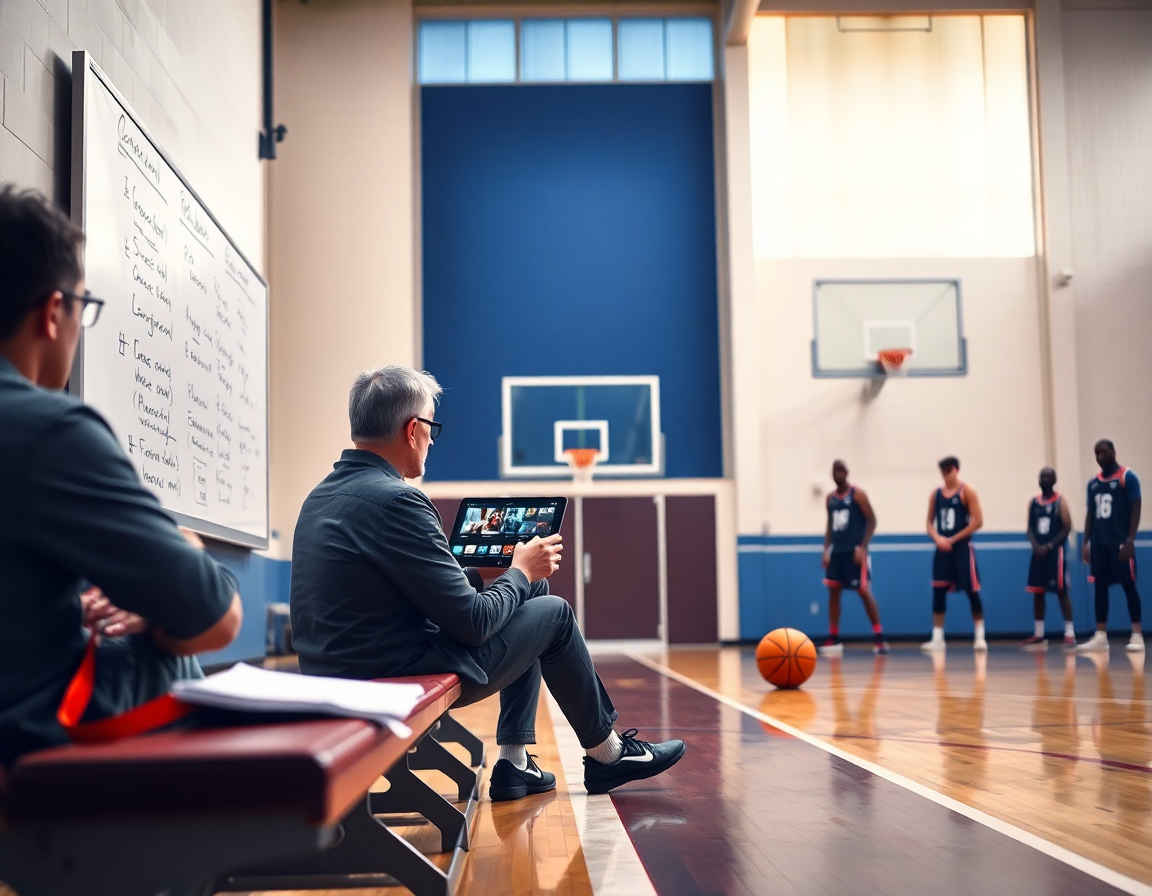
Track progress with video clips from solo defensive sessions—stances down, feet set, shoulders square—and compare week over week. Watching how a player maintains proper defensive stance, retracts into slides, and negotiates lateral quickness under fatigue is the fastest way to spot drift in technique. I label clips by drill family (defensive footwork, change of direction) for quick review.
I keep a concise notes log for each player: consistency in reps, foot speed, and decision-making during solo drills. A quick rubric helps you quantify gains in defensive slides, shell reads, and closeouts—without a partner. This isn't perfect, but it creates a measurable thread from week to week.
Based on the data, I decide where to shift focus next week: more on-ball containment, sharper change of direction, or improving conditioning to sustain effort through late drills. The key is to close the gaps without overhauling the plan. A small shift in emphasis yields bigger gains in 1-on-1 defense and lateral quickness.
Throughout the week, I reuse successful drills from the library, tweak notes, and export updated plans for the next cycle. I also refresh player playlists to align with the new focus and share standalone solo clips with targets for defensive stance, defensive footwork, and shell drill. PDFs of the plan go to assistants for feedback.
If you build plans like this every week, CourtSensei keeps your drill library, whiteboard, and video clips in one place — try it free.
FAQ
What solo basketball defense drills should I use to improve my game?
Start with the basics: a solid defensive stance and tight defensive footwork. Do short circuits—30 seconds on, 30 off—for stance holds, then 4 rounds. Add solo cone slides and change-of-direction moves to build agile movement. Closeouts and ball-handler mirrors simulate 1-on-1 pressure. These are practical examples of basketball defense drills by yourself that transfer to games.
How can I boost lateral quickness for defense when training alone?
Improve lateral quickness with a focused solo ladder or cone sequence. Use low, athletic stances and quick-step reps, staying compact as you move. Run zig-zags, then sprint to a cone and reset your stance. Tempo matters—avoid rushing. With consistent solo practice you’ll sharpen reads, transitions, and the efficiency of your defensive slides.
What is a shell drill and how can I practice it by myself?
Shell drill usually requires teammates, but you can adapt it for solo work by rotating through spots and reading driving seams. Stand at top, simulate help angles, and mirror cutters with quick feet. Use cones for the help, overload, and recover movements, and call out cues to lock in your spacing. This solo adaptation hones anticipation and on-ball coverage.
How can I practice closeouts effectively on my own?
Closeouts practice: sprint from a defensive stance to a line with hands up, contest the shot, and reset. Use a chair or line to simulate the shooter’s space; focus on balance and quick footwork to avoid fouls. Keep a short cadence (3–4 reps, 20–30 seconds each) and review clips to tighten cues.
Can I train defense without a ball, and what's a solid solo routine?
Yes—training defense without a ball is real. Build a solo routine around stance holds, lateral slides, and drive-mirror drills with an imaginary handler. Alternate drives to both sides, mirror the driver, and finish with a closeout to an imaginary jumper. Do 3–4 rounds of 30–45 seconds with rests.
What’s the best solo drill for beginners to start with?
Start with the basics: hone your defensive stance and defensive slides at a steady tempo. Begin 20–30 seconds per rep, four rounds, then add a light closeout to a cone. Keep hips low, shoulders square, and hands active. This foundation makes advancing to more complex solo work smoother.
