Basketball Drills Dribbling: A Weekly Plan for Handles
Coach-focused guide to basketball drills dribbling, outlining a progressive weekly plan, drill library, whiteboard diagrams, and video playlists to elevate ball handling.
Key takeaways
- Adopt a weekly progression to create structured touch time and consistent skill gains.
- Structure sessions with warm-ups, progressions, and a short review video to boost retention.
- Use whiteboard diagrams and PDFs to align staff and standardize the dribbling progression.
- Capture and share short clips for quick review in player playlists to reinforce technique.
- Plan days by focus: control, directional moves, pressure, tempo, and game-like reps to measure growth.
Why weekly progression matters for ball handling
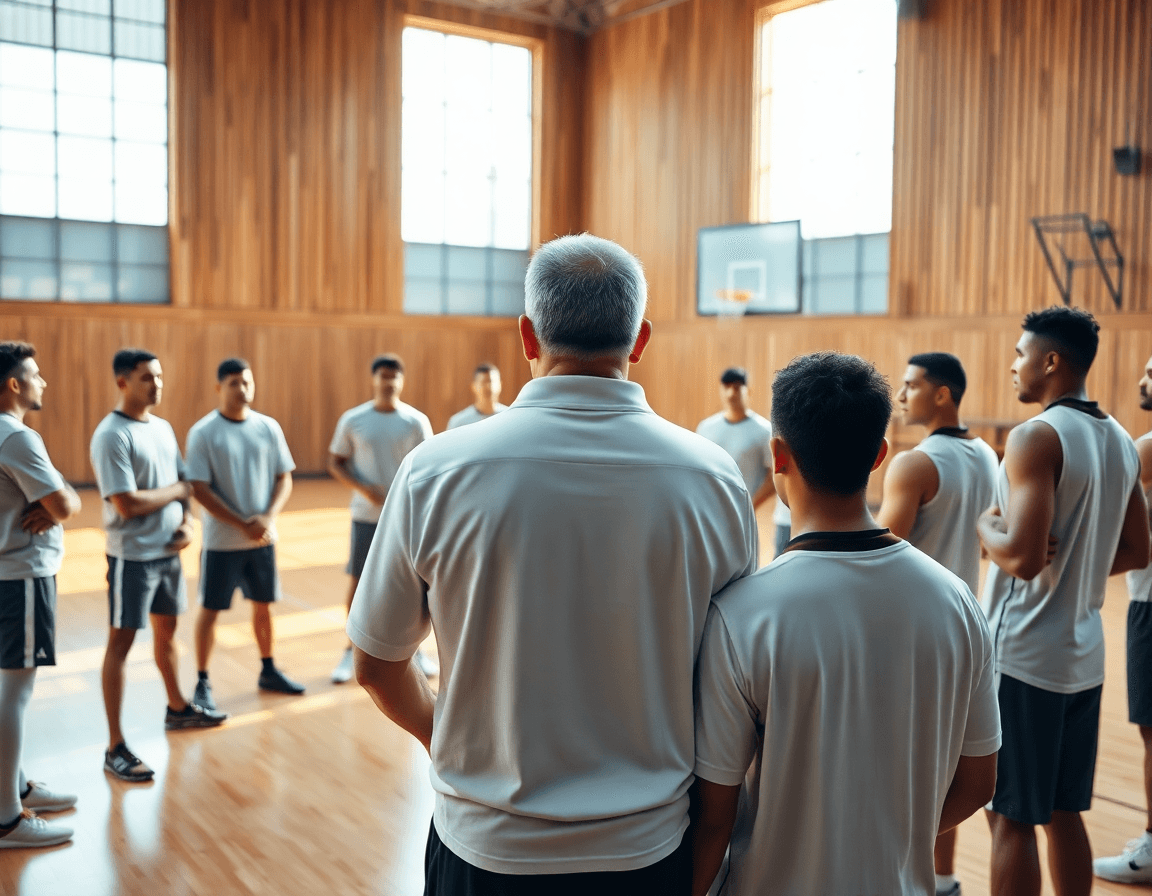
When I design a weekly plan for ball handling, I’m chasing structure and momentum. A weekly progression creates structured touch time that compounds skill gains. Progression ensures smoother transitions from basic to advanced moves under pressure. A shared weekly plan helps assistants and players stay aligned with the coaching intent. That means every practice builds on the last, not just repeats the same moves, and players feel the tempo. This approach makes basketball drills dribbling feel intentional, not random, and it shows up in games when pressure rises.
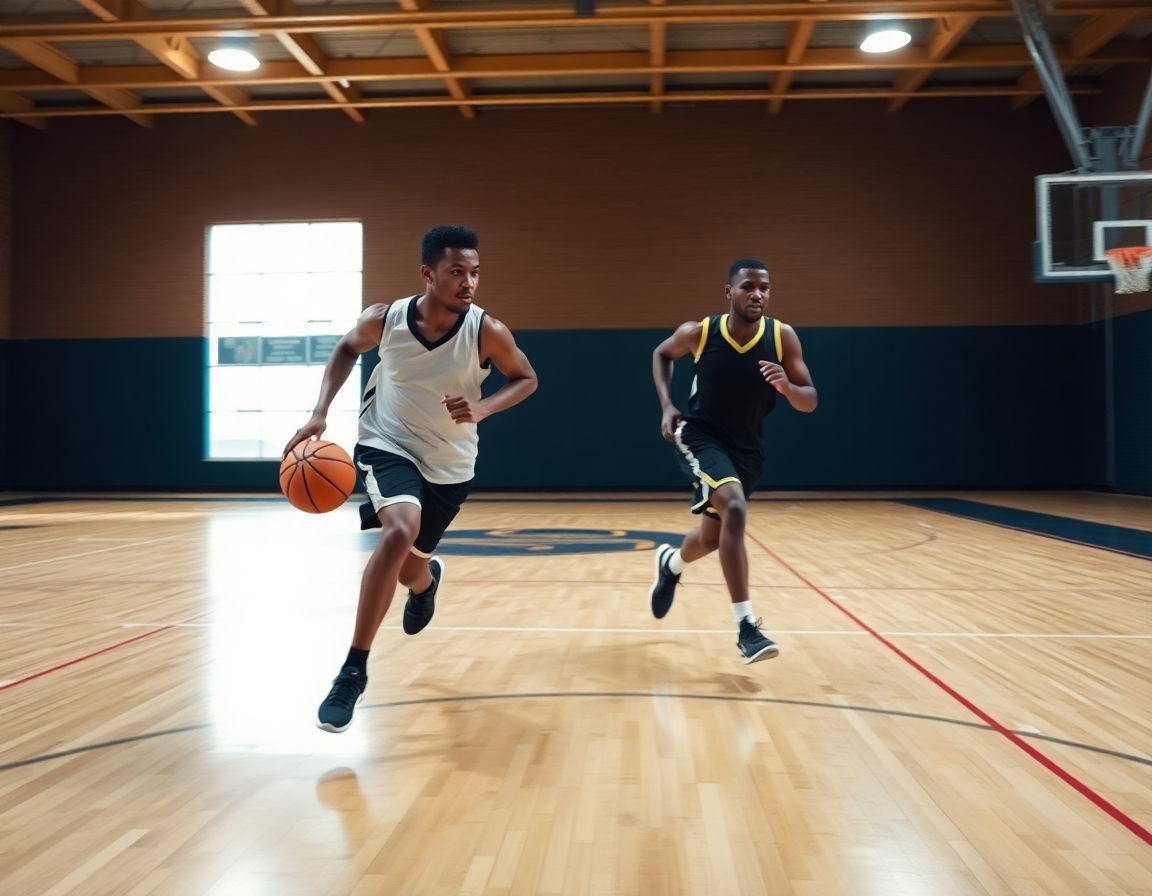
On Monday I start with basics: a 10-minute warm-up of ball handling drills for beginners. These are cataloged in our drill library and tagged as "dribbling drills for beginners." We ladder into crossovers and the behind-the-back pattern, then cap the session with a cone drill to reinforce control under fatigue. As the week progresses, we weave in more complex moves—between the legs, figure eight, and pound dribble—so players can maintain tempo while reading a defender. The goal is clean, confident touches in tight spaces.
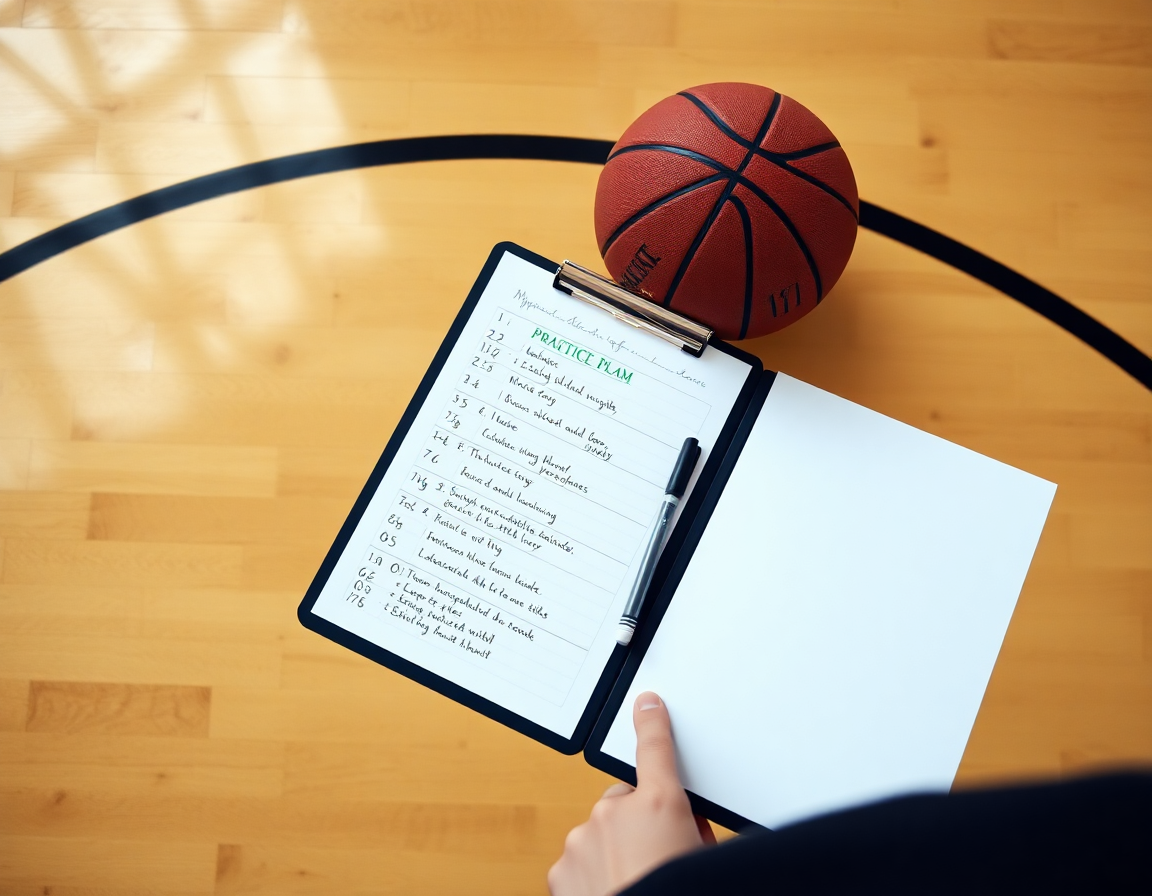
To keep this consistent, I map every session into the plan: warm-up ball-handling, progressions, and a short video clip for quick review. On the whiteboard I diagram the moves (BLOB/SLOB/ATO/PnR) and export the plan as PDF for the staff. During practice, I drop a quick clip into a player playlists feed so each guy can revisit the exact progression—pound dribble, crossovers, or the figure eight drill—before the next session.
Designing a progressive weekly dribbling plan
Designing a progressive weekly dribbling plan starts by mapping a route from beginner to advanced drills into a 4–6 day window. The goal is to balance frequent touches with variety so players stay engaged and you track progress week to week. Start with fundamentals—dribbling drills for beginners like the pound dribble and simple cone work—then layer in more complexity: crossovers, between the legs, and a rhythm drill from the drill library. Your weekly drill progression should feel connected, not random, so you can reference it in your plan, pull the next drill from the drill library, and queue clips for players in playlists. Use planning tools to keep everyone aligned with practice slots.
On the back end, map days in your planning tools: Day 1 focuses on control; Day 2 adds directional moves; Day 3 introduces pressure with a live defender; Day 4 emphasizes tempo; Day 5 wraps with game-like reps. Use whiteboard diagrams to sketch the sequence—arrows showing progression and micro-anchors like 'soft hands.' Pair each segment with a short video clip in player playlists so a guard can study the move from a defender’s angle before you run it. The goal is to leverage the dribbling drills library to ensure clean progression and avoid duplicate tasks.
Concrete ideas from the dribbling drills library cover basic to advanced moves: crossovers, between the legs, behind the back, figure eight, pound dribble, and cone patterns. End each session with a quick read on the whiteboard: what clicked, what needs tightening, and the next step in the weekly progression. This approach keeps your players moving and gives you a scalable framework for HS, club, or junior college teams, without overloading any single session.
Diagramming drills and game actions on the whiteboard
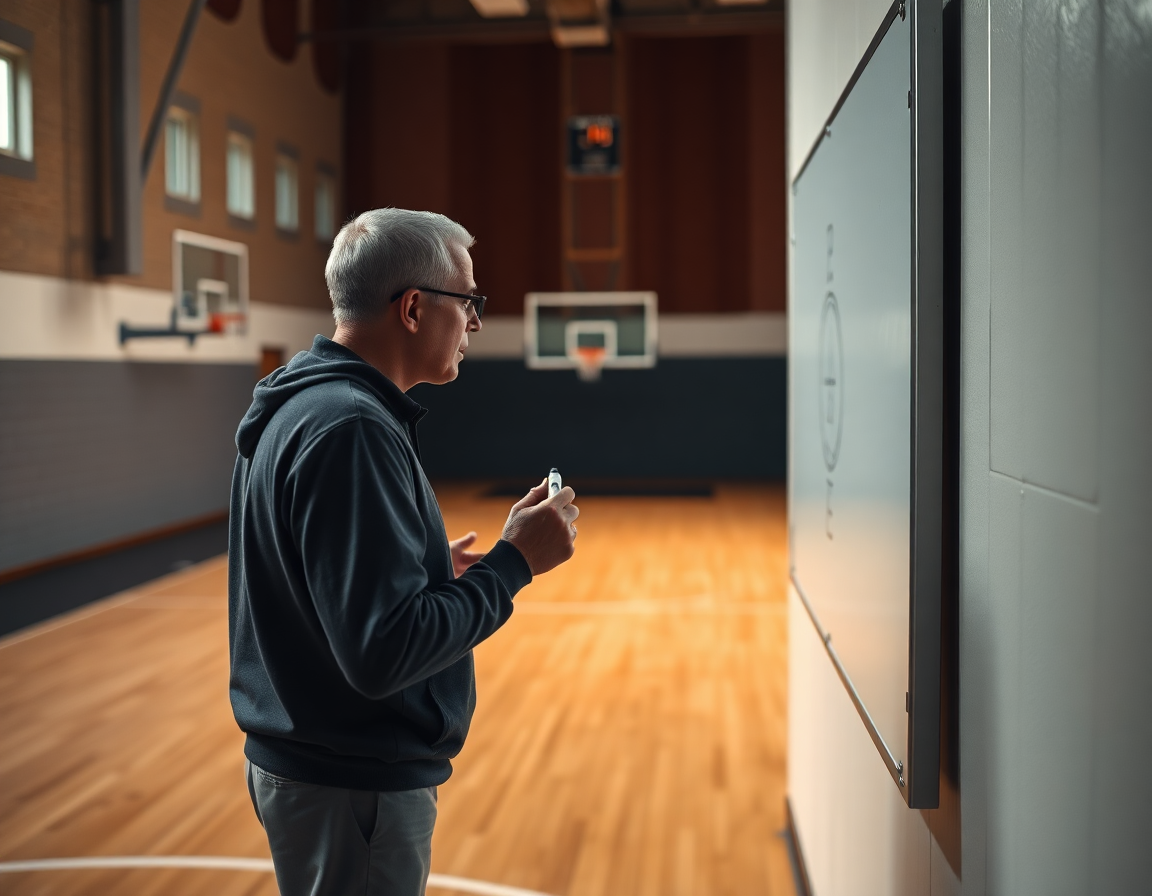
Diagramming drills on the whiteboard is where the plan turns into action. In my weekly plan I translate each dribbling progression into a sequence players can follow in practice reps. I rely on drill diagrams—whiteboard play diagrams—that map the flow from start to finish. I use action diagrams (BLOB/SLOB/ATO/PnR) to stage sequences and outcomes. For a ball-handling emphasis, I sketch a BLOB sequence: inbound on baseline, ball on the wing, attack middle, decision point to drive, finish with a pull-up. If pressure arrives, the SLOB response triggers a quick reset. The diagram keeps decisions visible and repeatable, so assistants and players stay aligned without constant coaching during reps.
From a coaching standpoint, these diagrams become a guide for your practice flows. When a drill diagram lands on the board, I turn it into a PDF export to share with assistants and scout staff. PDFs of drill flows let others run the same sequence during stations, or study the progression while I’m coaching other groups. It also makes it easier to annotate the plays for scouting notes—especially for ball-handling drills that hinge on timing and footwork.
Key cues live on the margins of the whiteboard: head up, fingertips, two-handed control. I drop them next to the diagram step to reinforce technique as players work through the sequence. A simple loop might start with a pound-and-cross drill, then move to a cone drill for control, with every step anchored by keeping eyes up and fingers soft. The diagram-driven flow helps translate that weekly focus into consistent game-ready ball handling.
Using video clips to reinforce technique
Video clips are the bridge between plan and on-court execution. In the weekly drill library, I curate clips that illustrate the progression from fundamentals to game-ready handles, then drop them into a dedicated player playlist. On the whiteboard, we map the cues—head up, fingertips, two-ball work—and the clips become the on-screen reference players can study before and after practice. I’ll start the week with a short clip of basic control—two-ball dribbling and stationary handles—to prime touch. A quick look at a more dynamic clip helps us see how that touch translates into a live drill without sacrificing vision or pace. This is how video clips for dribbling become more than footage—they’re coaching language that travels with the plan.
Curating clips for fundamentals (head up, fingertips, two-ball work) and advanced moves (crossovers, pound dribbles) keeps our tempo honest. We mix clips that emphasize stance, angle, and balance with those showing compact, in-tight finishes for pounding dribbles or between-the-legs transitions. Players see the contrast between a clean two-ball routine and a full-speed crossover sequence, which makes the cues tangible. When a player struggles with keeping their head up, we pull a quick clip of proper neck alignment and peripheral look, then anchor that cue back on the floor. The right contrast in clips helps every player connect technique to decision.
Create progressive playlists that match the weekly plan and player goals. I tag each clip to a specific week, so a new dribble progression—from basic ball handling drills to more complex reads—feels natural. We lean on a steady stream of dribbling video playlists that guide a player through loops like figure eight drill, pound dribble, and behind the back drip, ensuring steady, measurable growth. For the dominant ball handler, we layer in two-ball dribbling video to reinforce tempo and hand-speed, then pair it with game-like reads that surface in scrimmage. This structure keeps the work focused and repeatable.
Assign clips to players to reinforce cues and practice priorities. I place a curated clip into each athlete’s player playlist, so when they walk into the gym they know which cue to chase—head up, fingertips, or a specific sequence like crossovers or between-the-legs. During drills, we refer back to the clip as a reference point, tying the on-floor work to the video cue and the week’s plan. The player sees exactly where their effort should go, whether it’s a quick period of two-ball dribbling or a cone drill that forces change of pace. In short, the clips become a personal coach—mapping to each player’s progress and sharpening priorities across the floor.
Two-ball work and cone drills sit at the core of the routine, with clips reinforcing the technique in real time. When a player nails a pound dribble sequence, I pull up the corresponding clip to lock in the cue and tempo for the next rep. If a guard needs to refine a crossovers sequence, we default to a short, focused clip to re-sync the hands and feet before the next live rep. The goal is consistency—every session pairs a quick clip with a live drill, ensuring the team moves in unison with the weekly plan and the individual growth curve.
Practical workflow: 60-minute weekly dribbling session
In the planning tool, I map a single week’s effort into a focused 60-minute dribbling workout. We pull the progression from the drill library and align it with our weekly dribbling session targets. Before the horn, I note the exact warm-up in a short video clip and make a quick whiteboard diagram of the on-court flow. The aim is to keep the work tight: ball control, pace, and decision-making all addressed within one session. This is how I translate a long-term plan into a practical, week-by-week dribbling practice plan.
We start with 5 minutes of warm-up focused on ball handling—static and dynamic moves that wake up the fingers and hips. Then we slide into progressive drills, moving from beginner to advanced within seamless sequences. Think crossovers, between the legs, behind the back dribble, and the figure eight drill, all staged to build confidence. This is when the drill library shines, letting me nudge the tempo and incorporate pound dribbles and other essentials so players feel progression each rep. I’m not chasing volume; I’m chasing clean, repeatable movements that read through to real games. This is the essence of a deliberate, well-structured practice plan.
For 15 minutes, I run game-like sequences—cones set a rhythm, defenders provide pressure, and pace changes force quick decisions. It’s the moment when technique meets tempo: players must adjust on the fly and use the space the way they will in a half-court or transition setting. If you’re teaching this week’s layers, you’ll see how a simple cone drill evolves into pressure-filled reads and escapes, all tied to the same fundamental handles.
The next 10 minutes are for player-specific feedback and playlists. I tailor pointers to each handler, highlighting what to fix and what to reinforce. I drop a quick, personalized playlist—short clips and drills for each player—so they can reinforce the correct habits outside practice. This is where the weekly dribbling session becomes personal growth, not just a team drill.
We finish with a 5-minute cool-down and notes for the upcoming week. I jot tweaks to the plan, update the player playlists, and flag any adjustments to the progression. The result is a living cycle: refine, record, and reset, so every session pushes a step forward in the ball-handling journey.
Tracking progress and adapting your plan
Tracking progress isn't a guess—it's the compass that keeps your weekly plan honest. Use scouting notes for dribbling to identify handles that crumble under pressure: late-quarter closeouts, traps, or first-step denial. You’ll log the exact breakdowns (crossover, between-the-legs, behind-the-back), the cues that trigger them, and the context (against a guard in a drive-and-kick scheme vs. a full-court press). Translating those findings onto the whiteboard and into PDFs gives the staff a shared picture of where to push next. This is progress tracking in real time.
With those findings, you adjust drills weekly. If a player stalls on crossovers under pressure, you pull a tighter progression from the plan library: start with cone drills, then figure-eight, then live 1-on-1 reps, escalating defense intensity. Make it explicit in the training plan and tag the progression so it can be reused in future cycles. This is how a single scouting note becomes a durable improvement—an drill progression you can call up next season, and a template you’ll reuse in future cycles.
Share progress updates with assistants via plan links, PDFs, and annotated clips. A short clip showing the fix, a one-page PDF summary, and a link to the updated drill progression keeps everyone aligned. Have players' playlists ready so they can study the revised handles—crossovers, between the legs, behind the back, or pound dribble—in their own time.
If you build plans like this every week, CourtSensei keeps your drill library, whiteboard, and video clips in one place — try it free.
FAQ
How do you dribble a basketball effectively?
Start with a wide stance and soft knees. Dribble with your fingertips, not your palm, and keep your eyes up to read the floor. Aim for quick, controlled touches near waist height. Practice stationary first with rhythmic bounces, then add simple footwork while maintaining rhythm and spacing. This builds clean handles under pressure.
Which beginner dribbling drills should you start with?
Begin with the basics: pound dribble and simple cone work to build feel. Then add two-ball dribbles and basic crossovers. Use your drill library for progressive steps and keep the rhythm—short, frequent touches beat long, sporadic reps. End with a quick review clip to lock in what you worked on.
How frequently should you train dribbling drills?
Plan for 3–5 focused sessions per week, plus light touch days. Each session blends fundamentals, gradual progressions, and short live reps. Keep sessions around 15–25 minutes and track progress with a weekly progression. Remember: consistency beats intensity, and steady momentum shows up in games.
What is the Pound Dribble drill and how is it performed?
Stand with feet shoulder-width apart. Dribble with one hand at a low, quick bounce—around waist height—and switch hands on a rhythm you control. Keep your fingers loose and wrist relaxed, protecting the ball with your off hand. The Pound Dribble builds touch and confidence handling under pressure.
How can you improve ball handling under pressure?
Practice with a live defender or simulate pressure. Vary speed and direction, use fakes, and keep your eyes up. Do side-to-side shuffles and change-of-pace moves to read help and maintain control. Finish with a pull-up or pass to mirror game reads. These reps sharpen handling under pressure.
Why is it important to keep your head up when dribbling?
Keeping your head up lets you scan for teammates, cutters, and passing lanes. It also hides your intent from defenders and speeds reads. Do drills that force you to read while dribbling, then check your gaze mid-rep to ensure you stay up. The habit pays when pressure rises.
What are two-ball dribbling drills and how should I use them?
Two-ball drills train simultaneous control and touch. Start with alternating dribbles, then move to synchronized dribbles while moving, add a defender, and ramp tempo. Use the drill library to mix sequences and rotate the drills to keep progress visible. Stay tall, eyes up, and maintain soft elbows.
