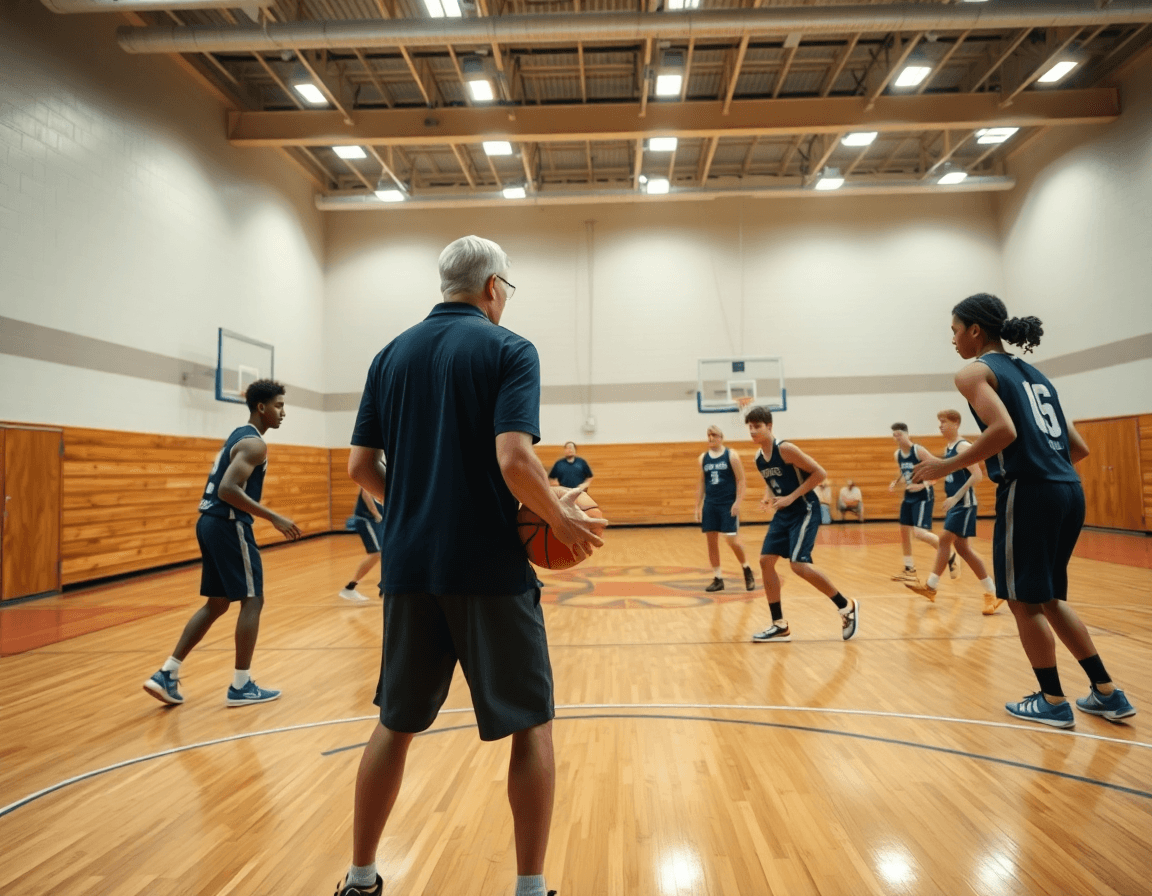
Basketball Pick and Roll Drills: Weekly Progression for Coaches
Coaches: master weekly basketball pick and roll drills to sharpen spacing and reads with structured practice plans, whiteboard diagrams, video clips, and scouting reports.
Key takeaways
- Plan the week around a 2v2 to 3v3 to 5v5 progression with spacing.
- Diagrams and whiteboard notes at each stage guide assistants and shape quick feedback.
- Pull scouting notes to anticipate opponent defense shifts as numbers rise throughout.
- Export PDFs of diagrams for staff reference and practice stations weekly plans.
- Create video playlists and clips to reinforce reads and decisions for each variation.
- Keep the focus on spacing, reads, and decision-making across all phases throughout.
Weekly progression for pick-and-roll drills
Anchor the week around a weekly progression: 2v2 → 3v3 → 5v5, with emphasis on spacing, reads, and decision-making. In your planning toolkit, you build that progression into the plan, diagram each stage on the whiteboard, and share it with assistants. Pull scouting notes for the opponent to anticipate how defending schemes might change as numbers rise. With this framework, the plan for training stays concrete and adjustable as the week unfolds.
Map drills to specific days: Day 1 concentrates on ball-handler reads, Day 2 on screener actions, Day 3 on the roller finish. This framework translates to basketball pick and roll drills across the season, keeping spacing, reads, and decisions front and center. After laying out the days in the plan, export the plan as a PDF for assistants to review during practice and to reference when setting up stations. In CourtSensei, you can attach notes from scouting and link to relevant clips for quick reference.
Integrate variations (top, side, corner, Spain) to build adaptability without overwhelming players. On the whiteboard, diagram how reads diverge when the defender overplays the top or switches on the side, and save these as separate drills in the library. Tie each variation to a short video clip and place them into playlists for players to study in their own time. This keeps spacing and flow consistent while giving your players reps against different coverages.
Drill progression ladder: from 2v2 to 3v3 to 5-on-5 with spacing
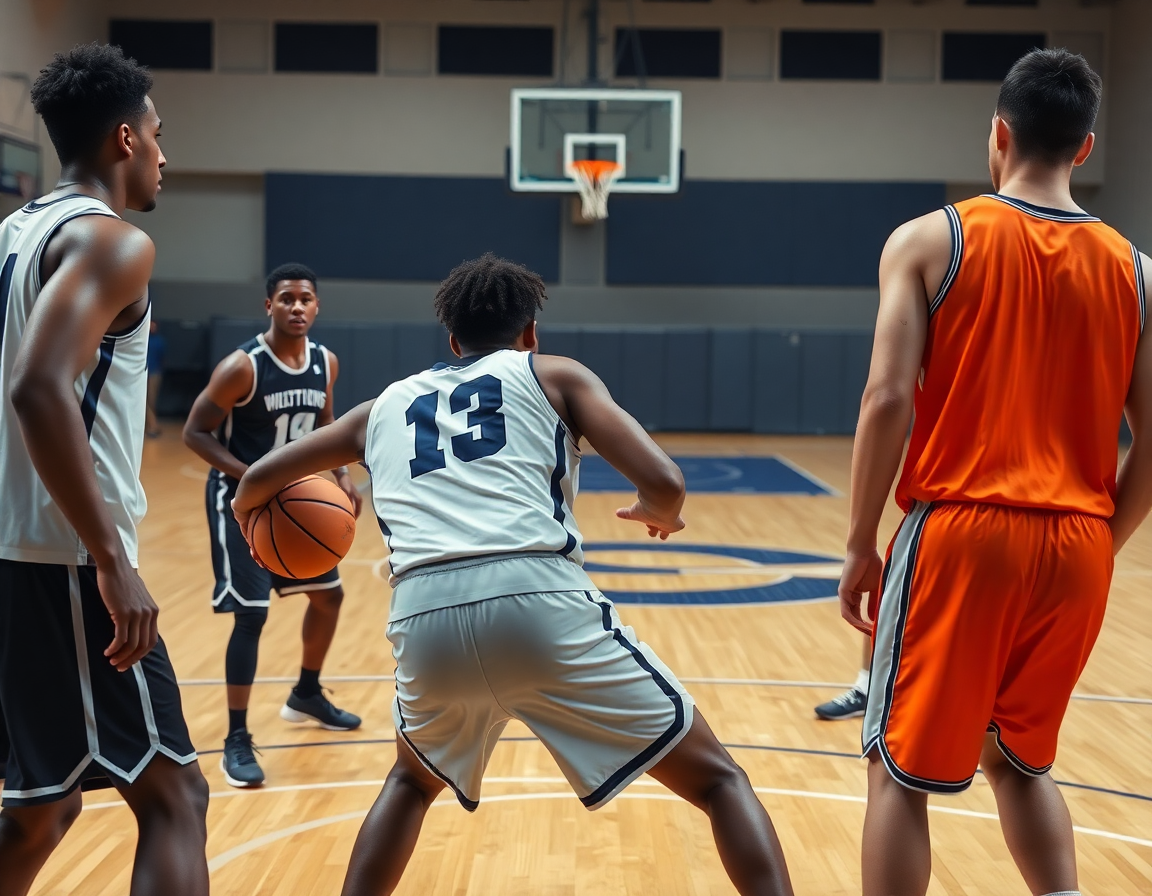
In the weekly plan, we start with a tight 2v2 drill to lock in the core mechanics of the ball screen. Emphasize the screen angle, crisp handoffs, and quick decision-making at the point of attack. The screener has to sell the action, the ball handler must read the defender’s posture, and the guard has to choose between the on-ball screen and the drive-and-kick. Film a short clip from practice and drop it into the player playlist so each player sees their role as a runner, screener, or roller. This is where the workflow pays off: build the drill in the training plan, diagram the motion on the whiteboard, and share it with assistants for quick feedback.
Moving to the 3v3 progression, you layer in rotations, defenders’ switches, and the pressure of reading help-side coverage. Now the screener and roller must communicate with the ball handler under staggered pressure, while the defense tests ball-screen reads—does the attack pop, slip, or roll after the screen? Document the reads in a scouting note after each session and pull a few clips to illustrate successful sequences. The goal is to translate that early decision-making into applies-on-the-floor behavior, so the players learn to anticipate ball-screen reactions in real time.
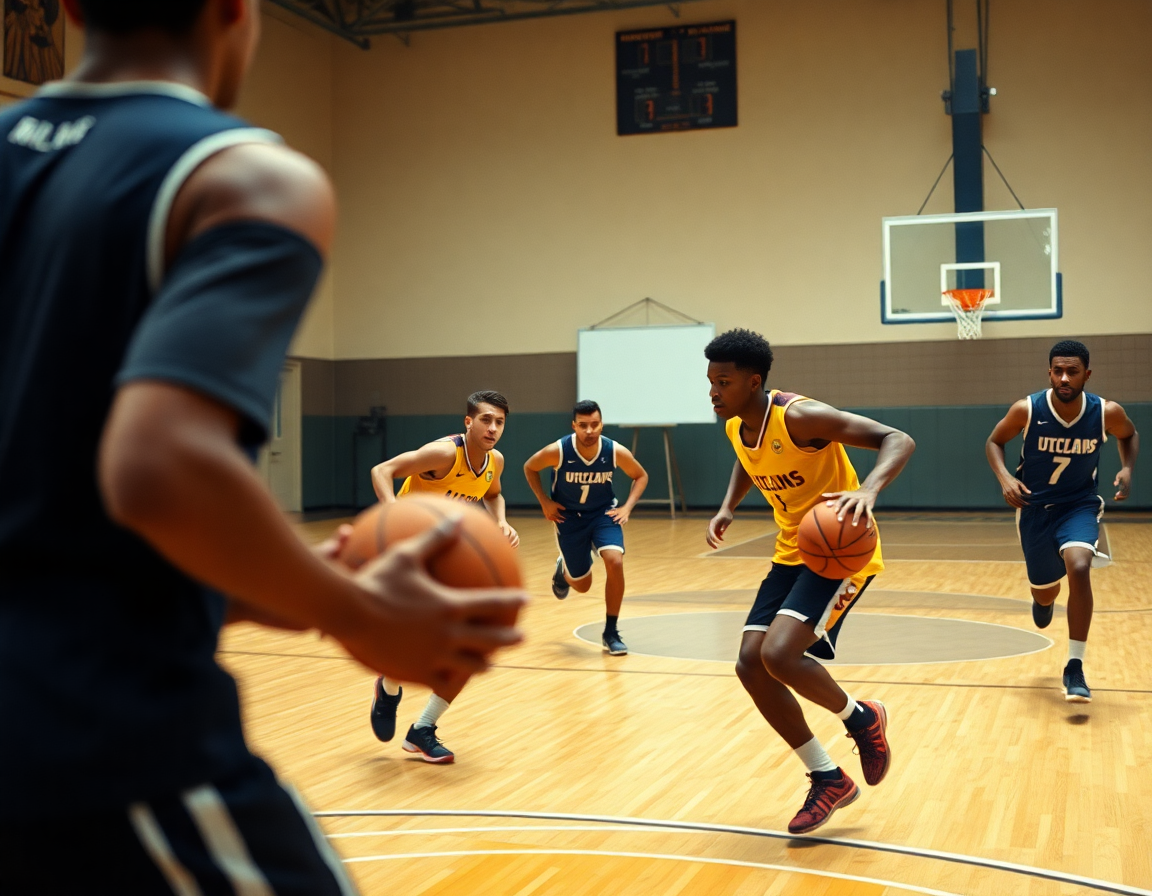
Then comes the 5-on-5 phase, where spacing rules shape the read-the-defense cues at game speed. The five-on-five shell is where you simulate real PNR reads: how the guard angles, where the screener positions, and how the ball-handler exploits switches. Use this period to compile opponent scouting notes and scout plays, then export PDFs of the whiteboard diagrams for the staff and players. The weekly plan now ties everything together: drill plans, diagrams, and video playlists to drive weekly adjustments.
Top variations to include: top, side, corner, and Spain PNR
Top PNR: From the center of the floor, the ball-handler meets a hard screen as your spacing tightens. The screener must plant with purpose to create a clean roll to the rim or a pop to the arc. Teach the reads: drive off the screen, drop a pass to the roller, or skip to a shooter if the helper overhelps. In our weekly plan, you build this block, diagram it on the whiteboard, and export a PDF to share with assistants; video clips tag the drive, the roller finish, and the kick.
Side PNR: On the wing, the guard attacks the ball screen with tighter spacing. The screener's screen angle should invite a firm roll or a pop to the corner. The reads: drive downhill, hit the roller with a drop, or kick out to a weak-side shooter if help comes early. Stress spacing to keep driving lanes clear and to set up your next action in the plan—diagram, save a new clip, and build the playlist for players to study.
Corner PNR: From the corner, the action demands precision—help is closer and time is shorter. The screener must set a compact screen and sprint into a path for the rim or a quick pop. Reads: drive and attack, hit the roller on the roll, or skip to the wing if a dense help is present. Use this block to reinforce spacing under tight angles; capture in video, and keep a scout note about how defenders defend this look.
Spain PNR: This variation uses the big to set the ball screen and then creates space with the screener popping or slipping into a handoff pattern. The ball-handler reads the defense: attack off the screen, hand to the screener for a quick handoff, or drive and re-draw helpers for a kick-out. This block stresses spacing and primes game-specific scouting reports; tie it to your weekly scout notes and export a diagram + clip playlist to prep the next opponent.
Coaching cues for ball handler, screener, and roller
As a coach, I map every week with CourtSensei’s planning toolkit: build the drill progression, diagram the actions, and share them with assistants. In the weekly plan we lock in the ball handler, screener, and roller cues, then drop a quick diagram on the whiteboard to show ball-screen timing and spacing. A short game clip anchors the tempo, and we export PDFs of the diagrams for scouting reports and staff notes.
Coaching cues for the ball handler drive the decision-making: accelerate after the screen, read the defense early, and pick a path—drive, skip-pass, or pull-up. In our plan we tag the spacing to keep the floor open, so the ball handler never has to guess where teammates will be. We pull a highlight clip that shows the exact moment the read comes and the defender bites on a pump-fake, then discuss the adjustments with the staff.
Screener cues: top-off options—roll, pop, or slip—with timing cues for contact and space. In the plan I annotate when to roll off the screen so the ball handler has the angle, when to pop to the perimeter for a spaced kick, or when a slip creates a quick dive to the rim. The whiteboard diagram shows routes and defender rotation, and we drop a scouting note with opponent tendencies and scout plays to inform weekly adjustments.
Roller cues: locate the rim, finish strong, and establish solid contact while reading defender help. We want the roller to set the screen, roll with speed into the paint, and read the help defender to finish through contact or pull back for a mid-range finish. We clip finishes where help comes and add the notes to the scouting section, so weekly adjustments flow into the drill path.
Video-driven coaching: clips, edits, and playlists
Video-driven coaching starts with the weekly plan. I pull both successful PNR actions and misreads from the latest games and drills, then save them as precise video clips. A quick clip editing pass overlays coaching cues—spacing, where the screener sets, and how the ball handler uses the ball screen. I’m not just showing plays; I’m turning video into a focused video teaching tool with real examples. From there, I build player playlists that teammates can review between sessions and during film blocks.
Organize by role and variation to cut down review time. I tag each clip by role—ball-handler, screener, roller—and by variation, from traditional ball-screen reads to side pick-and-roll against hedges, switches, or drop. This lets a guard study how spacing changes when the roller slips versus when he rolls into a soft catch. When a player studies their role, they see not just the action, but the read, the spacing, and the options off-ball. Clear labeling makes the difference between a casual look and a targeted study.
Distribute playlists to players and assistants for asynchronous review before practices. Shareable links keep everyone in the loop, so coaches can critique in the moment and players arrive ready. In the plan, pair the clips with drills from the weekly practice plan—the emphasis on reads off the ball handler, the screener's footwork, and the roller's finish. This workflow—clip, annotate, categorize, share—reduces repetition and raises accountability across the PNR action.
Scouting against opponents’ pick and roll
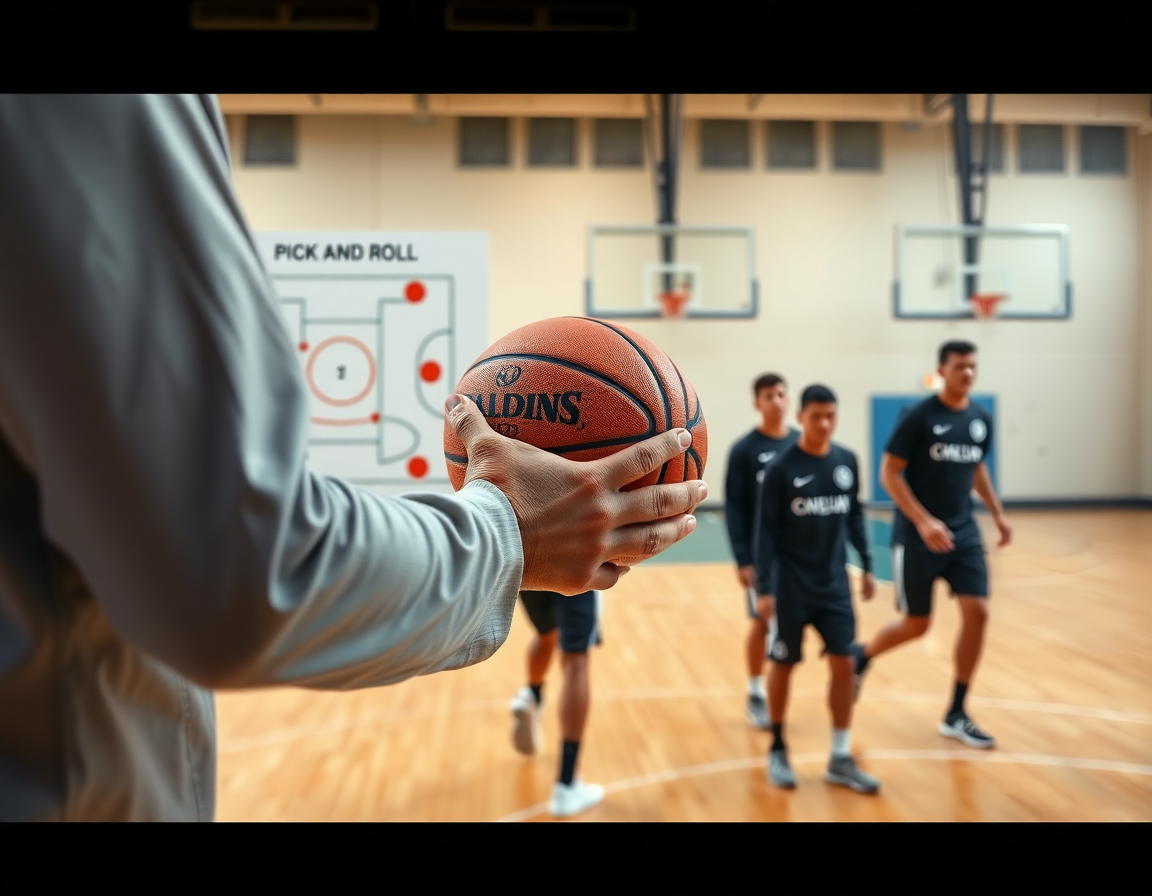
As you build your weekly scouting reports, highlight opponent tendencies in their pick and roll: ball-handler pressure, screener timing, and defender rotations. In CourtSensei, attach these notes to the weekly plan and flip through them while you design drill blocks. When you break down a ball screen, note how the ball handler wants to turn the corner, how the screener sets the screen, and how the defense rotates. A quick diagram on the whiteboard helps map reads for ball screen, screen and roll, and on-ball screen variations.
Develop scout plays to counter or exploit the opponent’s PNR—e.g., hedge vs. drop, switch vs. ball-handler speed. Create variations that force different outcomes and attach short video clips to each plan. In the plan for training, run a few reps for each read: hedge and recover, trap at the ball-handler, deny the pass to the roller, switch when the ball-handler is speedy. Tie these to drill variations that emphasize spacing and read the defense, so players know exactly where the defenders will be.
Link scouting insights to drill variations and weekly practice plans for targeted reps. A clean workflow to consider: build scouting reports, attach them to the plan, diagram on the tactical board, export PDFs of the whiteboard diagrams, and then run targeted reps. CourtSensei lets you organize video clips and playlists for each scouting insight—ball screen reads, screener-roll timing, and defender rotations—so players internalize the reads and know how to defend the pick and roll. This is where opponent tendencies become actionable in your weekly plan.
Weekly workflow checklist for PNR excellence
By Monday morning, the weekly plan for basketball pick and roll drills is laid out around the calendar. I set clear goals for 2v2, 3v3, and 5v5 work, then pick variations that fit our personnel and spacing: ball-handler reads, flare actions, ball screen at the top, and the screener-roller options. I block the week into short practice blocks and short film reviews. The weekly planning toolkit from CourtSensei lets me build, diagram, and share the basketball pick and roll drills with the staff.
On the whiteboard, I diagram each variation for 2v2 and 5v5 contexts—P&R at the top, flare screens, pindowns, and the read options for the ball handler. After the sketches settle, I export PDFs for staff handouts and for the gym monitors who will be tracking time blocks and rotations.
Late Monday I pull game clips, tag them by action (ball screen, screen and roll, read the defense), and build player playlists. A quick short video clip with the defender's stance is assigned to the ball handler for review, while assistants get a separate playlist showing alternate reads. This keeps the film room tight and makes it easy for players to revisit specific reads.
Finally I pore over opponent scouting data—how the opponent guards ball screens, whether they switch or hedge, where the gaps appear in spacing—and use that to adjust the practice plan. I drop a few scout plays into the playlists to illustrate counter options and update the whiteboard diagrams. The result is a training week that stays responsive and focused on the read the defense.
If you build plans like this every week, CourtSensei keeps your drill library, whiteboard, and video clips in one place — try it free.
FAQ
What is a pick and roll, and why is it a staple in offenses?
A pick and roll is a basketball action where the ball-handler uses a teammate's screen to create a decision. The screener sets the screen and then either rolls to the rim, pops for a shot, or slips to space. The goal is to force defenders to communicate and to generate immediate reads with solid spacing and timing.
How do you structure a progressive pick-and-roll drill plan for 2v2, 3v3, and 5v5?
Anchor the week around a 2v2 → 3v3 → 5-on-5 progression. Start with a tight 2v2 block to lock in ball-handler reads, screen angles, and quick decisions. Move to a 3v3 progression with rotations and help-side pressure, then finish with full-pace 5-on-5 spacing. Diagram the plan, export a PDF, and attach scouting notes to each stage.
How can you teach the screener to roll to the rim effectively?
Teach the screener to attack the rim by selling the screen and sprinting into a purposeful roll. Emphasize angle, pace, and timing with the ball-handler's reads. Use drills that reward clean catches and finishes through contact, and practice options that include a quick pass to the roller or a kick-out to shooters.
What are the key variations of the pick-and-roll (top, side, corner, Spain) and how to coach them?
Variations demand different spacing and reads. In top PNR, the action starts center-floor with options to drive, drop to the roller, or skip to a shooter. In Spain PNR, the big screen is followed by a handoff or a pop. Teach the ball-handler to read the defender and save clips for each variation to build a practical library.
How do you coach ball-handler reads and spacing in the PNR?
Prioritize reads and a clear, consistent spacing. Train the ball-handler to accelerate after the screen, decide between drive, pass, or pull-up, and read help-side pressure. Use video clips to illustrate timing and pressure, and keep the floor organized so teammates know where to be.
How can you practice PNR in 2-on-2 or 3-on-3 to build reads and reactions?
Use targeted 2v2 and 3v3 drills that force the ball-handler to read the screen under pressure. In 2v2, focus on the handler's decision after the screen and the screener's sell. In 3v3, add rotations and defender switches; rotate roles and review clips to connect reads to on-floor actions.
