
High Post Motion Offense: Weekly Coach’s Plan
A coach-focused weekly workflow to install and run a high post motion offense, with practice plans, diagrams, video clips, scouting, and shareable playlists.

Key takeaways
- Establish high post as offense hub with spacing, timing, and reads to accelerate ball reversals.
- Anchor 2-3 actions: Topside, Flash, Weave-Screen, and Jet-Back with reads vs man/zone.
- Mix 4-out high post and other concepts to create passing lanes and cutting opportunities.
- Understand when to deploy a High-Post Zone vs a High-Low look, based on defense and shot clock.
- Design a progression that locks spacing and timing in week-to-week cycles for consistency and player buy-in.
Key concepts of the high post motion for weekly planning
In my weekly plan, the high post is the offense’s hub to maximize reads and decision-making. From that spot, players see passing lanes open, cutters hit gaps, and ball reversals gain speed. I map this on the tactical whiteboard first—spacing, timing, and the first reads—before we run any shell work.
Two or three actions anchor the hub: Topside, Flash, Weave-Screen, and Jet-Back. Each action has reads against man and zone. On the whiteboard, I sketch how Topside creates back-cut or pass-and-cut options; Flash moves to the elbow for a quick pocket pass; Weave-Screen threads ball reversals; Jet-Back hits the baseline for a direct drive or pass. This is where the week’s first install lives and where we start teaching the rhythm.
We mix 4-out high post and other concepts to create passing lanes and cutting opportunities. For example, a 4-out alignment with a strong high-post passer can ping the ball to the wing, then flash to the rim, while a defender slides into help. In drills, we time spacing to force early reads, then allow players to react with a crisp ball reversal and a quick skip pass.
Understand when to deploy a High-Post Zone vs a High-Low look. Zone provides floor spacing and keeps the post at the elbow to threaten kickouts; High-Low pairs the high post with a low-post action to threaten entry passes and skips. The choice hinges on the defense, shot clock, and which shooters you have available.
Design a progression that locks spacing and timing in week-to-week cycles. Start with 2-on-2 reads at the high post, advance to 3-on-3 shell with Topside and Flash, then bring in 5-on-5. Use scouting notes to tailor reads to the opponent and pull clips that show clean ball reversals or decisive post reads, then share those clips via playlists for quick student reviews.

Practical weekly workflow step: install to game-ready
Week-to-week, the backbone is a clear weekly workflow for the high post motion offense. I anchor every session with a tight plan: install the reads, feed options, and counter-actions, then thread it through the whiteboard and the floor. The core threads—4-out high post, topside actions, and counter moves—become the compass. With this cadence, progress feels tangible, not overwhelming. In the plan, I lock in the exact reads and the sequence players will see on the court, so the team moves as one.
On the floor, a Four-day cycle guides the install. Day 1 is install with diagrams on the whiteboard—reads, feeds, and counter-actions. Day 2 features progress drills that tighten timing and spacing. Day 3 brings live reps to simulate reads under game pressure. Day 4 finishes with a controlled scrimmage that tests decision-making and execution. This cadence keeps the playbook compact while still building texture in the offense, from the weave-screen to the jet-back counter. The goal is to move from diagram to decision to action, cleanly and reproducibly.
Create a test case in your practice plan—the “high post progressions” sequence—and export it to PDF for staff review. The practice plan becomes a sharable blueprint that you can circulate to assistants and video staff, ensuring everyone is aligned from diagrams to on-court reps. This is where the weekly workflow pays off, turning a concept into club-ready rhythm.
On the whiteboard, map Topside and Flash reads and connect them to on-court actions—ball reversal, feeds, and counters. Visual links keep players from guessing and help you adjust on the fly if a read stalls. Capture these sequences in your scouting notes and clip the best transitions for the next cycle. Bold, clear mappings of reads to actions anchor every session.
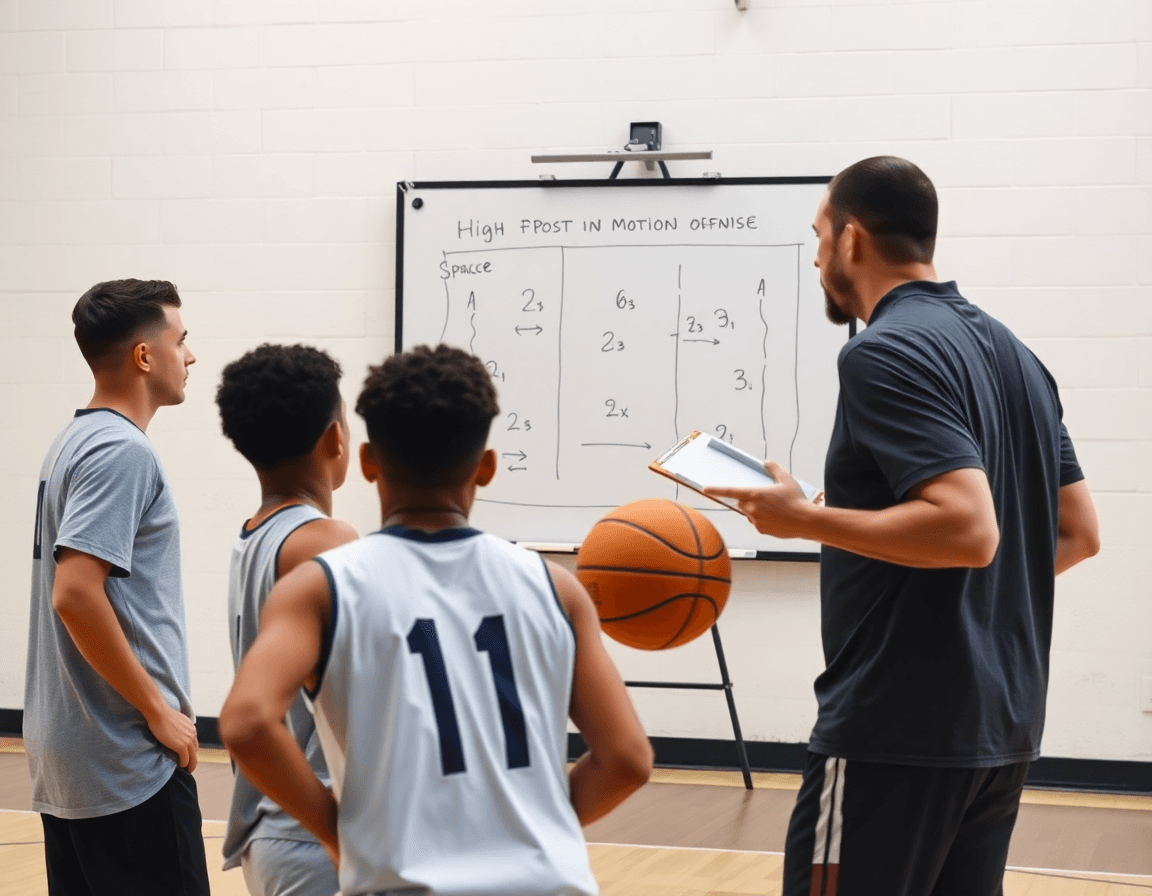
Practice-plan templates for installing high post motion
In the weekly rhythm, a solid template keeps the high post motion offense flowing without reinventing the wheel every day. Focus on a clean structure: warm-up, install (reads), progression drills, counter options, and competition. Think of the practice plan as the blueprint you ship to your assistants and players at the start of the week—tiles already laid out in the right order. When you frame it this way, the learning curve stays manageable and the reps compound. Use your plan as a living document: update reads after scouting, then lock in the same sequence for every session to build muscle memory. This is where your practice plans become the backbone of progress.
For the drill block, center your sessions on Topside, Flash, Weave-Screen, and Jet-Back, plus the reads that make each action pop. Topside drills emphasize ball reversal and decision timing on the wing; Flash trains crisp reads off the action and quick decision-making under pressure; Weave-Screen develops continuity and early screen reads to keep the post involved; Jet-Back ties in the back-court flow with late-stage reads for a sharper counter. Tie each drill to a simple read: where the defense shows, who rotates, what the spacing demands. If you’re running a 4-out high post look, keep these drills fast and progressive, so players feel the rhythm without getting bogged down in jargon.
Customization is the key. Tailor templates by opponent tendencies and age group: slower decision windows for younger teams, tighter ball reversals against switch-heavy defenses, harsher pace for seniors who can execute counter options under pressure. Your template should reflect what the scouting notes suggest, but stay adaptable so you don’t freeze the process. And since sharing accelerates adoption, push the plan via shareable links to assistants and players, so everyone has the same install, reads, and progression in real time.
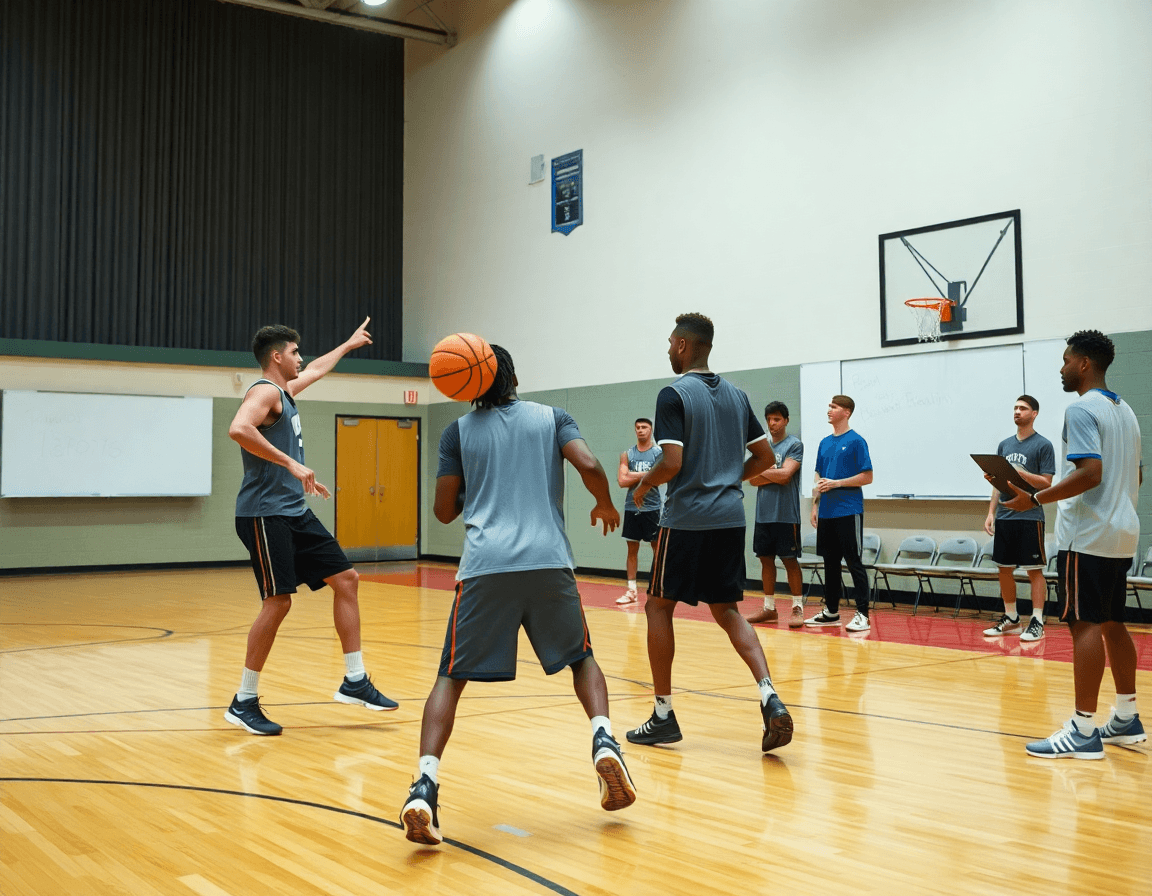
Whiteboard diagrams and action sequences: mapping reads
At the start of each week, the tactical whiteboard is where the High Post Motion Offense begins to breathe. I sketch diagrams for common actions and reads using standard terms: Topside, Flash, Weave-Screen, Jet-Back. Each box is a read, each line a decision point. The goal is to map what players should do when the defense shows a certain coverage, not just what to run. On the board, the plays become coachable, tangible tasks for practice.
I build a quick-reference playbook of high-post reads and counters. A Topside read against a deny can trigger a quick ball reversal; a Flash action opens a pocket entry, or a skip pass to the opposite wing; a Weave-Screen creates space for a post feed. For each read, I attach a counter action: slip to the rim, pop for a shot, or flare for a shooter. I tag each sequence with labels like BLOB, SLOB, ATO, and PnR so the whole staff can scan it fast.
From the whiteboard sessions, I export sequences to PDF for game prep and scouting notes. The PDF binder travels with assistants to the bench and scouting trips, and we annotate it with opponent tendencies when we map Topside and Jet-Back reads.
Organize diagrams into a reusable library for future weeks, grouped by core reads—Topside, Flash, Weave-Screen, Jet-Back. This lets you pull concepts after a rough week or when you add a new post option. The library is evergreen: as the weekly cycle turns, you swap in fresh counters and keep the base reads visible.
Video workflow: clipping, tagging, and sharing high-post reads
In my weekly plan, the video workflow keeps the high post motion offense center stage. I pull video clips from last game and practice, building a video library of reads that show how defenses rotate and how our reads unfold. The goal is simple: capture decisions in real time so I can reinforce them during the next workout.
I clip decision moments—entry passes, reads, and counters—and use tagging to categorize by action: Topside, Flash, Weave, Jet-Back. Each clip becomes a clear example of a read, so I can show assistants before practice and cue players on what to watch for when the ball changes sides.
Create playlists and assign viewing tasks to reinforce concepts. Each player gets a focused set of clips (for example, Topside reads) and a checklist for what to note when they watch. We also sharing clips across the team drive so everyone has access to the same library when planning scout looks.
During practice, we pull clips on the fly and reference them on the tactical whiteboard to reinforce decisions and timing. A short clip before a shell drill clarifies spacing for a high post read or a counter to a Flash read, keeping the reads fresh in players’ timing.
Scouting and opponent prep for high post motion
Scouting reports should zoom in on how opponents defend the high post motion. You map zone defenses against the 4-out high post, and you track man-to-man pressure, fronts, and rotations when the ball arrives at the high post. The goal is to capture tendencies that drive decision-making: how they hedge on the top side, where the help comes from, and what triggers the blitz.
Identify weak-side reactions and guard decisions to exploit in reads. From there, plan in-practice adjustments to reads and counters based on opponent tendencies. If the scout notes they over-rotate to deny the entry to the high post, practice a quick ball reversal and a topside entry to force a collapse, then feed a skip to the opposite wing. If they switch to deny the pass and overplay the low corridor, drill a flash to the weak-side and a weave-screen sequence to keep the ball moving and open up the next read.
Integrate scouting insights into your weekly flow: update your plan for the high post offense with targeted drills and scripted reads, and tag those notes with opponent tendencies you expect to see. Store the relevant clips in the video library so players can study the reads and responses in a short video clip before film sessions. By tying the scouting notes to the practice plans and the video library, you create a cohesive opponent prep that supports zone defenses and man-to-man looks, while keeping the focus on the week’s reads and counters.
If you build plans like this every week, CourtSensei keeps your drill library, whiteboard, and video clips in one place — try it free.
FAQ
What defines a high post offense and when should I use it?
Definition and timing: A high post offense centers the elbow/high post as the playmaking hub. From there you leverage reads, spacing, and quick ball reversals to probe gaps. Use it when you want tempo control, multiple passing lanes, and a menu of actions that stay adaptable against both man and zone. It’s not a one-pass trigger—it’s a geometry game that rewards timely reads and disciplined spacing.
How does the high post motion offense work in practice?
From the high post hub, players read angles, create spacing, and decide between entry passes, skips, or reversals. The action shell centers Topside, Flash, Weave-Screen, and Jet-Back; each option has clear reads against man and zone. Start with 2-on-2 reads, progress to 3-on-3 shell, then 5-on-5. The goal is crisp timing and decision-making, not flashy moves.
What are the core actions in a high post motion (Topside, Flash, Weave-Screen, Jet-Back) and their reads?
Core actions: Topside creates back-cut or pass-and-cut options; Flash moves to the elbow for a quick pocket pass; Weave-Screen threads ball reversals and keeps the post involved; Jet-Back hits the baseline for a direct drive or skip. Each action has reads tailored to man or zone—keep spacing tight, and teach the rhythm before you add pressure.
What is the UCLA High Post Offense and how does it fit here?
UCLA High Post Offense in practice: UCLA’s pattern centers on elbow entries, strong spacing, and continuous back-cuts and drives from the elbow. It emphasizes quick reads, ball reversals, and location-based passes to shooters. Used as a template to pressure defenses with tempo and options, it blends with the broader high post motion to keep players decisive.
How do you attack zone defenses with high post motion?
Attacking zone with high post motion: keep the ball at the elbow to threaten kickouts and enter passes. Use kick-out passes to weak-side shooters, then flash or reverse to create openings. When zones sag, use skip passes and quick reads to punish gaps. The key is maintaining spacing and making defenders react rather than guess.
How do you install a 4-out high post look and make it game-ready?
Installing a 4-out high post look: start with 4-out spacing and a strong high-post passer. Progress from 2-on-2 reads to 3-on-3 shell with Topside and Flash, then to 5-on-5 live reps. Use a four-day cycle: install, progress drills, live reps, controlled scrimmage. Create a concrete practice plan and export it as a PDF so staff stay aligned from diagrams to on-court reps.