Basketball Plays: Weekly Plan for Offense Execution
A coach-focused weekly guide to installing basketball plays, including planning, situational usage, and organizing video clips, scouting, and play sheets.
Key takeaways
- Identify 3–5 plays, balance set, motion, and end-of-game options; align with opponent scouting.
- Organize a library by category, limit installs to 2–3 plays per category for crisp execution.
- Diagram and communicate on the whiteboard; attach short videos; export PDFs for staff.
- Clip and distribute video; create shareable playlists for quick review.
- Track progress and adjust install; use scouting notes to simplify or advance.
Build a weekly play install plan
Kick off the week by identifying 3–5 plays that fit your personnel and line up with the opponent scouting. You want a mix: a couple of reliable set plays, a handful of motion options to create rhythm, and one end-of-game option you can trust under pressure. Each play should have a clear purpose—spacing, reads, and ball movement—so your players know what to do even when the defense tweaks. Start by sketching the action and the reads, then lock in a concrete install plan in your weekly workflow. This is your weekly plan for basketball plays, and it should feed directly into the rest of your cycle.
Draft a practice plan for basketball plays to install these actions in bite-size blocks. Assign roles to players, script decision triggers, and set success metrics—like rotating into the ball reversal within 3 seconds or converting a two-ball reversal. Use the planning tool to outline these install blocks and assign tasks to assistants. When done, export a printable plan for staff so everyone is aligned before the first drill. This is where your install basketball plays becomes actionable, not theoretical.
Organize plays into a library by category—set plays, motion offense, end-of-game plays—so you can pull them quickly during planning sessions. A tidy library lets you map install blocks to the week and to upcoming scouting notes, keeping your weekly plan for basketball plays flexible as you learn what works.
During install blocks, translate the action onto the whiteboard with clean diagrams (BLOB/SLOB/ATO/PnR) and pair each sketch with a short video clip. Create playlists or shareable links for players and assistants to review at their own pace. This keeps practice efficient and gives you a portable reference in your weekly workflow.
Finally, track progress and adjust the install based on player comprehension and skill development. Use scouting notes and quick assessments from drills to decide what to simplify, what to advance, and which plays to rotate out. The weekly plan for basketball plays should feel like a living document.
Categorize plays by defense and situation
To keep practice efficient, categorize basketball plays by defense type: man-to-man plays versus zone plays. When the offense has clear buckets to chase, players can lock in quicker and coaches can reduce cognitive load during drill time. In the plan, label every play as either man-to-man plays or zone plays, then build two parallel libraries in CourtSensei with quick diagrams on the whiteboard and a short video clip attached to each entry.
Next, design situational plays for end-of-quarter moments, after timeouts, and other special situations (BLOB, SLOB, and ATO). In a tight game, a single reliable end-of-game play can swing momentum; keep it crisp with a 1–2 read pattern and a clear escape option. For BLOB and SLOB, sketch baseline and sideline out of bounds sequences on the board, then attach a quick clip that shows the timing and spacing.
Match plays to players' strengths and scouting notes, plus opponent tendencies from scouting. If you have shooters and ball-handlers, deploy sets that get them into shots or drives; if the opponent overhelps in the weak side, slip a back-cut action or a flare to create space. Use scouting notes to decide whether a zone attack or a high-ball screen from the pick-and-roll fits best with your personnel. Keep these choices labeled and ready to tag as 2–3 options per category.
Limit the initial install to 2–3 plays per category to ensure crisp execution. With CourtSensei, you can map each play to a specific practice slot in the weekly plan, share a link to the beat-the-drill video, and update the playbook as you learn. The idea is to run a quick rotation: a couple man-to-man plays, a couple zone plays, a couple end-of-game plays, and then rinse and repeat with the next opponent. Use playlists to give players and assistants a bite-size set of clips they can watch on their phones, and keep the flow intact during the week.
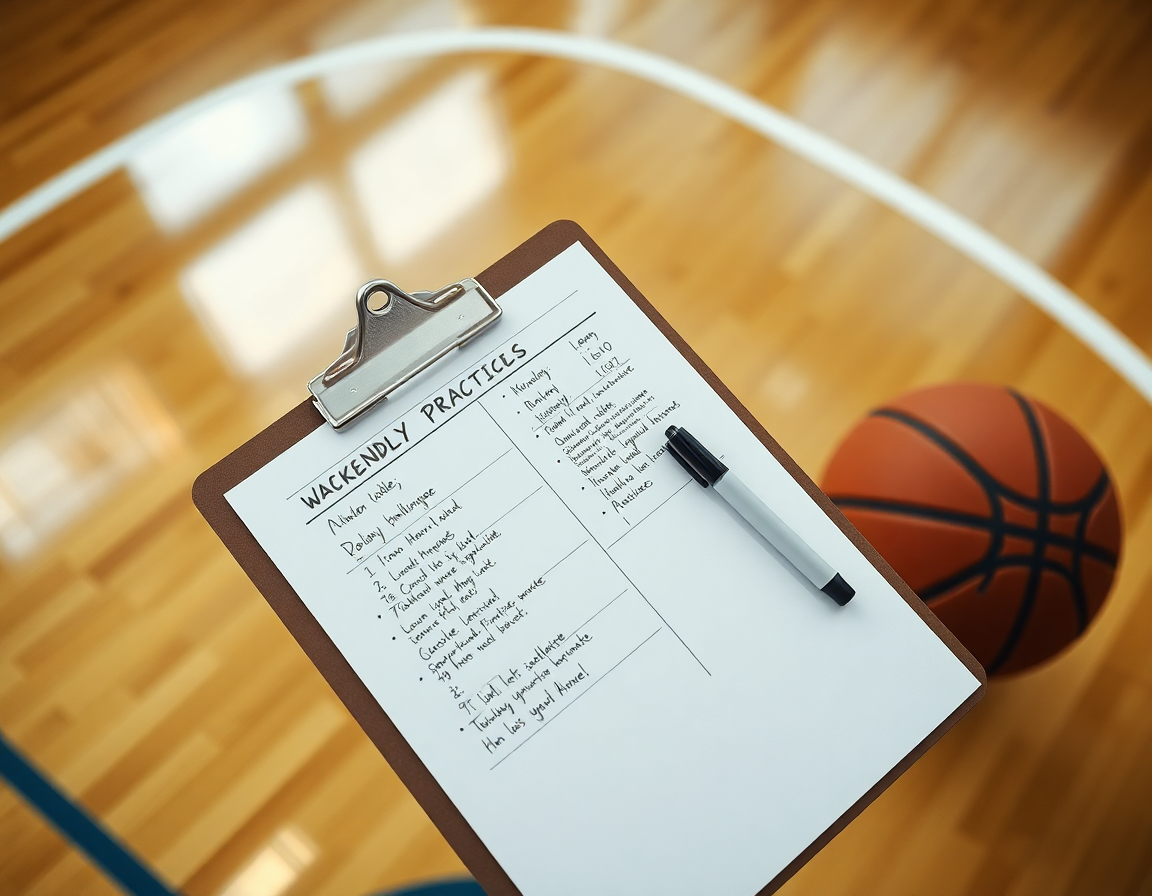
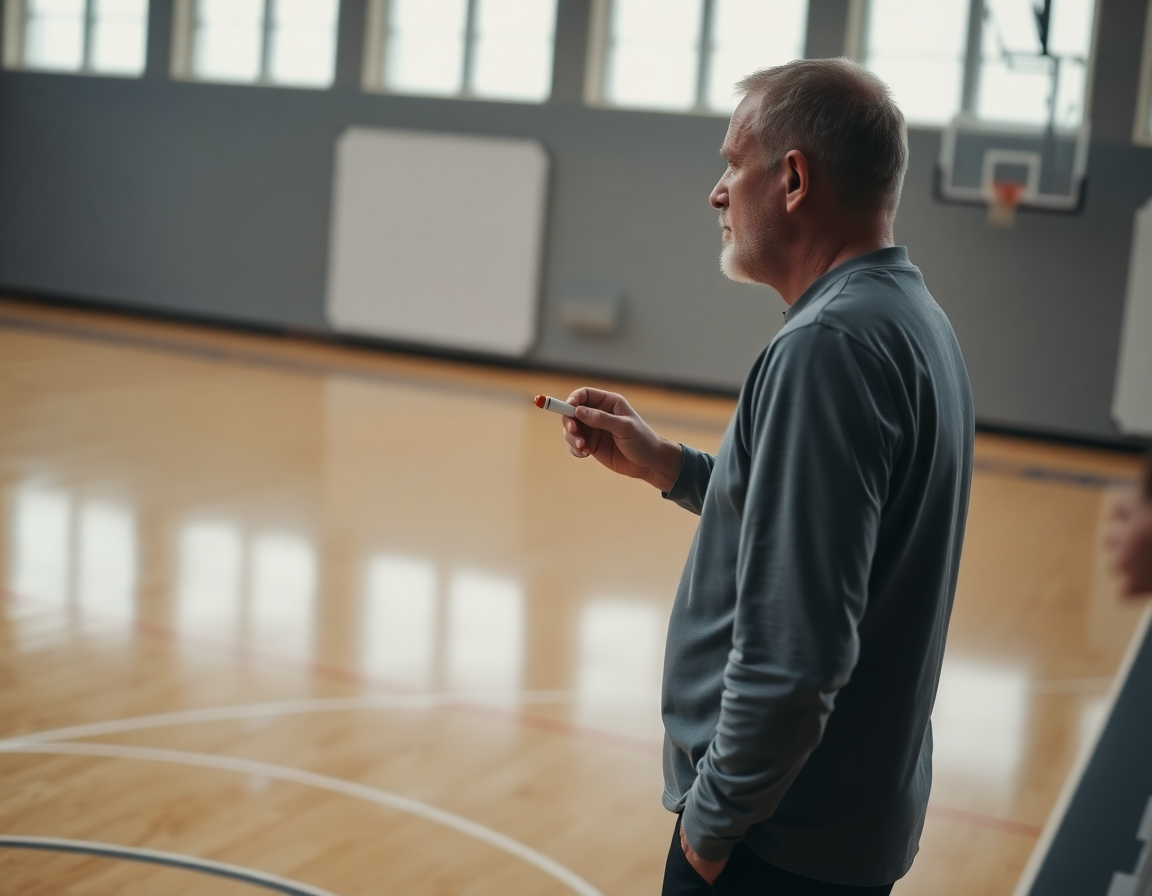
Diagram and communicate plays on the whiteboard
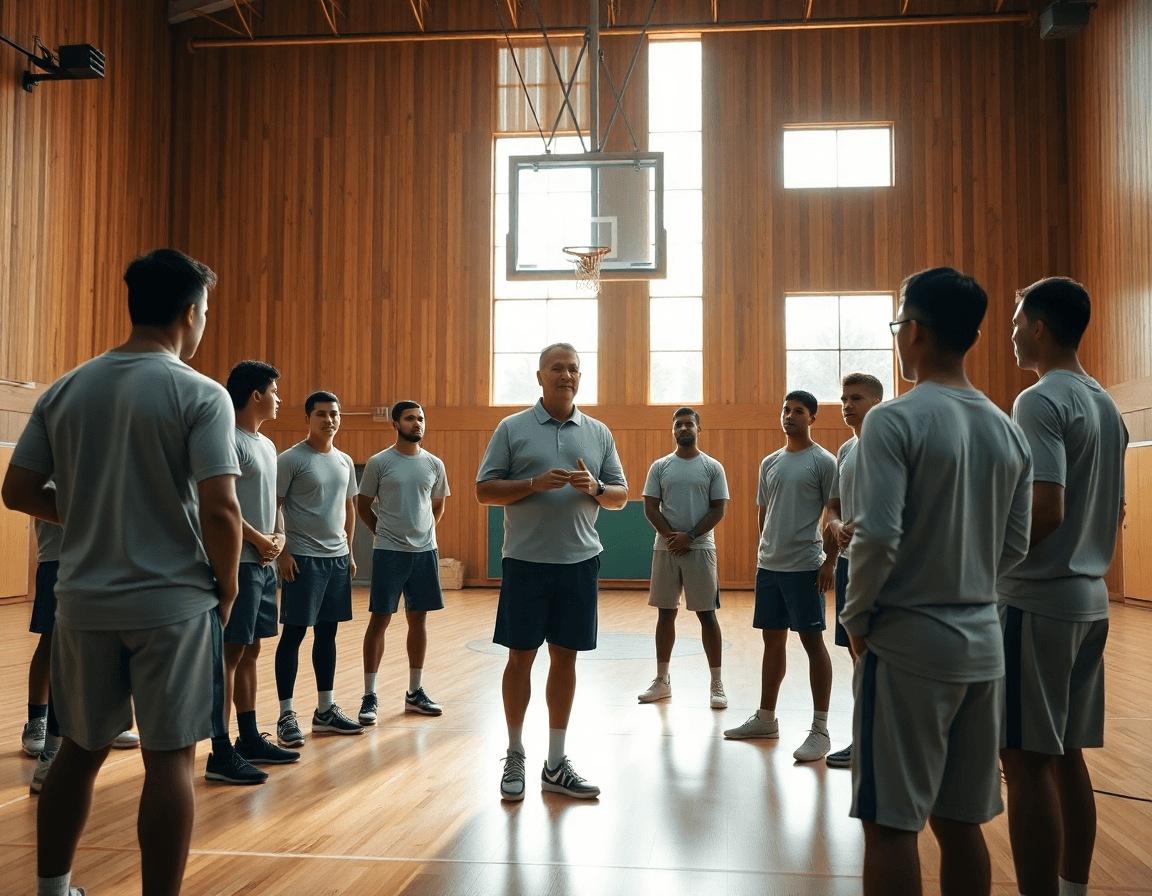
As a head coach, the weekly offense starts at the whiteboard. I diagram basketball plays—the flow of action from PnR into an off-ball screen or a cutter—then label every option with numbers and reads. A clean diagram of a pick-and-roll with two options keeps the staff aligned: the big sets the screen, the guard turns the corner, a wing cuts, and a weak-side shooter spaces. Keeping it visual makes it easy to teach in on-court sessions with young teams or in a film-heavy program.
Once the action is drawn, I annotate BLOB/SLOB/ATO entries and set plays directly on the whiteboard for quick teaching. Export diagrams to PDF for staff review and integrate into practice plans. This workflow keeps assistants in sync during the week and lets us adjust on the fly.
Attach notes or coaching points for players to review with assistants, either beside the diagram or in the plan, and align those with a scouting note for the opponent. Those cues translate to on-court actions, especially when we break down zone plays, man-to-man plays, or end-of-game sequences. Having concise reminders helps players internalize reads and spacing without slowing walkthroughs.
From whiteboard to drill, the cycle is deliberate: plan in the weekly template, diagram on the board, run a short video clip to reinforce the concept, and share the clips via a set of shareable playlists for players to study. The end result is tighter basketball plays, faster recall, and more consistent execution during practice and scrimmage.
Clip, organize, and distribute video for teaching
As coaches, we install offense with purpose. Clip game footage into concise video clips to highlight each play’s execution and decision points. I pull clips for ball-screen actions, zone plays, and BLOB/SLOB sequences, then annotate the reads that separate a made play from a broken one. This is where clip organization and a clean video library start paying off in the plan for the week.
Next, I build player-centric playlists so individuals can study their role within each play. A guard studies a PnR read, a wing rehearses spacing off a sideline out of bounds (SLOB), and a post finishes the back cut with proper timing. Each playlist links to the relevant video clips and drills we’ll rep in practice. The goal is for players to know the decision tree and their responsibilities before we step on the floor.
Finally, I generate shareable links for quick access by players and staff. Each link points to the set plays we’re installing—PnR variations, zone looks, motion offense sets, and end-of-game options—so anyone can pull up the exact clip without hunting. These links tie into the tailored playlists and the weekly plan, making it easy to pull up a play on the fly during film, scout reports, or pre-practice huddles.
During practice, use video reviews to reinforce teach points and correct misreads. We pause a clip on a misread, discuss the correct read with the group, and then replay the sequence on the tactical board to lock in the timing. This approach keeps our coaching points tied to the playbook—set plays, end-of-game calls, or SLOB/BLOB situations—so players internalize the reads and execute with confidence.

Scouting-driven play selection
As a head coach, scouting reports shape my weekly play install. I pull opponent tendencies from the notes: how they defend pick and rolls, where their rotations break down, and who they want to help. In CourtSensei, I map those reads to a short set of plays to install this week—man-to-man plays, BLOB/SLOB options, and a couple of end-of-game looks. I outline favorable matchups (our shooter vs their weak wings, our guard vs their hand-checking defender) and tag plays in the planning templates to mirror those gaps. This is where the weekly plan starts to feel concrete, not theoretical.
With those tendencies in mind, I tailor plays to the matchup. If the reports show weak help rotations, we install a pick and roll that keeps the big honest and a quick motion entry that forces the defense to choose help side. We mix in zone plays against their 2-3 and run man-to-man plays against their guard-heavy lineups, plus late-clock options using SLOB or BLOB to get clean looks. All of this gets organized in the play library and tagged by category (set plays, motion offense, end-of-game plays) so I can pull the right diagrams for pre-game. The result is a focused pre-game plan and a shareable playlist that assistants and players can study on off days.
After the game, we do post-game reviews to refine play choices and counter adjustments. We update opponent tendencies notes, re-tag plays, and document changes in the play library so we can tailor plays for next time. A short video clip playlist highlighting the reads—PnR, zone and man-to-man options, and end-of-game sequences—goes to players and assistants for quick study and practice focus.
Practical workflow: a 60-minute weekly routine
0–10 minutes: you install 1–2 basketball plays with on-ball actions and options. Start with a simple pick-and-roll entry that leads to a strong read, then layer in a baseline out-of-bounds (BLOB) or sideline out-of-bounds (SLOB) variation to show spacing shifts. File these plays in your practice plan checklist and drop the diagrams into the planning templates on the whiteboard for quick reference. This is where the weekly workflow begins, and the players see a clear path from install to execution.
10–25 minutes: run through with shell drills and live reps to build timing. In a 4-on-4 shell, emphasize the reads and cuts that make the action believable under pressure. Keep it tight—move from the set to the action without hesitation, then let the ball-handler make the next play. This is where the flow of a motion offense or a set play starts to feel second nature, and you’ll start to hear the coaches call out the counters as the defense adjusts.
25–45 minutes: review mistakes, adjust spacing, and integrate counters to defenses. Watch the early reps together, highlight spacing gaps, and tighten the floor balance. Add counter options against common looks—slipping a screen into a drive against zone, or a quick hammer into a back-cut against man-to-man. You want players not just to execute, but to anticipate how defenses will respond to your end of game plays and late-clock options.
45–60 minutes: clip post-practice footage, assign player playlists, and finalize plan for assistants. Curate the best clips that illustrate the key reads, then hand out playlists so each player can study the relevant action. Tie the clips back to your push for consistent timing and decision-making, and lock in who will support the scouting notes and PDF distribution.
End with a quick staff huddle to confirm roles and distribution of PDFs, diagrams, and clips. Clear ownership on who updates the scouting notes, who edits the diagrams, and who shares the final plan with the team the following day.
If you build plans like this every week, CourtSensei keeps your drill library, whiteboard, and video clips in one place — try it free.
FAQ
What makes a good set basketball play and how do you install it this week?
A good set play fits your personnel, creates space, and has clear reads. In the weekly install, choose 2–3 reliable set plays and map each to specific reads and timing cues. Build the plan with diagrams on the whiteboard, short video clips, and a measurable goal—like rotating into the ball reversal within 3 seconds.
How do you implement motion offense in your weekly plan?
Incorporating motion offense means prioritizing patient ball movement and read-and-react actions over scripted cuts. Start with 2–3 motion options that suit your shooters and ball-handlers. Teach spacing, timing, and decision windows, then pair motion with select set plays to maintain rhythm. Use quick clip reviews and lightweight progress checks to keep the plan practical.
What is the pick-and-roll and when should you use it?
The pick-and-roll is a versatile action to create advantages and easy looks. Teach the ball-handler to read the screen angle, defender help, and to option for pass, drive, or pull-up. Build 3–4 PnR options and a primary read for each, then diagram on the whiteboard and install in bite-size drills so players can recall under pressure.
What are BLOB and SLOB plays and how do you diagram them?
BLOB (baseline) and SLOB (sideline) plays are your end-of-boundary options. Design each with a 1–2 read sequence and an escape into a reset if the first option isn’t open. Diagram them on the whiteboard, attach quick video clips, and tag them in your library so coaches and players review before practice.
What is a 4-out 1-in formation and when is it useful?
The 4-out 1-in formation spaces four perimeter players with a strong post target. It’s ideal when you have shooters and a capable post passer, helping drive gaps and kick for open looks. Use it against tighter defenses, add back-cut actions, and keep 2–3 variations in your library for quick matching to scouting notes.
What are end-of-game plays and how do you practice them?
End-of-game plays must be crisp: 1–2 reads, with a clear escape option. Build a small library of reliable sequences, rehearse under game-like clock pressure, and assign a primary decision-maker. Review late-shot situations on film, then simulate huddles so players react fast when the clock winds down.
