Basketball Zone Defense: Weekly Plan to Install the 2-3 Zone
Basketball Zone Defense weekly guide for coaches: install the 2-3, develop practice plans, master rotations, and use video plus scouting to counter opponents.
Key takeaways
- Define clear ball-location duties for the 2-3 zone to build consistent rotations under pressure.
- Begin with shell work, then progress to rotations and ball-movement reads for practical mastery.
- Use the whiteboard to diagram rotations and connect ball movement to denial cues.
- Incorporate short video clips and playlists for focused, repeatable review after drills.
- Tailor scouting notes to opponent ball movement patterns and adjust rotations to their weak-sides.
Installing the 2-3 zone: roles, alignments, and ball-location duties
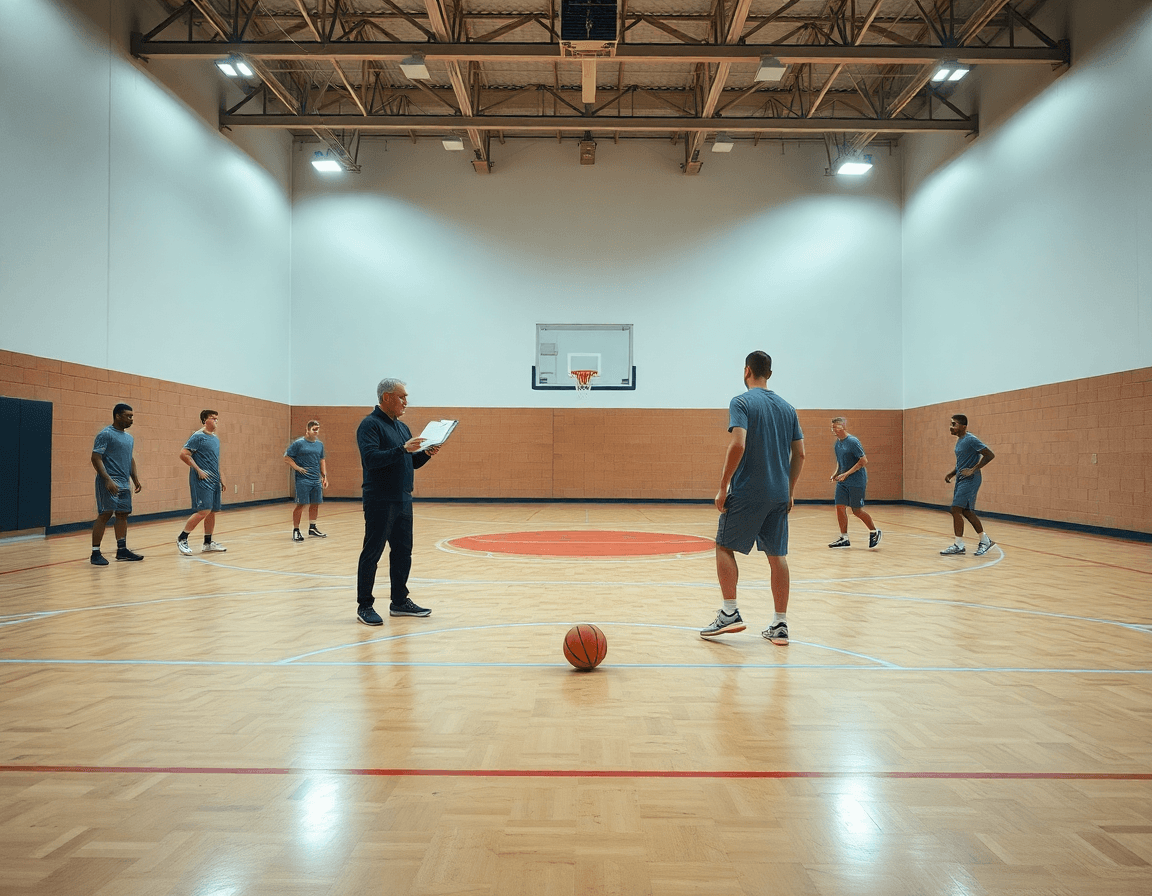
Installing the 2-3 zone defense starts with clearly defined roles by ball location. Front line comprises the two guards at the top; the back line sits with two forwards and a center protecting the paint. By ball location, each position has a duty: top of the key, wings, corners, and high post each come with a specific responsibility. When the ball sits at the top of the key, the guards deny entry passes and pinch toward the strong side, while the back line shifts to keep balance and protect gaps. On the wings, one guard sinks to deny the skip and the other stays between the ball and the corner shooter, with the back line rotating to cover the weak-side lane. In the corners, pressure tightens near the baseline while the back line stretches to guard the arc and the short corner. At the high post, the center reads the pass line and keeps the high-post receiver from becoming an easy entry. These roles stay fluid—depending on ball movement, the zone adjusts and may shift into a pressure look when a window opens for a trap.
To install this in a weekly cycle, structure your Practice Plans to build from shell work to rotations to ball movement reads. Start with a simple shell drill focusing on the front/back lines by location, then escalate to rotational patterns that deny passes and protect gaps. Use the Whiteboard to diagram the specific rotations for each location and to show how the zone shifts with ball movement. After each drill, pull a short Video Clip illustrating a real game example of the top-of-the-key action, wing pass, and high-post entry against a similar look. Create Scouting Reports that highlight the opponent’s preferred ball-movement patterns and their weak-side entries; tailor drills to counter those tendencies. Finally, assemble Playlists with clips for players to review—re-watch the top of the key deny and the corner coverage, so the learning sticks.
Practical weekly workflow for installing and refining the zone
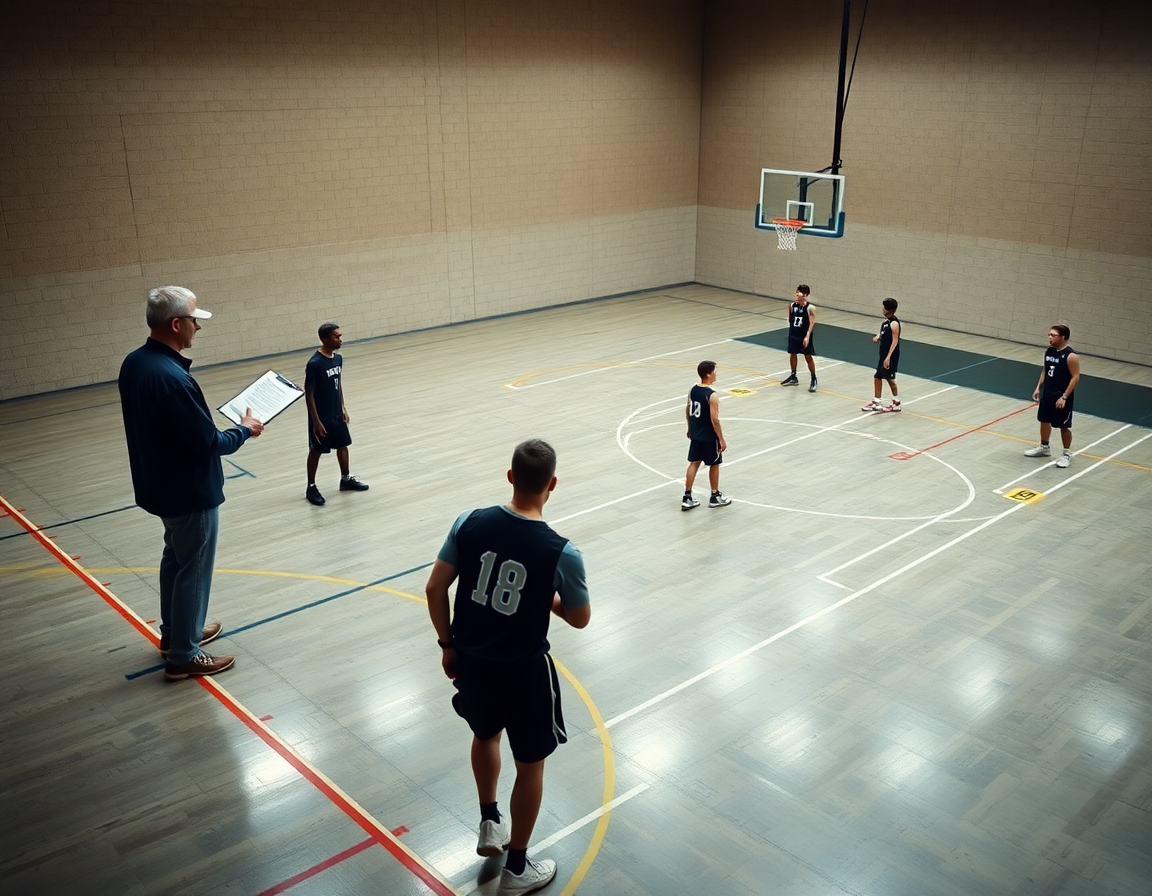
Every week I run a practical weekly workflow for installing the 2-3 zone defense with our squad. The practice plans map each session from install to refinement. We start with progressive drills: footwork to stay in stance, rotations as the ball moves, and steady ball pressure to deny entry passes. We move from 3-on-3 shell to 4-on-4 half-court reps, tying positions to spots—top of the key, high post, wing, corner.
On the whiteboard, I diagram rotations and situational actions for the zone. We walk through BLOB/SLOB/ATO sequences, so helpers and wings stay in-sync. I sketch how the top of the key triggers the deny, how the high post slides to the middle, and how the corners slide under pressure to prevent quick ball reversals. After a few reps, the staff is aligned, and the group trusts the rotation timing.
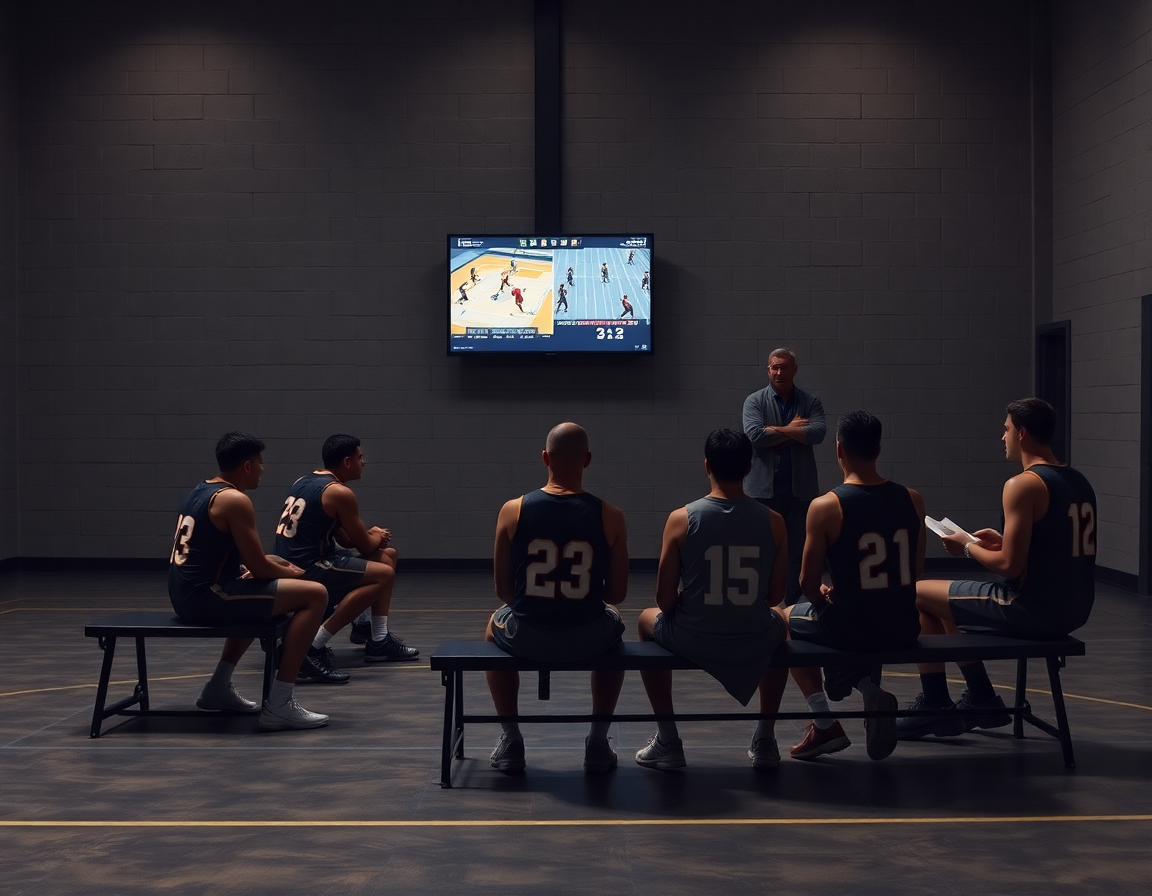
During practice I drop short video clips into our workflow and tag them for teaching points. A clip of a wing deny or a trap at the top becomes a teaching moment. I pair it with a concise scouting note and tie it to a drill in the plan. Then I assign playlists to players—short clips they review before the next session. That keeps video review and practice aligned.
Scouting drives adjustments. I prep notes on opponent ball movement, where they attack the top of the key, and how they swing to the corner against our 2-3 zone defense. We tailor rotations and deny patterns to their tendencies. In the plan, we outline changes; on the whiteboard we diagram responses; in video we highlight relevant clips; in playlists we hand players a compact study pack. The result is a disciplined, adaptable defense.
Rotations by location: top, wings, corners, high post
In a basketball zone defense, rotations by location map directly to your Practice Plan and Whiteboard diagrams. Top of the key and wings set the tempo for deny-entries and ball reversals. At the top, you want to deny the entry pass to the high post and keep the ball from penetrating the seam. If the ball swings to the wing, the top defender slides to the seam while the wing defender clamps the wing. The rest of the shell drops into position, ready to recover on skips and quick ball reversals. A short Video Clip from the week shows the exact stance and footwork for this deny rhythm.
Wing and corner rotations hinge on disrupting the ball entry and the skip pass. On a pass to the wing, the wing defender denies the post entry while the top defender pressures the top of the key to prevent an easy middle drive. When the ball moves to the corner, the corner defender steps up to pressure the corner and the top defender rotates back to the top to keep the line tight. This requires crisp, quick rotations on ball movement—every pass should meet a defender ready to deny and reset, not chase. Use a Whiteboard diagram to trace each swing and a Video Clip to review the denial hands, angle, and stance.
Corners deserve special attention for entry passes into the short corner and the post. The corner defender must deny the post entry and the skip to the weak side, while the top and wing communicate to prevent easy paint catches. If the ball gets swung, the rotation should tighten into a trap window on the weak-side pass, then snap back to balance. A quick Scouting Report notes how the opponent likes to attack from the corner and high post, and a Playlist of clips reinforces the exact denial cues and the recoveries you want to see in practice.
High post responses focus on disrupting the middle entry and steering passes toward the perimeter. The high post defender denies the throw into the post, while the opposite wing covers the corner to prevent a cheap reversal. When the ball moves to the top or to the wing, the middle defender helps with a proactive rotation and, if needed, a quick trap. Timing cues—sprint, re-anchor, then recover—keep balance and speed up recoveries, limiting paint touches on every possession. This is where you win the paint without always needing a block.
Trapping options and when to deploy them
In a well-structured basketball zone defense, traps are a controlled lever you pull to slow the ball and create decision points. The plan for this week centers on two trap options—wing trap and short corner trap—and the triggers that justify deploying them. We’ll map the actions on the Whiteboard, drill the rotations in practice, and flag the reads in the Scouting Reports so your players know when to bite and when to ease off.
Wing trap starts from the top of the key against a predictable ball reversal. As the ball arrives to the wing, a coordinated deny pass by the weak-side defender sets up a trap at the arc. The intent is to collapse the passer and force a rushed entry to the high post or opposite wing. After the trap, the rotation should funnel the ball into the gaps of the 2-3 zone while the rest of the defense stays compact enough to limit kick-outs. Use a short Video Clip to illustrate the exact hand positions and timing, and list the cues in your practice plan so players feel confident executing the sequence under pressure.
Short corner trap is triggered when the ball sits in the corner or on the high post, where the risk of baseline attacks is highest. The trap comes from the closest helper stepping into deny the pass, with the opposite wing and the top of the key filling the seam. The key risk here is leaving the baseline open, so the recovery must be rapid: the weak-side guard pivots to shade the corner pass, while the middle defender slides to seal the lane. This concept pairs with ball movement reads from the Scouting Report, and a quick clip in the Playlists helps players internalize the timing.
If the trap doesn’t convert, or if rotations shift, transitions back to the zone or into man defense are essential. The goal is to preserve balance, avoid over-committing, and keep the lane denied. Track adjustments in the Scouting Report, compare them with Video Clips, and reinforce the read-and-react in your Practice Plans so the team stays disciplined when pressure rises.
Video and scouting: teaching film and preparing opponent reports
Video clips are the fastest way to translate the basketball zone defense into action. I use short clips to annotate zone rotations, decision points, and common misreads. For example, when the ball arrives at the top of the key, where does the weak-side wing rotate? If the ball goes to the high post, how does the shell shift without bleeding gaps? In the plan, I pair each clip with a simple coaching cue and a clear win condition, then drop the clip into a teachable playlist so players can study it between drills. Use these clips as teaching film for the squad.
In my scouting reports focus on how opponents attack the 2-3 zone defense. I look for high post entries, wing entries, and rapid ball reversals that squeeze gaps. I create one-page scouting notes with triggers (e.g., high post entry after a skip pass) and recommended rotations for each trigger. I use these notes to drive practice plan decisions and to inform my play diagrams on the whiteboard.
I convert film into teachable sequences for players and coaching staff. I tag clips with reads at the top of the key, high post, wings, and corners, and align them with drills in the practice plan. I build a short film library and playlists you can share to players, so everyone reviews the same cues—deny passes, deny ball movement, trap when appropriate. I use the footage as teaching film on the whiteboard and with play diagrams to reinforce rotations during practice and pregame prep.
Beating the zone: drills, counters, and weekly checklist
Beating the zone requires sustained pressure and smart spacing. In our weekly plan, we emphasize drills that improve ball movement and quick reversals as the foundation of breaking a 2-3 zone defense. We start with a 4-on-4 shell that moves around the perimeter, with a skip pass from top to wing and a drive-and-kick from the high post. On the whiteboard, I diagram the rotations: top of the key stays in line with the ball; wings and corners shift to create open looks; cutting lanes feed the weak side. We trim this into a short video clip that shows timing cues for when to reverse the ball and when to slip to the middle. This is the install you reinforce in every practice.
Next, we add counters against common zone weaknesses: push the ball to the corners for perimeter shooting, attack with a high-post entry to pull the defense and create gaps, and crash the boards after misses to win extra possessions—this is our rebounding emphasis. The plan uses pre-practice scouting notes to identify where the opponent cheats at top of the key or denies passes, so we tailor drills and rotations on the whiteboard. During a clip review, we label sequences as ‘beat the zone’ moments and compare how our players move the ball when there’s immediate pressure versus when it’s calm.
Weekly checklist to reinforce the install:
- Pre-practice: review scouting reports on the opponent’s 2-3 zone tendencies; set up whiteboard rotations (top of key, high post, wing, corner); pull a short video clip illustrating a clean beat-the-zone sequence.
- Practice: run 2-3 zone attack drills with emphasis on ball movement and quick reversals; prioritize perimeter shooting and rebounding off misses.
- Post-practice: create and share Playlists with review clips; assign clips to players; update scouting notes for next week.
If you build plans like this every week, CourtSensei keeps your drill library, whiteboard, and video clips in one place — try it free.
FAQ
What is the 2-3 zone defense in basketball?
The 2-3 zone defense is a two-guard front with a three-player back line protecting the paint. It relies on ball-location rules: deny entry passes, pinch at the top, and rotate to cover gaps as the ball moves. Front-line players pressure the seams; back-line players guard the arc and weak side. When a window opens, the look can tighten into a trap or shift to pressure.
What are the advantages of using the 2-3 zone defense?
The 2-3 zone defense offers several benefits. It protects the paint from interior drives, slows middle-entry attempts, and forces offenses to swing the ball and make longer passes. It rewards disciplined communication and timely recoveries, reducing dribble penetration and creating chances for turnovers through smart rotations.
What are the weaknesses of the 2-3 zone defense, and how can you counter them?
The defense has notable weaknesses when not coached well. Quick ball reversals and sharp corner shooters can exploit it, while seam penetration can disrupt rotations. Counter with tight deny pressure, faster ball reversals, and targeted drills to deny looks and trap when opportunities present themselves.
How do you rotate in a 2-3 zone during ball movement?
Rotations hinge on location: top of the key, wings, corners, and high post. Start with a simple shell drills to ingrain deny and recover, then progress to live rotations that deny passes and close gaps. Use the whiteboard to diagram timings and a few short video clips to reinforce the exact stance, hand position, and recoveries.
How can you attack and beat a 2-3 zone defense effectively?
Beat a 2-3 by moving the ball quickly and swinging to the weak side to stretch gaps. Use skip passes to pull defenders out of position, attack from the high post to create seams, and move shooters without the ball for open looks. Quick, decisive passes and smart cuts turn zone reads into quality shots.
Is the 2-3 zone defense suitable for youth basketball, and how should you install it?
Yes, but keep it simple for youth basketball. Start with core shell drills and clear ball-location duties, then build to 3-on-3 and 4-on-4 reps. Emphasize stance, spacing, and communication, and use short video clips and playlists to reinforce key denies and recoveries. Tailor the plan to age and skill for steady confidence growth.
