Best Basketball Drills: A Weekly Coach Workflow
Master a coach-focused weekly workflow for best basketball drills—plan, scout, diagram plays, review video, and share drill playlists with your staff.
Key takeaways
- Diagnose weekly skill targets by season phase, then map to game plans—highlight shooting and decision-making.
- Time-block practice into warm-up, skill blocks, game-like reps, and review to keep players fresh; anchor with coaching cues.
- Scale drills with beginner-to-advanced progressions, and use clear cues like Mikan Drill for grip and finish.
- Tailor drills to scouting notes and opponent tendencies; link to possessions and add shareable Playlists.
- Plan, assign, and track drills with a weekly checklist, defined durations, and Practice Plans progressions.
How to structure a weekly drills plan for your team
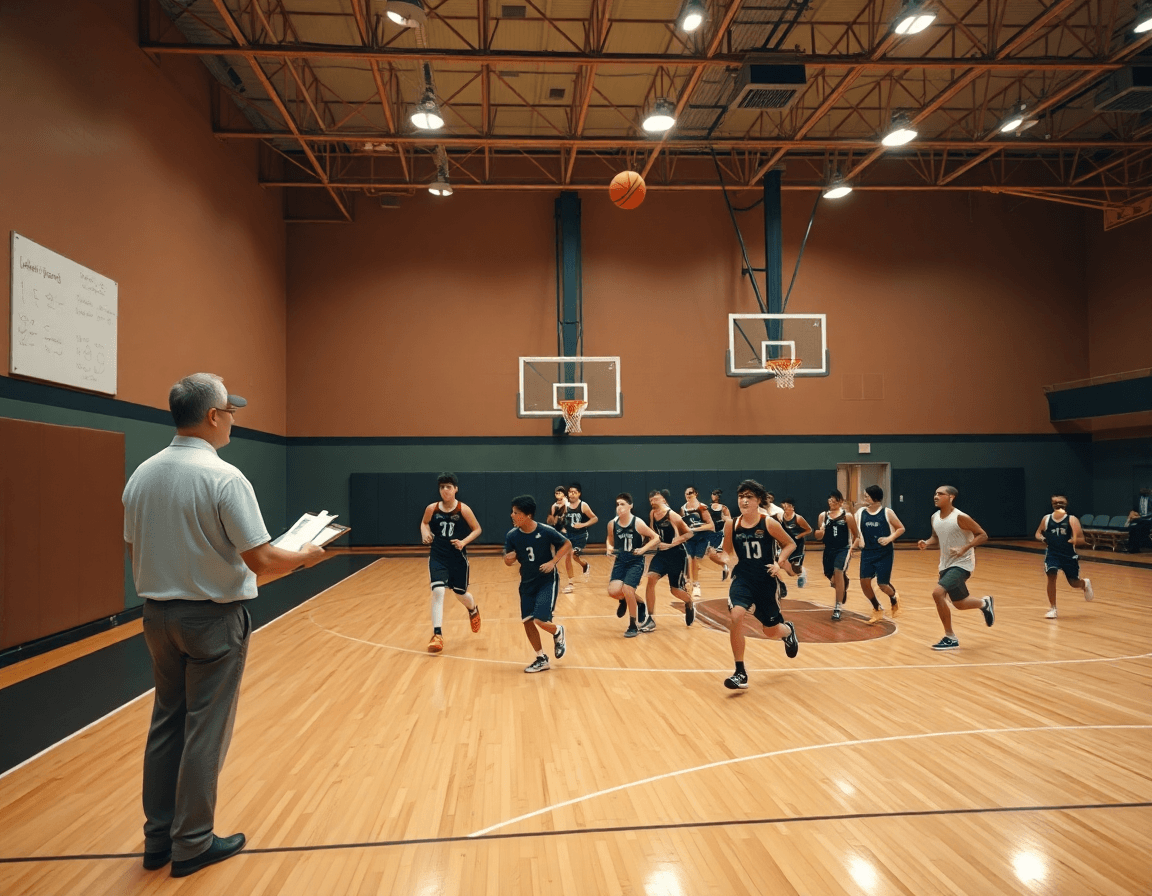
If you're asking how to plan best basketball drills, start with diagnosing weekly skill targets based on season phase and opponent scouting. Map targets to your game plan: shooting touch, ball handling, decision making, and rotation timing. This is the frame you build your week around, then plug into your Practice Plans schedule.
Balance shooting, handling, passing, defense, and footwork across the week. You want a mix that keeps players fresh yet challenged. Weave in drills like 2-Minute Floaters, Advanced 1-on-1, and Mikan Drill to sharpen sit-down decisions and finish under pressure. Focus on reps, not sets, and pair errors with quick corrective cues.
Time-block practice into warm-up, skill blocks, game-like reps, and review. Warm-up primes hips and hands; skill blocks isolate one or two targets; game-like reps simulate half-court action; then we end with a quick review and notes on what to fix tomorrow. On the floor, I’ll pull up a short video clip and discuss it with the team, so players see the cue and the result in the same frame.
Use the Practice Plans library to assemble the weekly drills, assign to assistants, and export for staff so everyone is aligned before practice. You can share a link or export a PDF for the floor staff, then pull up the same plan on the wall tablet during warm-ups.
Finally, use clear coaching cues to track progress and adjust on the fly. If a sequence stalls, tweak a cue (like “elbow to pocket pass”) and re-run the drill. Log the adjustment as a scouting note for next week and keep the plan responsive.
Progressions and coaching cues to scale drills for every level
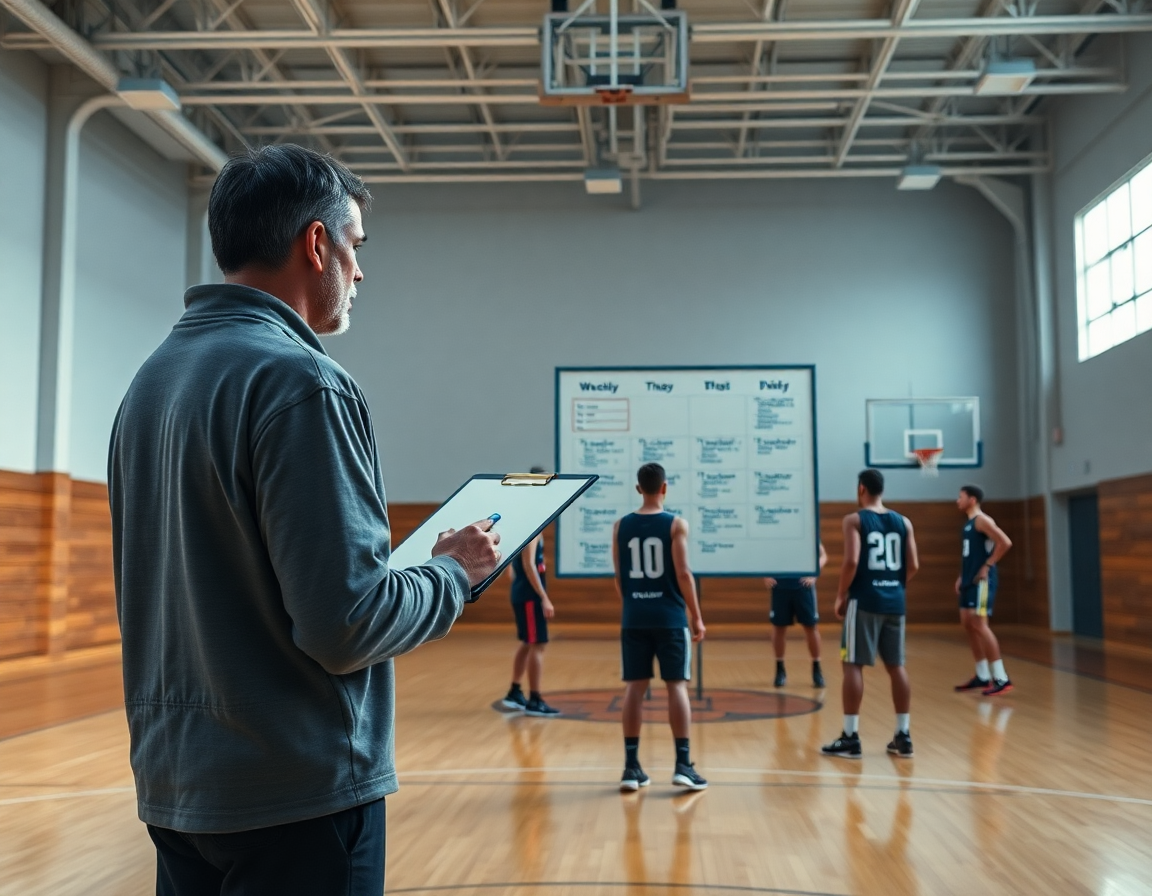
Progressions are the backbone of scaling any drill across ages and skill levels. In a weekly cycle, I map beginner-to-advanced steps and age-appropriate variations so every player can develop proper form, tempo, and decision-making without stalling. The plan lives in your Practice Plan and is sketched on the Whiteboard for assistants—this keeps the workflow tight as you move from simple reps to game-like reads.
Coaching cues guide technique, tempo, and decision-making as players move through the progression. Start with clear cues for grip, stance, and finish, then layer tempo and reads into the drill. For the Mikan Drill, begin with stationary layups with soft fingertips, eyes to the rim, and a compact finish. Then progress to running finishes and weak-hand reps, always cueing footwork and rim awareness to solidify the technique.
Take common drills and scale them: 2-Minute Floaters build touch and decision speed by starting at the rim, then adding shot-clock pressure, and finally introducing a defender closing out. Spinout Shooting goes from catch-and-shoot to a quick spin-step into a shot, with cues about pivot, hip square, and rhythm. Other progressions like Elbow Pull-Ups, Fly-By Shooting, and Suicide Shooting can start with static reps and graduate to movement reads, with age-appropriate speed and spacing.
Document progressions in the practice plan and annotate on the whiteboard so coaches stay aligned. Use color-coded tags to mark level, add notes for tempo and decision cues, and attach a short Video Clips sequence that shows the progression at game speed. When players see their path in one place, the weekly cycle becomes a simple loop: plan, diagram, clip, and share—drill progressions for basketball that scale with your roster.
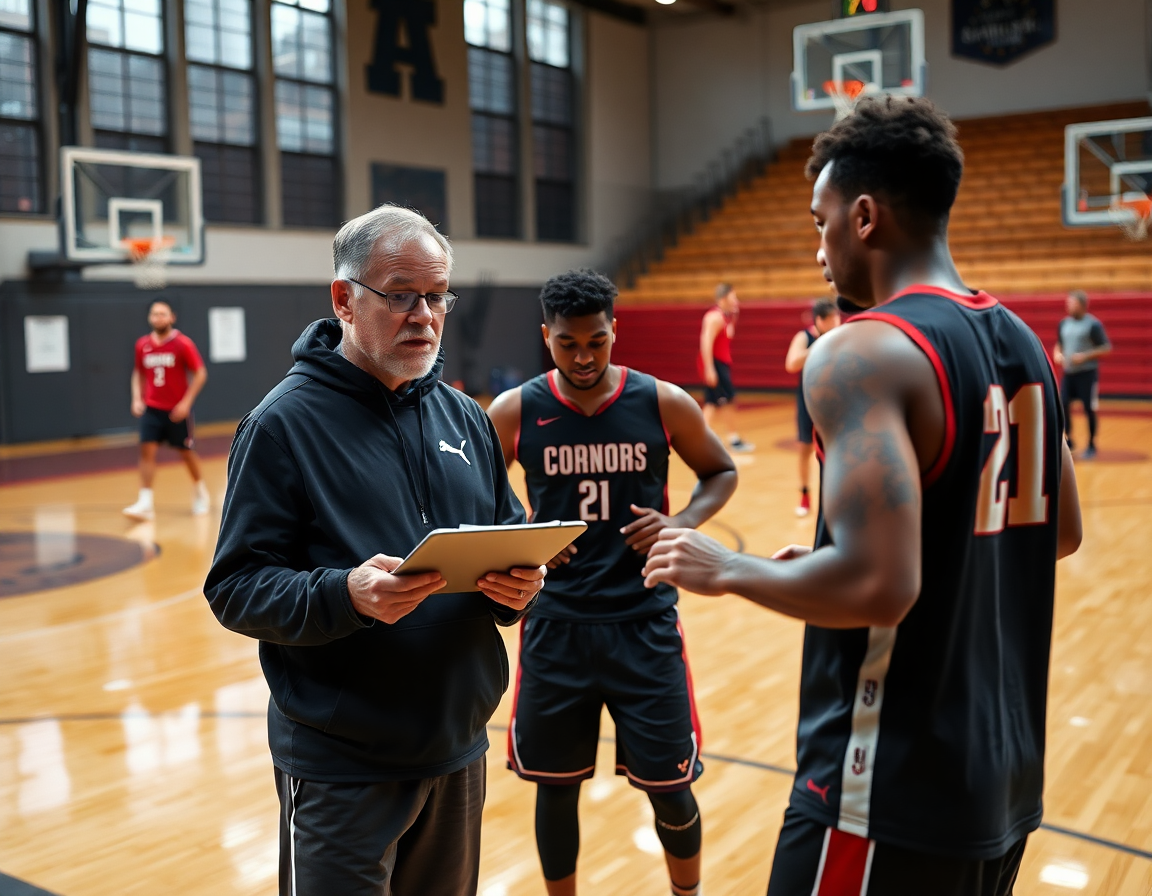
Tailoring the best basketball drills to scouting and opponent tendencies
Tailoring the best basketball drills to scouting and opponent tendencies starts with a tight weekly plan. I mark scouting-driven drills for each likely action—PnR reads, shell defense, late closeouts—and slot them into the Practice Plans. The goal is to turn a page of notes into a library of crisp reps that fit a game situation. I map drills to possessions and gaps so, when the scout notes, “they overhelp on drives,” we already have a sequence ready to go. This approach keeps practice relevant and repeatable.
On the whiteboard diagrams, I draw the opponent’s shell or late-closeout pattern and diagram how our reps flow into a game sequence. By linking drills to those diagrams, you can see the circuit: a quick Elbow Pull-Ups to punish a closeout, a Fly-By Shooting rep to create space, or an Advanced 1-on-1 sequence for a drive-and-kick. These drills connect to game situations and opponent tendencies, and you can swap in specialized options like 2-Minute Floaters, Suicide Shooting, or Mikan Drill depending on the possession.
Over time you build a library of drills mapped to different possessions and gaps. Each drill ties back to a scouting report and includes a short video clip you can share. In the plan, I attach a shareable Playlists link so assistants and players can review the clip before practice, then we run the same sequence on the floor. The result is a tighter coaching workflow—planning, whiteboard diagrams, and video clips all aligned to the opponent’s tendencies.
Practical weekly workflow: plan, assign, and track drills
Starting the week with a clear plan is non-negotiable. I kick off with a weekly drills checklist that frames our targets for defense, transition, and finishing. This feeds into our practice plan workflow in Practice Plans: I outline 4-6 drills, set durations, and map progressions across stations. I sketch a quick diagram on the Whiteboard to show spacing and action cues, so assistants can see the flow before we start. When the page is solid, I export a PDF of the plan and prep a short list of Video Clips for the players. Bold: weekly drills checklist; practice plan workflow.
With the plan in place, I assign to assistants. Each person knows their block: guard reps, wing spacing, bigs under the rim. They pull the diagrams into their drills, line up the stations, and prep coaching cues. The assignment is visible to everyone in real time so we can adjust on the fly if a drill runs short. Bold: assign to assistants; diagrams.
On court, we run the drills with purpose: station by station, with a quick whistle and a reset. I log reps and outcomes in the system as we go, so the numbers line up with the plan. A short clip is captured—15 to 30 seconds—highlighting the technique. This keeps our coaching tight and players focused. Bold: log reps; clip.
After practice, I export a PDF of the plan for the staff and share the Player playlist: short Video Clips tied to each drill—think 2-Minute Floaters, Mikan Drill, or Fly-By Shooting sequences. Players get a quick reference for what to work on during the week, while assistants reference the exact action diagram as they coach. Bold: PDF; Video Clips.
Midweek, I review outcomes against the scouting notes and clip analytics. Did the plan move the ball and maintain pressure? If not, I adjust the next week's drills in the plan and revise the diagram accordingly. The data from drills and clips becomes the compass for the upcoming week. Bold: outcomes; scouting.
All of this—planning, diagramming, video, scouting—unifies into one platform. Bold: planning; one platform.
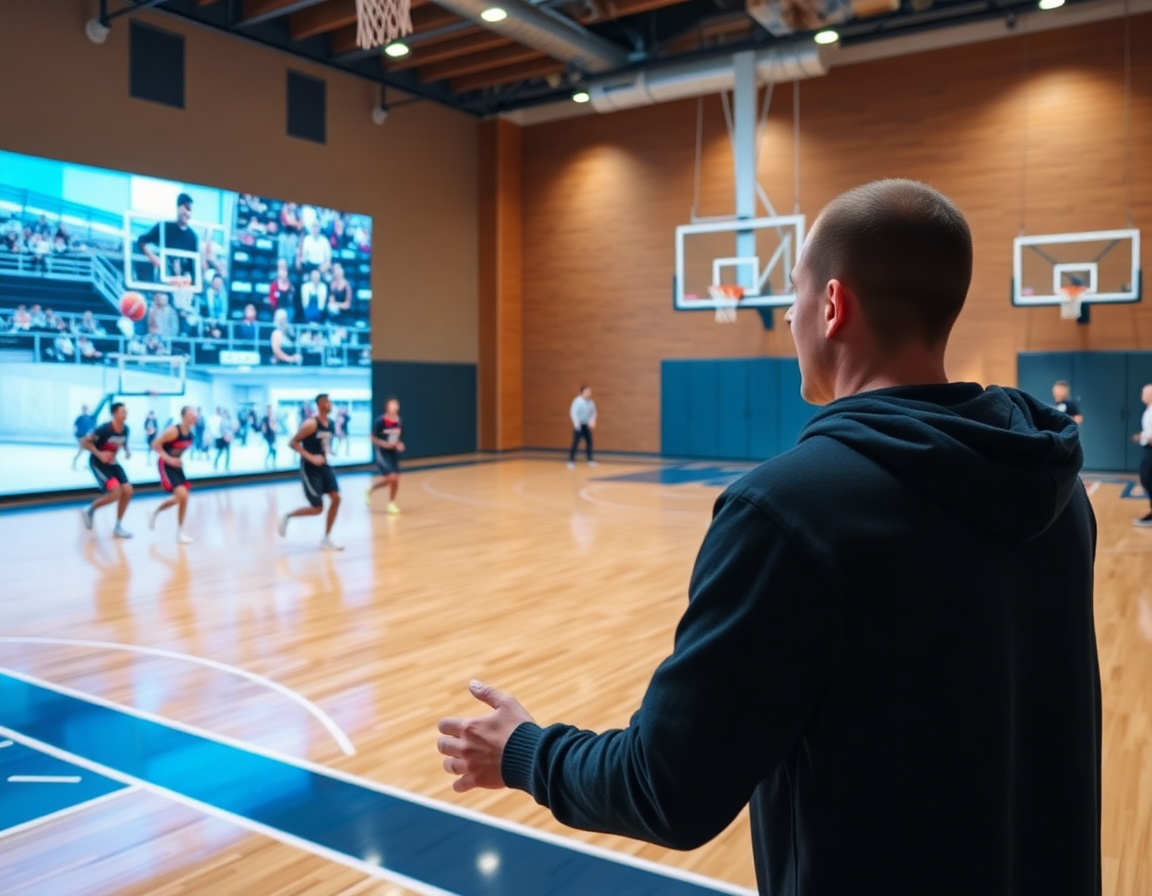
Using video clips to reinforce drills and accelerate learning
After the morning session, I pull a quick video clip of our shooting sequence—the 2-Minute Floaters and a slice of the Mikan Drill—to assemble in a single set of clips for shooting, handling, and defense. I build a dedicated playlist for these drills so players can revisit the exact movements on their own time. This is where the idea of a focused workload comes to life: a library of drill clips that translates to on-court improvement, not just concepts.
Annotating each clip with coaching cues makes the learning stick. I drop notes like “hips low, chest over the ball, eyes on rim” or “peel out of the stand with a strong vertical jump”—the kind of precise, repeatable cues players can act on immediately. I also generate shareable links so players can watch the same clip on their phones or in study hall. The result is a set of drill video playlists that connect technique to feedback and accountability, which helps the whole program stay aligned.
Cutting, tagging, and organizing clips is how you move from observation to action fast. After practice, I flag the exact moment a player executes a move correctly or slips up, tag it with keywords like finish, footwork, or decision, and drop it into a quick feedback loop. These clips are then tied to scouting insights and upcoming opponents—so if we’re preparing for a team that overloads the weak side, I pull clips from our defense playlist to illustrate adjustments we expect players to make.
All of this sits inside our weekly workflow: in the training plan, reflected on the whiteboard, and shared via video clips and playlists. When a coach wants to reinforce a drill or prep for a specific matchup, a few well-placed clips do more work than pages of notes. This is how you elevate the best basketball drills into real, repeatable progress.
Sample one-week plan for HS and club teams
Here's a sample weekly drill plan you can adapt for HS or club teams. It ties together your core tools—Practice Plans, Whiteboard diagrams, Video Clips, Scouting reports, and Playlists—into one smooth workflow. This is a sample weekly drill plan and a solid weekly basketball drills example to start with, then tweak for your roster and time.
Mon: Form shooting and ball-handling. In the plan, start with 10 minutes of form shooting, then 5–6 minutes of ball-handling (stations and through-the-legs). Pull short sequences from the library and drop a quick video clip into a Player Playlist for instant feedback. Keep the focus on clean mechanics and control, not speed, and map cues to the drills in your Practice Plans.
Tue: Spot shooting, 2-ball dribbling, finishing at the rim. Run 4 spots around the arc with a partner feed, mix in 2-ball dribbling sequences, and finish at the rim with proper footwork. If the group is ready, layer in Fly-By Shooting or the Mikan Drill as a variation. Use the Whiteboard to diagram each rep and export a concise clip for later review.
Thu: Dribble exchanges, pass-and-make drills, shell drill. Start with quick dribble-exchange reps, progress to pass-and-make sequences, then run a shell drill to mirror decision-making in game flow. Capture a scouting-note-style adjustment on the board and save a clip for your opponent-prep notes.
Fri: Game-scenario reps (PnR, late closeouts) with a review clip. Recreate late-game action, then pull a short review clip into Playlists for team study. Adjust based on team level and time constraints; map drills to your Practice Plans.
If you build plans like this every week, CourtSensei keeps your drill library, whiteboard, and video clips in one place — try it free.
FAQ
What are the best drills for beginners to start with?
Start with a simple weekly target: build comfort with the ball, shot touch, and basic footwork. Use a clear practice plan that you can export and share. For beginners, prioritize simple drills like form shooting, two-ball dribbling, and finish work, then progress to more game-like reads once form is solid. Keep reps high and errors quick with targeted cues.
Which guard-specific drills should I include?
Tailor a guard-focused block by prioritizing ball-handling and quick reads. Use cone patterns, crossovers, and change-of-pace sequences, with 1-on-1 drive-and-kick options. Pair with shooting reps off the move to build pull-ups and balance. Keep drills tight, with clear coaching cues, and progress from stationary to on-ball reads.
How can I combine ball-handling and shooting in one session?
Design a mini-cycle: start with on-ball handling under pressure, then finish with a shot off contact. Alternate through reps to keep pace and fatigue manageable. Use a quick decision cue (dribble-to-splash) and finish with form shooting to lock in mechanics. End with a short review and notes for the next session.
What’s the Mikan Drill and what is it for?
Breaking down the Mikan Drill: start at the rim with strong fingertips, eyes up, and finish with the opposite hand. It teaches weak-hand finish and touch in close. Progress to running finishes and two-ball variations. The goal is reliable layups under pressure and better rim awareness.
What is form shooting (BEEF) and why is it important?
Form shooting (BEEF) is the base for reliable shots. Focus on Balance, Eyes on target, Elbow alignment, and Follow-through. It builds touch and rhythm before you add speed. Include short sets near the rim to ingrain correct mechanics, then extend to moving shots. Consistency comes from steady form under fatigue.
How should I structure a beginner practice?
Use a simple weekly template: warm-up, skill blocks, game-like reps, and quick review. Start with footwork and form shooting, then add handling and passing, finish with finishes and defense drills. Time-blocks keep players engaged and coaches focused. Record notes and adjust cues for next session.
How many reps should I shoot for in drills?
I aim for high reps with quality, not endless sets. Start with 8-12 focus reps per drill, then 2-4 minutes of shooting, cycling through targets. Track misses and fix one cue after each cycle. The goal is consistent mechanics and fatigue tolerance, not just volume.
