Best basketball zone defense: setup, rotations, and drills
Master the best basketball zone defense in your weekly plan with practical setup, rotations, traps, and video review for high school to semi-pro coaches.
Key takeaways
- Establish a solid shell with a true 2-3 zone base, aligned by position and spacing.
- Use quick, fixed rotations driven by ball location to keep spacing tight and pressure steady.
- Prioritize ball pressure up top to disrupt entries and trigger faster wing rotations.
- Rebounding in zone matters: boxing out, sprinting weak side, and protecting the paint.
- Use scouting notes and short clips to tailor coverage, assignments, and rotations week to week.
Best basketball zone defense: 2-3 setup basics
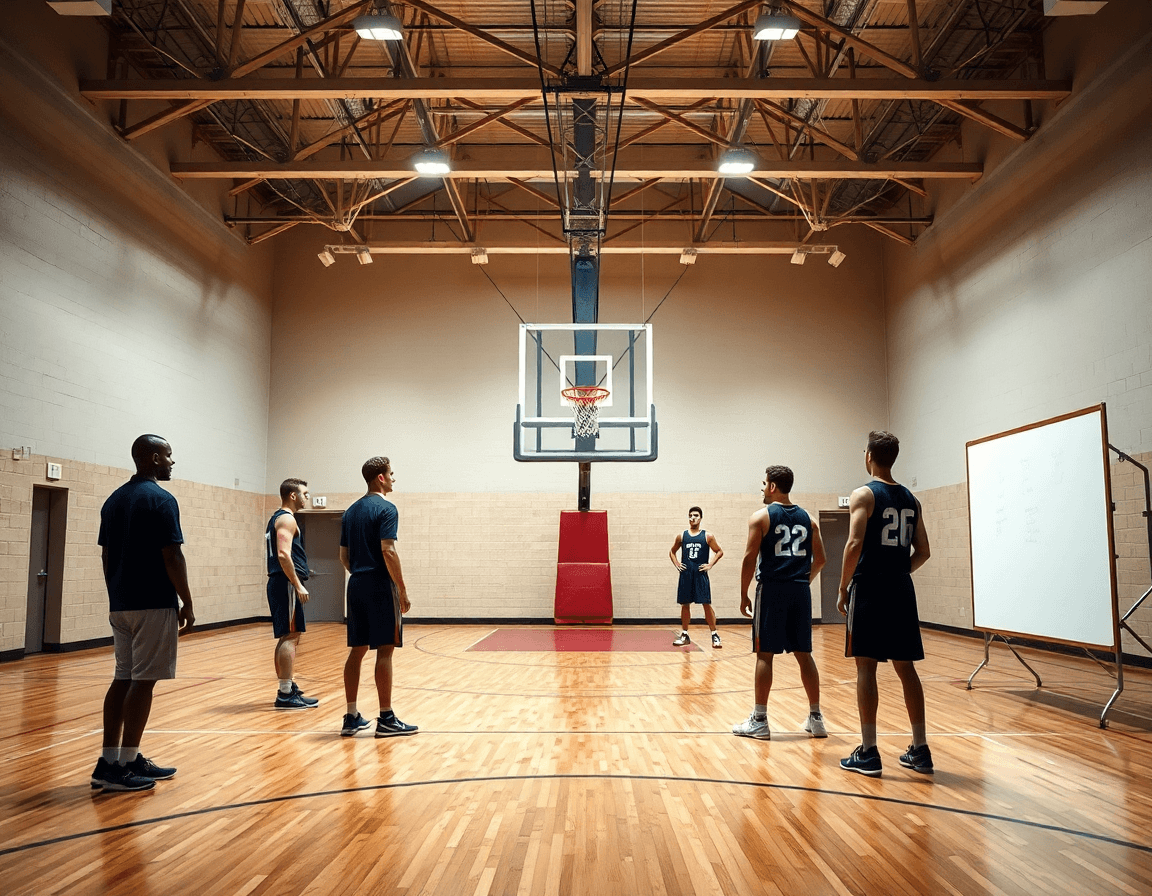
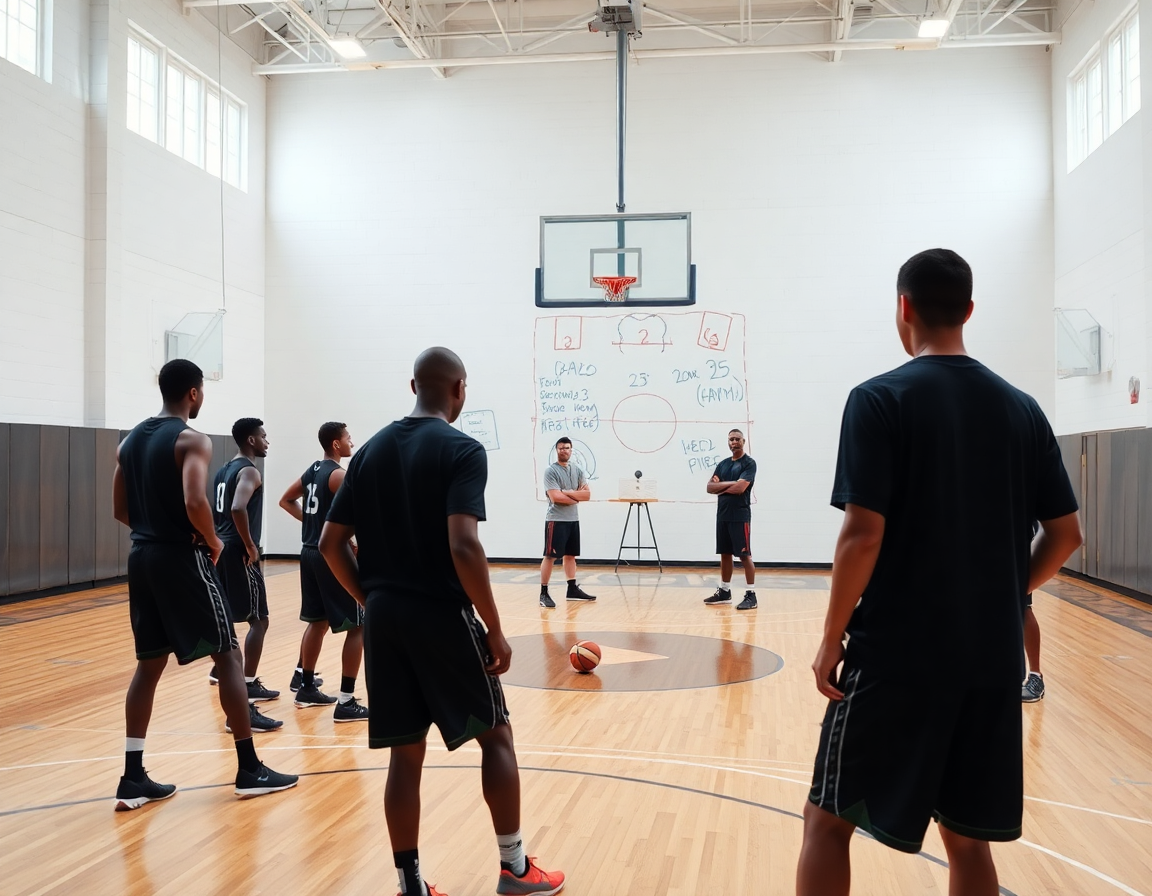
Start with the shell: the best basketball zone defense starts from a solid alignment. For a classic 2-3 zone defense, align the top two guards at the top of the key, with the forwards tucked near the elbows and a center anchoring the paint. This is your zone setup basics. In your plan, you map this base to your personnel and practice it early in the week. On the whiteboard, you diagram the spacing and where ball pressure should begin, so the first session already looks dialed. A quick clip from a recent game helps the staff see if the shell is communicating and staying compact.
Rotations hinge on ball location. When the ball moves to the top, wings, corners, the high post, or the bottom of the zone, the rotation changes. The top guard takes a slight deny to force a skip pass, the wings slide to protect gaps, and the center drops to prevent drives. Your playbook on CourtSensei shows each trigger with arrows and labels, so you can replay the sequence in a short video clip and lock in the timing. Practically, you want the movements to feel automatic, not reactive—every rotation should preserve defensive spacing and ball_pressure cues.
Core rules drive every possession. Active hands, quiet feet, and constant communication keep shooters uncomfortable and prevent easy layups at the rim. Emphasize the need to close out gaps quickly after a skip pass and to recover in unison when ball reversals occur. In drills, cue players to shuffle, not bite on ball fakes, and to call out switches aloud so the entire squad stays on the same page. These small cues compound into tougher possessions and steadier week-to-week growth.
Adjustments come next, but the foundation remains. Tailor the 2-3 to fit your personnel while preserving spacing and ball_pressure cues. If you’ve got longer athletes, you can emphasize stronger paint protection; with quicker wings, you tighten the gaps and prune the lane more aggressively. The key coaching cue is discipline—prompt recoveries after reversals and clear communication under pressure. This is the kind of baseline you capture in the plan, diagram on the whiteboard, and review in a concise video clip to keep your zone defense progressing all week.
Tailoring the zone to your roster
Tailoring the zone to your roster starts with a clear read of your team personnel. In the weekly plan, I map out who fits best in a zone defense look versus a hybrid, who handles ball pressure, and who can sprint into gaps on the weak side. I examine length, foot speed, and rebounding ability to decide trap frequency and coverage. If we’re undersized, we lean toward smarter positioning and steadier closeouts to protect the paint. The workflow—plan, board, film—lets me lock these calls into practice and share them with assistants before we hit the floor.
Once the roster is mapped, I decide how aggressive the defense should be. In the plan, we sketch the base alignment—pressure on the ball up top or sagging in the gaps—and tune it to opponent tendencies. For teams that feed the corner shooters, we push more ball pressure and use selective trapping on the wing; for others we emphasize rotations. The 2-3 zone defense with strong ball pressure up top can disrupt entry and force tough passes. After we agree, I export the diagram to the whiteboard and pull a short video clip showing a practice rep to illustrate rotations.
Rebounding in zone is a must. You can’t gamble on one side leaving the rim exposed, so we box out strong and sprint to the weak side when the shot goes up. We attach a scouting note on opponents who crash the boards and attack the rim, and we script a few paint protection cues for bigs and wings. If the opponent runs a ball screen, we rotate to protect the ball and close out on shooters to limit second-chance points.
To keep accountability high, I translate duties into position-specific cues for the defender, wings, and rim protector. We attach scouting reports on key tendencies and a couple of video clips for study. A shareable playlist keeps players aligned with our defensive spacing and timing, even off the floor.
Rotations and ball-side responsibilities
Ball at the top triggers top-side rotations; wings fill gaps and prevent gaps on the weak side. When this trigger happens, the nearest defender communicates and the shell slides laterally to keep the lane closed. The objective is consistent rotations that maintain proper defensive spacing and keep the weak side protected without over-rotating into traps. In our weekly plan, we map these triggers on the defensive spacing diagram, then reinforce them with a short video clip and a scouting note so assistants know what to coach on day one.
On the weak side, the defender pressing the ball creates constant ball pressure; meanwhile, the bottom defenders shade post entries to protect the paint protection. This balance keeps the offense from catching the ball in rhythm and nudges passes toward higher-traffic areas where we can recover. We treat these moments as a mini-workflow sprint: plan the drill in the practice plan, project the rotations on the whiteboard, and pull a quick video clip showing the reaction to ball movement in a live rep. A quick scouting note on the opponent helps tailor the pressure to their ball handlers and passing angles.
When the ball reverses, the team must reset without collapsing the zone structure. The top guard returns to center, wings recover to their gaps, and the weak-side defender stays alert along the sideline to preserve spacing and prevent skip passes. Emphasis remains on clean ball movement and active rebounding in zone, so we don’t leak offensive spacing. In CourtSensei terms, this is where the weekly plan, the diagram, and the video clip converge to keep our rotations sharp and our defense intact.
Trapping, disguises, and situational looks
Trapping is a staple in our 2-3 zone looks when we want to accelerate action and test ball handlers. We lean on wing traps on the weak side, and we’ll spring a baseline trap from the corner to compress the drive. Occasionally we switch to a different look to keep the offense honest. The goal is not chaos but disciplined pressure that seeds turnovers while staying disciplined in rotations. In the plan for the week, these looks live in the practice plans with guard-specific timing, and on the whiteboard I draw the trap angles, the exact rotations, and the rim coverage—then export a PDF for the assistants. When we review film, a short video clip from our recent games shows the moment a trap triggers and how the floor splits after the hit.
Disguise zone is how we prevent edge reads and force indecision. We present a look that appears to be the previous rotation, then switch to trapping as the ball moves to the weak side. Use disguises to keep offenses off balance; if the ball handler begins to exploit gaps, we flip to man-to-man when advantageous. Short video clips help players see the deception in action, and our scouting notes alert us to tendencies—where teams feed their primary ball handlers, and where wings cut into open spaces. It’s all tied into the weekly workflow so players can study the right cues during film sessions and practices.
Balance trapping frequency with disciplined rotations to avoid open shooters. When the ball is swung, we must snap into gaps, deny kick-out passes, and sprint to the next ball—quick, crisp, and connected. That’s how we preserve paint protection while continuing to pressure the ball. Rebounding in zone becomes a team effort—boxing out on the weak side, secure outlets, and funneling misses toward the strong-side corner. The drills sit alongside the baseline trap work, and the scouting notes guide how and when to adjust looks against each opponent.
Practical workflow: weekly drill plan, film, and scout prep
A practical weekly workflow for a formidable zone starts with the basics, then layers in film and scouting. In the plan, I lock in a progression: start with shell drills to establish discipline, add ball pressure to mirror game tempo, then ramp into live-ball rotations. We’ll rotate through alignments—primarily the 2-3 and 3-2—focusing on paint protection and defensive spacing. The goal is a steady rhythm that translates from the first drill to late in the fourth quarter. In our plan, these elements live in the weekly training plan, with the whiteboard diagrams showing where each rotation should anchor.
During practice, we leverage short video clips to reinforce lessons. After a reps run, I pull a few short video clips that highlight correct versus incorrect rotations, then drop quick annotations on the frame to cue the next rep. The clips are clipped to the specific zone scenario we’re drilling—ball reversals, skip passes, and how to close gaps without over-committing. This keeps the coaching cues tight and the players focused on the action, not the theory.
Scouting is the bridge between what we do and what they try. We pre-scout opponents who attack zone defenses and adjust drills accordingly. A concise scouting report or scouting note flags tendencies—where teams attack the seam, how they handle ball reversals, and where traps originate—so we tailor the week’s drills. If an opponent targets weak rotations on the wing, we add extra wing slides and ball movement drills to reinforce discipline.
We finish with playlists and exportable docs. Create and share playlists of zone clips for players, and export the practice plans and diagrams for staff review. A clean package—clips, notes, and plans—lets the whole staff train the defense with a single, cohesive workflow.
Measuring success and fine-tuning the defense
Measuring progress starts with the numbers that tell the story of a best basketball zone defense. In the weekly plan, commit to tracking paint protection, 3-point attempts allowed, and defensive rebounds by game and by drill. When we talk about rebounding, focus on the impact of rebounding in zone—the way box-outs and angles deny second chances. After each game, pull a scouting report and a couple of clips that show where the defense boxed out poorly or where the weak-side crash was late. Use CourtSensei to tag those sequences and attach them to the scouting notes for quick review with the staff and players.
Next, quality of communication and rotation speed matter more than any schematic flourish. During scrimmages, listen for on-court calls and watch how quickly the unit shifts from a baseline 2-3 to perimeter pressure. Evaluate defensive spacing and rotations during ball movement, especially when the ball reverses and the elbows fill. A short video clip that captures a misconnected chain of defenders helps coaches adjust the plan in the whiteboard and practice the fix in the next drill.
Finally, tune trapping frequency and rotations based on personnel and opponent tendencies. If you’re facing shooters, tighten ball pressure and stay disciplined with rotations; if your wings are long but thin, favor steady shifts over heavy traps, maintaining proper paint protection. Build a weekly test into the plan: one drill that stresses a different trapping cadence, log the results, and update your scouting reports accordingly. Create shareable playlists so players can study the adjusted patterns on their own time.
If you build plans like this every week, CourtSensei keeps your drill library, whiteboard, and video clips in one place — try it free.
FAQ
What is a 2-3 zone defense in basketball?
In a classic 2-3 zone, two guards guard the top, wings sit near the elbows, and a big anchors the paint. It relies on geometry and team coverage rather than chasing every ball-handler. Start with a tight shell, then rehearse spacing, ball-pressure cues, and communication so rotations feel automatic. The goal is a compact defense that discourages entry passes and makes skips and drives harder for the offense.
What are the advantages of using a 2-3 zone defense?
Described correctly, the 2-3 zone disrupts entry passes, slows dribble penetration, and creates passing lanes for turnovers. It protects the rim without packing in and helps teams with length or speed cover gaps. Emphasize ball pressure up top and sharp rotations; when the shell stays connected, shooters feel crowded and mistakes stack up for the offense.
What are the weaknesses of the 2-3 zone defense?
When gaps aren’t closed, offenses exploit the corners and outside shots; the defense can give up clean looks from deep. A common weakness is weak-side rebounding if box-outs lag. Post pressure can be limited if the middle holds. The plan must drill quick closeouts, disciplined rotations, and reliable switches to minimize exposure.
When should a coach deploy a 2-3 zone defense?
Use it to slow tempo against teams with strong guards or poor outside shooting, or when you need paint protection without clogging lanes. If opponents rely on ball reversals, mix in ball-pressure at the top and occasional traps. Be ready to switch to man-to-man mid-game with a clear transition plan, and keep the shell organized.
How do you trap in a 2-3 zone defense?
Trapping should be situational: trap on the weak-side wing or near the top when the ball swings into space, but keep the shell intact. The top guard applies pressure while the wings and center rotate to deny options, then recover quickly to proper gaps. Practice with timing cues and clips to keep spacing from collapsing.
How do you defend against outside shooters in a 2-3 zone?
When guarding shooters, emphasize balanced closeouts and smart ball movement. Close out with a controlled shuffle, contest without over-committing, and deny easy skips to the corner. Force the ball into crowded areas and rely on your wings to pressure shooters while protecting weak-side lanes. Use closing out and skip passes as core cues.
