
Flex Offense vs Zone: Attacking Zone Fronts with Flex
Coaches' guide to beating zone defenses with the Flex Offense. Practical patterns, spacing, drills, and a weekly workflow to implement.

Key takeaways
- Prioritize spacing and movement with a flex offense base to pressure zone fronts.
- Use rapid ball reversals and flex cuts to open kick-outs and wing shots.
- Against 2-3, deploy two guards on top and leverage screener-pop to draw front.
- Against 1-3-1, emphasize wing-to-corner reversals and post feeds to distort weak side with ball reversal timing.
- Translate scouting notes into practice with a planning-first workflow and a downloadable diagram library for players.
- Maintain rhythm via counter patterns like screener-pop and clip-led reads to prevent stagnation.
Beating Zone Defenses with Flex: Key Concepts
Beating zone defenses starts with spacing and movement. The flex offense creates both by design, pressuring zone fronts (2-3 and 1-3-1) to shift and react. In my planning, I build a flexible flex offense base that we adapt to different fronts, then diagram the sequences on the digital whiteboard so assistants see the cuts, reversals, and occasional post feeds.
Core actions include the flex cut, ball reversals, and the occasional post feed, keeping action flowing after each sequence. We use quick reversals to swing the defense and stretch the floor, making the next decision more automatic for players.
Against zone, leverage spacing and reads to generate open shots on wings, corners, and elbows rather than crowding the lane. A strong read after the flex cut can trigger movement into another action, and our scout notes help us identify where the defense overplays on a given front. We also build a short clip library to reinforce the most effective reads for players.
Counter patterns like screener-pop reads help maintain rhythm and prevent stagnation when zones tighten. In the end-to-end workflow, we turn scouting notes into practice plans, diagram the adjustments on the whiteboard, clip relevant actions, and generate shareable playlists for players to study.
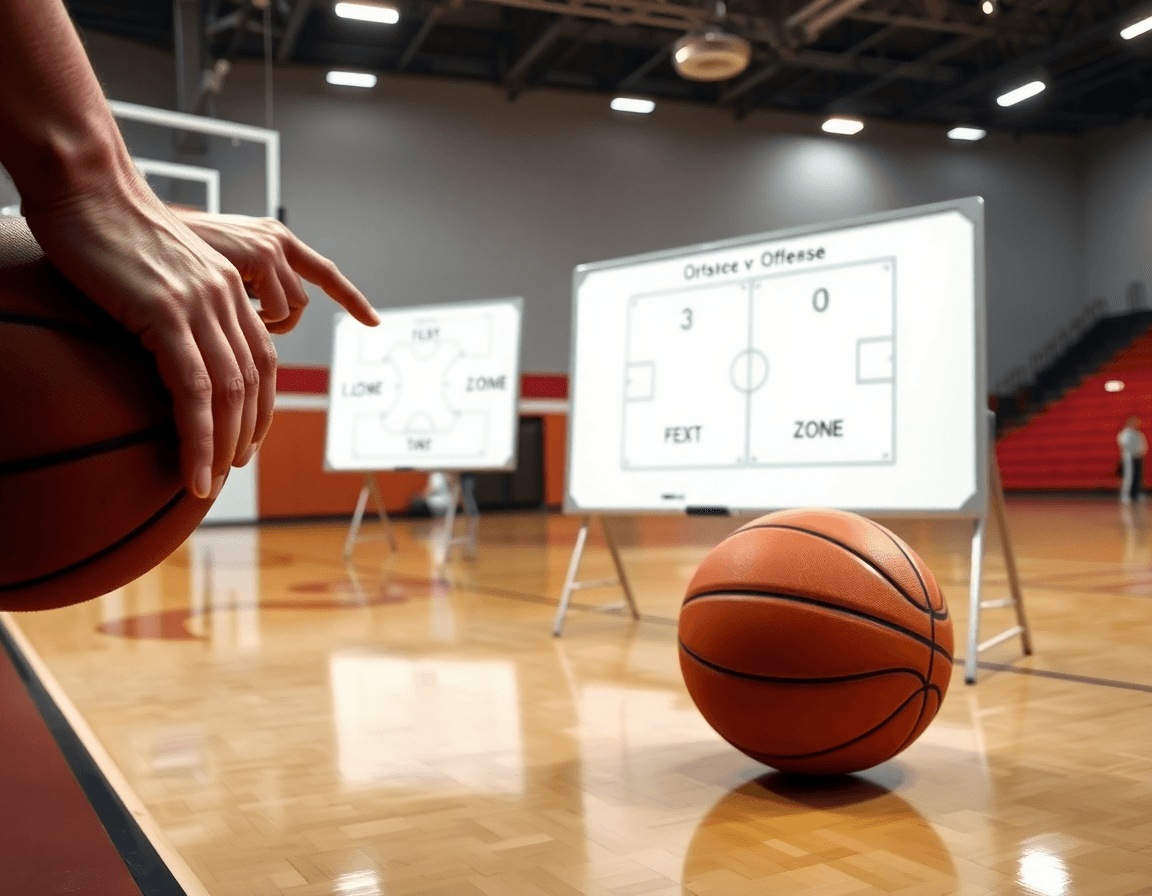
Zone Fronts and Flex Reads: Attack Plans for 2-3 and 1-3-1
Zone fronts force you to slow the game and read what the defense gives you. This is where a true flex offense vs zone lives—spacing, timing, and patient attack. In my weekly plan, I outline a few attack patterns for 2-3 and 1-3-1 fronts, then map them on the digital whiteboard so the staff can coach the reads precisely. The routine starts with a clear purpose, then translates to two or three concrete actions in practice.
Against the 2-3 zone, we emphasize putting two guards on top and letting the bottom trio screen and seal for inside-out looks and kick-outs. A common wrinkle is screener-pop to pull the front of the zone away from the ball. We document these sequences in a zone attack pattern diagram and layer the reads in the video clips to show the timing.
Against the 1-3-1 zone, the focus shifts to wing-to-corner movement, rapid ball reversals, and post feeds to distort the weak side. Quick passes force the defense to relocate, creating shooting windows or post opportunities. We lock in ball reversal timing in our plan and show the reads on the whiteboard so teammates can anticipate rotations.
Variations like screener-pop and other flex reads give you overloads and new shot or post opportunities. We choreograph this in the practice plan, then clip game-film for players to study the exact read and result. The goal is a repeatable sequence, not a one-off.
Players must read defender drops and rim protection to decide when to reverse, cut, or seal. If the weak side drops, you reverse; if they float, you cut back to the ball; if protection slides, you seal for a high-percentage post. We annotate these decisions in scout notes and share them through playlists.
With a planning-first workflow: build the practice plan, diagram the action on the whiteboard, clip and organize film, draft scouting notes, and generate shareable playlists for players. This approach keeps flex offense vs zone coherent across 2-3 and 1-3-1 fronts, with clear zone attack patterns that players can study.

Weekly Workflow: Flex vs Zone – Step-by-Step
Step 1 – Monday: in my planning-first workflow, I start by building spacing basics (4-out spacing) and installing the primary flex cut with ball reversal on the whiteboard. This is where the practice plan comes to life: I map who attracts, who reverses, and where the wings slip into off-ball gaps. A clean spacing map sets the tone for the rest of the week and keeps the players on the same page when we translate the play from diagram to floor.
Step 2 – Tuesday: we shift to zone-focused reads and zone attack patterns. I introduce two top guards and bottom-screen concepts to overload a zone and create quick decision points for the ball handler. The emphasis is on reading the defense, exploiting gaps, and keeping the clock moving—a practical bridge between our flex ball reversal and a patient zone attack.
Step 3 – Wednesday: pattern drilling to connect flex and zone sequences with controlled defense. We work through flex-to-zone sequences with deliberate tempo, emphasizing spacing, timing, and knowing when to pivot from a flex cut to a UCLA screen or pin-down depending on coverage. The goal is a repeatable rhythm that players can trust under pressure.
Step 4 – Thursday: film review and annotation. I pull clips, label reads that worked, and annotate decision points so players can see the path from catch to cut to reversal. This reinforces successful reads and provides a catalog of cues to study before the next practice.
Step 5 – Friday: live period prep; integrate scouting insights and finalize the practice plan for game day. We simulate live reps, fold in scout notes on fronts and zone schemes, and lock in a clean sequence for early-game reps. The result is an end-to-end workflow that feeds the players with ready-made assets they can revisit in practice.
Tip: tag and organize clips for quick access in practice and distribute playlists to players.
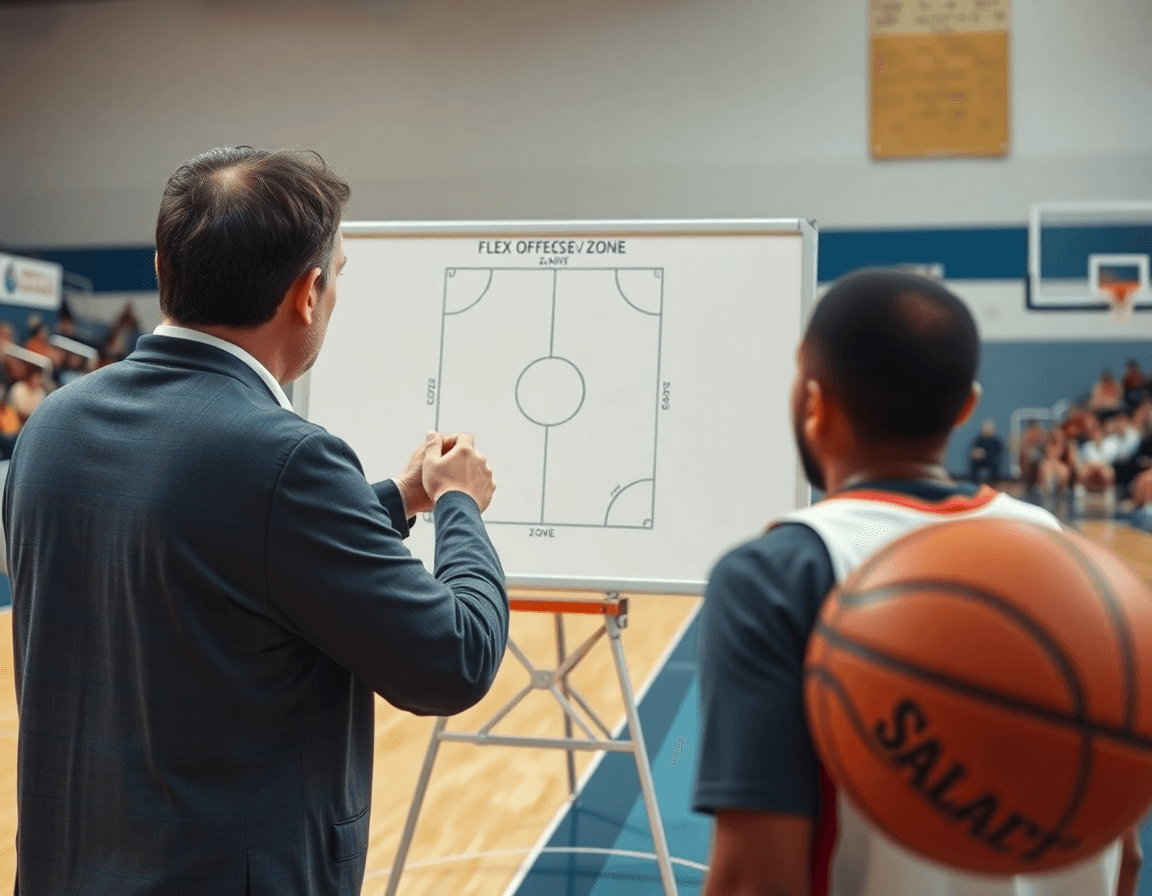
Whiteboard Tactics: Diagramming Flex vs Zone
On the digital whiteboard, we map flex offense against zone fronts like 2-3 and 1-3-1, using BLOB/SLOB/ATO sequences as the backbone. In a planning-first workflow, the diagram shows where passes swing, where screens set, and how ball reversals thread through the zone’s gaps. After you lock the sequence, export the diagram as a PDF for assistants and the video staff to review before the next practice. The goal is clarity: a single map that keeps the hub of our weekly plan aligned from scout to session.
Build a diagram library with zone-front reads—overloads, post feeds, seals—to speed up planning. When you pull up a 2-3 zone, you already know which reads to emphasize: skip passes to the weak side, a flick entry into a UCLA screen, a drive-and-kick to a flex cut. Each zone front gets its own folder, so you can mix and match flex cut, ball reversal, down screens, or pin-down screens depending on what you want to stretch. This is where the target keywords show up.
Assign responsibilities to players with labeled routes and reads, then track progress in the practice plan. For example, designate guard X to initiate a ball reversal against a 2-3, while a wing runs a flex cut into the post seam. Use the clip library for a quick example and drop scouting notes into the plan so assistants know what to watch for in the next session. As the cycle repeats, you’ll see faster decision-making and tighter execution against both flex cuts and zone fronts.
Video Clips and Playlists: From Film to Player Decisions
With a planning-first workflow, I build our weekly focus around the flex-vs-zone sequences we expect to face. On the whiteboard I sketch fronting fronts, 4-out spacing, and the reads that come from a zone defense. Then I pull the matching video clips from game and practice footage and tag them by position (guard, wing, post) and read (ball reversal, down screen, UCLA screen, flex cut). The goal is to translate a complex scout into bite-size decisions, so the staff and players can study the action without getting lost in the details.
From those clips I assemble targeted playlists for every player. A guard’s kit might emphasize reads like when to reverse against a soft hedge, when to pop into space, or when to seal a rim run. A big’s playlist covers the pin-down screen timing, ball reversal against pressure, and how to attack the front of a zone with a quick rhythm. By organizing by read and by action, the team can absorb the pattern faster.
During practice we use short clips to reinforce decision points, then rep the sequences in live drills. We share a link to the player-specific playlist so everyone can review the clips on their own time, and we reference the clips during the huddle. This clip-based coaching approach helps players translate film into on-floor decisions, accelerating adoption of flex cut actions, UCLA screens, and the right reads against zone offense and zone defense.
Scouting and Play Options: Preparing for Zones
Against zone fronts, your scouting starts with pattern notes. In the zone fronts you’ll face—2-3 and 1-3-1—collect tendencies: where teams pressure, how they shade shooters, and where gaps open during ball reversals. Turn those notes into a practical weekly plan by linking counter-plays to key practice themes: spacing, cut timing, and ball movement. A solid scouting report helps you map how to attack with a flex offense vs zone concept, without guessing what a defense will do.
To counter these fronts, build scout plays that fit into the flex framework. Use actions like a flex cut to threaten the seam, and a pin-down screen for shooters against the 2-3. A UCLA screen can drag the weak-side defender into space, while a quick ball reversal keeps the rhythm up and opens driving lanes. Tie these sequences to your 4-out spacing and a steady high-post or short-post look to stress both zone offense and zone defense. The goal is a cohesive set of options you can run in a single week.
Distribute scouting insights via shareable links and assign follow-ups to assistants for cutting-edge adjustments. As you build the notes, generate short video clips and assemble shareable playlists for players—so they can study the zone adjustments on their own time. This is where the planning-first workflow pays off: plan in practice, diagram the reactions, clip the reads, and keep everyone on the same page with clear scout plays and feedback loops.
If you build plans like this every week, CourtSensei keeps your drill library, whiteboard, and video clips in one place — try it free.
FAQ
What is the Flex Offense?
The Flex Offense is a spacing-and-movement system designed to pressure zone fronts and force reads. It centers on the flex cut, quick ball reversals, and occasional post feeds to keep the defense moving. With a flexible framework, you adapt actions to 2-3 or 1-3-1 fronts while maintaining a steady rhythm.
Is the Flex Offense effective against zone defenses?
Yes. When you maintain spacing and quick reads after each action, zone fronts overreact and create gaps for open shots. Use a planning-first workflow: diagram sequences, annotate reads, and assemble clip playlists so players study the actions that reliably beat zone fronts.
How do you attack a 2-3 zone with the Flex Offense?
Start with two top guards and a bottom-screen sequence to seal for inside-out looks. Use the screener-pop to drag the front away from the ball, then swing the ball for a weak-side reversal. Map these sequences and prime the reads so players know when to cut, slip, or post up as the front shifts.
What are the core actions of the Flex Offense?
Core actions are the flex cut, steady ball reversals, and occasional post feeds. Each action creates spacing, prompts reads, and fuels rhythm. The aim is repeatable sequences, not one-offs, so players trust where to move next and when to reset to another pattern.
How do you run the Flex Offense against a zone defense?
Start with a planning-first workflow: build a practical practice plan, diagram the action, then clip key reads. Teach zone-attack patterns on film and on the floor, translating reads into live reps. Emphasize spacing, tempo, and patient decision-making so you find reversals, cuts, or post looks as the defense slides.
What spacing is needed to run the Flex Offense effectively?
Aim for 4-out spacing, with two guards at the top and wings ready to slip into off-ball gaps. Keep the floor stretched to let reversals reach the corners and elbows for open looks. Solid spacing supports the flex cut and makes reads more automatic, helping players react quickly to defense shifts.