Defense Drills for Weekly Practice Plans
Plan a defensively focused week with structured defense drills, shell work, and video feedback. Learn to sequence drills, track progress, and adjust your weekly plan.
Key takeaways
- Anchor weekly practice around scouting insights and clear objectives: shell integrity and rotations drive all drills.
- Select 3–4 core drills (1-on-1 Continuous, 4-Point Closeouts, Defensive Specialist, Mass Sliding) aligned to the week’s aims.
- Link drills to shell phases and rotations, not names, to build a cohesive rhythm.
- Define weekly roles for assistants and use shared playlists to reinforce feedback.
- Structure week to progress from shell to on-ball with video clips throughout.
Designing a Defensively Focused Weekly Plan
To design a defense drills weekly plan, I start with opponent scouting and clear objectives: shell integrity, rotations. I study how they attack gaps and where our calls must hold under pressure. That becomes the week’s backbone and is translated into the Practice Plans, so assistants and I stay aligned on purpose and pace.
From there I select 3–4 core drills that map to the week’s goals: for example 1-on-1 Continuous, 4-Point Closeouts, Defensive Specialist, and Mass Sliding. Each drill aligns with concepts like on-ball pressure, deny actions, and dovetails with practice blocks (BLOB/SLOB/ATO/PnR). The idea is to build a cohesive rhythm, not a laundry list of drills.
I tie drills to our team concepts and shell phases rather than just changing names. A shell drill anchors on-ball pressure, while help defense and defensive rotations drive the rotations under stress. I map each drill to a block—BLOB, SLOB, ATO, or PnR—so the pace mirrors the game and defenders stay in the right spots.
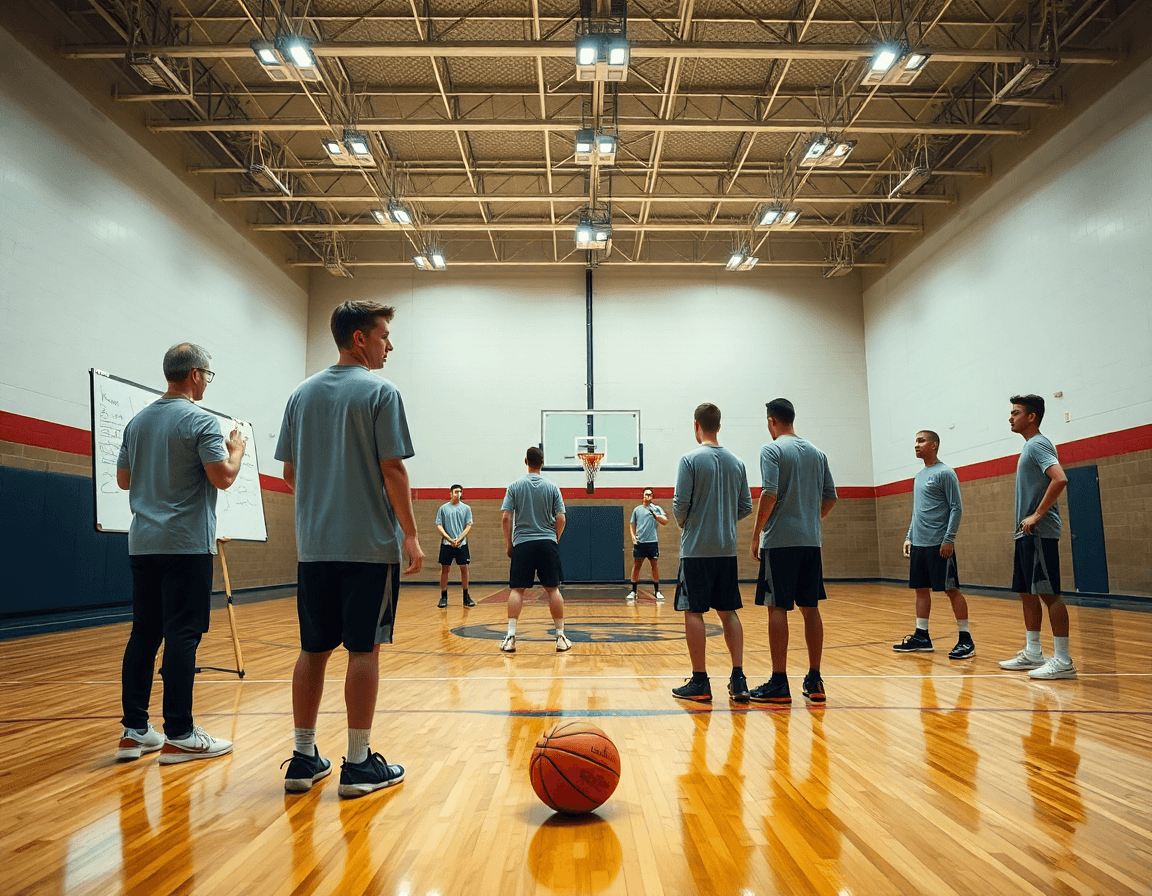
Assign roles for assistants and run a shared plan. In Practice Plans we lay the weekly schedule and objectives; on the Whiteboard we diagram shell and rotations; after sessions we clip short sequences for feedback and drop them into shareable Playlists for players and assistants.
Week 1 usually looks like this: a shell drill to open, then quick on-ball pressure work, a focused help-defense session, and denial actions built in late in the week. A quick review ties back to scouting notes, the defense drills weekly plan, and a short video clip that shows adjustments and next steps.
Core Drills to Anchor Your Week
These four drills anchor your week, forming the backbone of your defense—your core defense drills. In CourtSensei terms, you build it in Practice Plans, diagram shell rotations on the Whiteboard, and feed feedback through short video clips and shareable Playlists for players and assistants. The goal is simple: repeatable footwork, communication, and pressure that travels to the game.
1-on-1 Continuous is your first line of attack—aggressive pressure paired with space denial. Start with a tight on-ball stance, active feet, and hands ready. Keep the pace steady enough to force mistakes, then snap to recovery. In practice, run back-to-back 60-second confrontations, capture a clip, and tag it in a feedback playlist to reinforce the proper defensive stance and positioning.
4-Point Closeouts balance force and discipline. Close from four spots—top, wings, corners, and middle—with a low hip angle, square shoulders, and a controlled step-and-recover. Diagram these from each angle on the Whiteboard, then layer in shell drill progressions to stress spacing and shell drill discipline. A quick clip after reps helps your assistants coach the footwork in real time.
Defensive Specialist emphasizes tempo control, back-pedal, and communication under pressure. Assign a tempo setter to cue callouts and rotations, so the rest of the defense stays organized under pressure. Put this into Practice Plans, then share a concise clip showing a clean rotation in a player playlist for quick feedback.
Mass Sliding ties it all together—everyone slides as a unit to mirror ball movement, then hits transition and recovers in sync. It builds stamina, cohesion, and timing for transition defense timing. Clip a full sequence and store it in a team playlist so assistants can reinforce the rhythm during early-week sessions.
Building Shell, On-Ball, and Help Defense
To anchor this week’s defense, we start with the shell drill. It’s not flashy, but it establishes team positioning and communication patterns you can count on. In Practice Plans I block out eight minutes for shell work—two 4-minute rounds with a quick reset when the ball moves to the opposite side. Players stay spaced around the arc, guarding a ball handler while others read and call the next rotation. On the Whiteboard we diagram shell angles, where the low man slides, and how the top communicates switches. The emphasis on the defensive stance and tight slides keeps feet under control. After the session, a quick clip lands in a feedback playlist for the assistants and players, reinforcing the language we’ll reuse all week.
Next, we tighten the grip on on-ball defense. The goal is to pressure the ball handler without fouling and guide the drive toward the help. We coach a low, balanced defensive stance and explode with quick, controlled defensive slides to stay in front. Closeouts are crisp—hands high, feet under, eyes on the ball. In the plan, we run 90-second blocks for the defender to pressure, then 90 seconds of recovery. A short clip from these reps goes into the video feedback playlist, not as punishment but as a model of how proper stance and footwork translate into cleaner possessions.
Finally, we lock in help defense and defensive rotations to close gaps and recover angles. When the ball is swung, the help defender must step in and the top defender communicates the next rotation, with deny passes and coordinated switches or stays as our scheme dictates. We practice deny passes to the weak side and pre-plan how to switch on screen actions. The plan includes a three-pass sequence that tests these decisions, captured on film and tagged on the Whiteboard for the next session. Those clips become shareable Playlists for players and assistants, turning defensive reads into concrete practice habits.

Video Teaching: Clips, Feedback, and Progression
During a defensively focused week, I treat video as the teammate who never tires. I capture representative reps from the shell and on-ball sets, then organize clips into topic-based playlists like defense video clips for our wings, bigs, and guards. In CourtSensei, I build these as part of the Practice Plans and drop them into a shared playlist for players and assistants. The goal is a repeatable workflow: capture, tag, and store for quick access during film sessions. It’s all about actionable feedback, not endless footage. This is where video analysis shines.
Use video to reinforce the basics: proper stance, defensive slides, closeouts, and rotations. I pull clips that highlight each element—an aggressive stance from one clip, a slide misalignment from another—and tag them under the topics. Show the clip, pause, and call out what to correct, then rewind for a quick second rep. We want players to feel the rhythm of a sound shell drill and on-ball defense, all visible in the clips. Short, deliberate clips drive the message.
Bring in the mirror drill and shadow concept to cement positioning without contact. I assign a pair of clips showing the mirrored posture—one current position vs. the correct angle—so players can compare in real time. We label these under mirror drill and add a quick visual in the Whiteboard to map out help defense and rotations. This approach reduces overthinking during live drives and helps with deny passes and shell discipline.
Progress the defense drills by stacking complexity: add decision points like when to switch, or how angles change when the ball is skipped. The clips sit in topic playlists that you rotate through in your weekly plan, giving players a clear progression path. Use a short video clip at the start of practice for a quick reset, then a longer carousel later for detailed feedback. With this workflow, your defense drills become a clear, repeatable part of defense coaching.
Scouting and Adjustments: Turning Observations into Drills
From scouting reports defense, I pull out the opponent’s tendencies—ball-screen triggers, weak-side actions, passes that get denied. In Practice Plans, I map that into a sequence of targeted defense drills. We start with a shell drill that mirrors their base look, then add rotations on the Whiteboard as we anticipate ball reversals. I keep short video clips handy, tagging the moment of the action and linking it to the drill in the plan. The workflow is tight: scouting notes → defensive drills → film feedback in the same week.
Adjustments come fast when the scout reports reveal new triggers. I push the shell depth and refine rotations and rotation timing to counter their actions. We emphasize deny passes on quick swings and tighten lane-line defense to clog passing lanes. Two-on-two and shell-to-rotate drills lock in defensive rotations, with the Whiteboard showing the exact angles. The goal is to make reads automatic rather than reactive.
After practice, I pull the best sequences and build Playlists with the corresponding drills and notes. Clips tagged by the trigger help players study defensive stance, slides, and closeouts, looping back to the weekly plan. Sharing these Playlists with players and assistants creates a clear feedback loop: scouting insights feed defensive adjustments, which drive the next Practice Plan and Whiteboard diagram before the next game.
Practical Weekly Workflow: Day-by-Day Plan
Day 1 sets the tone for the defense week. In Practice Plans, lay out the foundation with a crisp defensive stance and the first shell progressions, then transition to 1-on-1 pressure drills. Use the Whiteboard to map basic rotations so assistants know where help comes from. Afterward, trim footage into a quick clip package and drop it into a shared Playlist for next-level feedback. This start informs your defense weekly plan steps and keeps the week actionable.
Day 2 shifts to ball presentation: on-ball defense pressure, tight closeouts, and gap control. In the plan, tag these as the on-ball defense block; emphasize footwork and angles. Use the Whiteboard to diagram closing space and recovery, and pull out a few ready-to-run sequences for the defense drills checklist. End with short clips for players to study, so the team can see the exact grips and stances from the previous session.
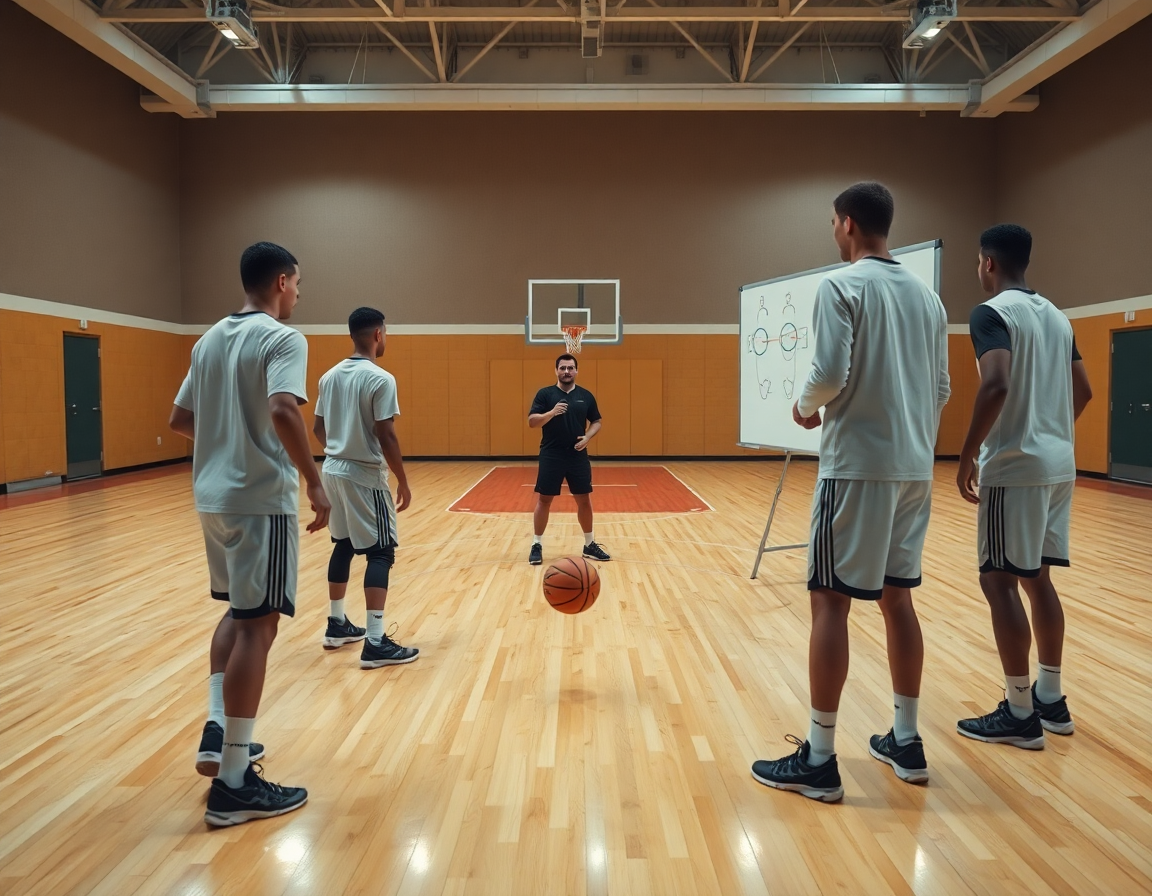
Day 3 is where team defense comes to life: rotations, help defense, and communication in shell. Build rotations on the Whiteboard and label verbal calls, reinforcing the chain of help defense and the flow of communication. Coordinate with staff via Practice Plans and Whiteboard to keep everyone aligned, so the defense operates as one unit when the ball moves.
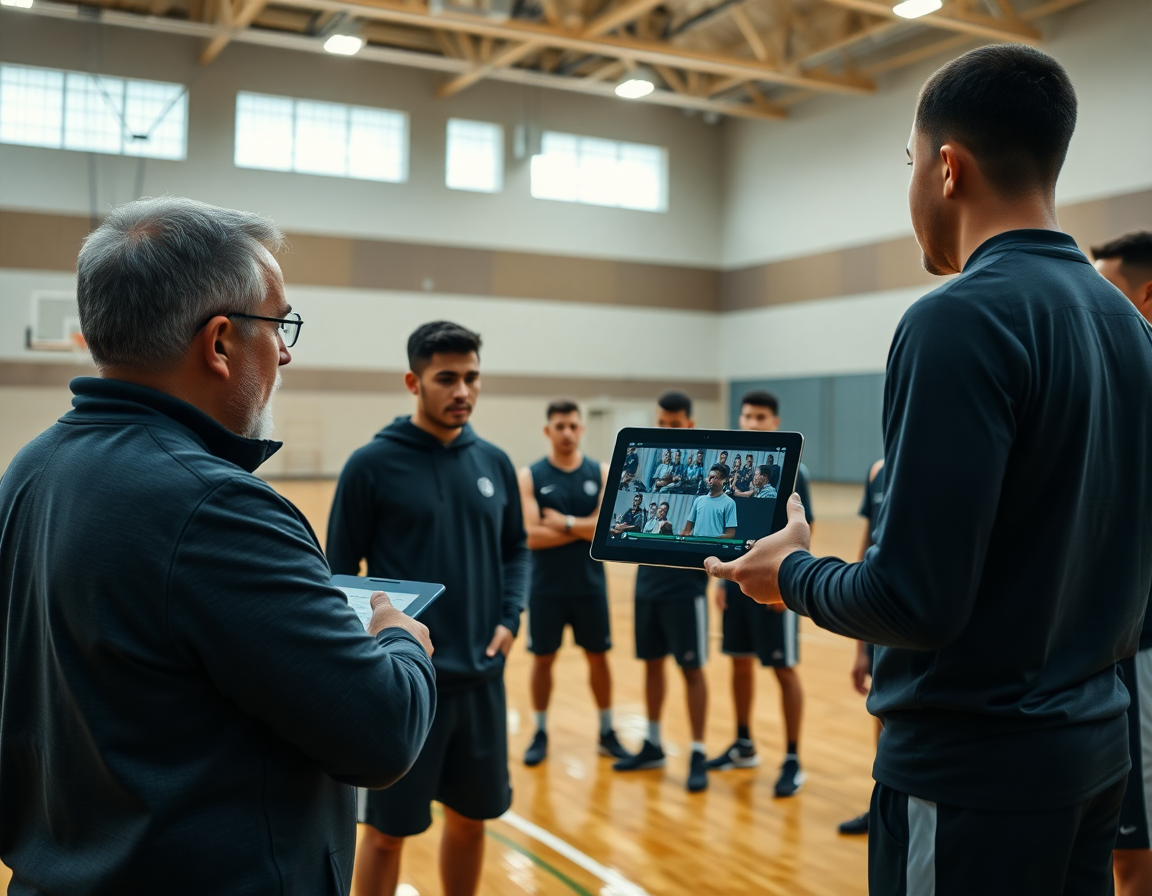
Day 4 is video review—clips organized by drill and concept; feedback session that ends with agreed adjustments. Use Practice Plans to categorize each clip by drill name and concept, then export the best cuts to Playlists for players to digest between sessions. This is where the weekly workflow becomes concrete and measurable.
Day 5 closes the loop with live drill integration—practice with a controlled scrimmage emphasizing defense. Each segment should feed into the weekly workflow: push defensive playlists to players, keep communication tight with assistants via the Whiteboard, and export any new clips to Playlists for quick reference as you carry the defense weekly plan steps into the next week.
If you build plans like this every week, CourtSensei keeps your drill library, whiteboard, and video clips in one place — try it free.
FAQ
What are the essential basketball defense drills to include in a weekly plan?
In practice planning, design your week around 3–4 core drills that map to scouting notes and game needs. Anchor with a shell drill to lock in team positioning and communication, then add on-ball pressure and rotations work. Include denial actions and a sequence tied to your game plan (BLOB/SLOB/ATO/PnR). The goal is rhythm and cohesion, not a checklist of drills.
How do you run a shell drill in basketball and what does it build?
A well-run shell drill starts with eight minutes of focused positioning around the arc, two 4-minute rounds, and a quick reset when the ball shifts sides. The drill emphasizes on-ball pressure, reading passes, and the next rotations. It builds discipline, clear communication, and a shared sense of angles that carry into live defense and rotations in all schemes.
How can you improve closeouts on defense?
Closeouts demand balance plus urgency. Use 4-Point Closeouts from top, wings, corners, and middle with a low hip angle, square shoulders, and a controlled step-and-recover. Pair these reps with shell drills to stress spacing and discipline. After each sequence, clip a rep and share quick feedback to fix foot placement and hands—fast, clean possessions matter.
What is the best way to train on-ball defense and rotations?
Structure practice in blocks: 90 seconds of on-ball defense pressure, then 90 seconds of recovery. Emphasize a low, balanced stance, quick slides, and playing the drive toward help. Tie the work to shell drills so rotations stay in sync. End with a quick rotation review on the Whiteboard and a short video clip to reinforce correct paths.
How do you teach defensive rotations effectively?
Start by mapping defensive rotations and using a three-pass sequence to get players thinking ahead. Practice live-ball movement with a tempo setter calling calls so everyone stays organized under pressure. Use quick video feedback and clip a representative sequence into the team playlist to reinforce the decision points for weak-side rotations and screen actions.
How can players improve defensive footwork and lateral quickness?
Mass Sliding is a foundational drill to synchronize feet, stay low, and mirror ball movement. Pair it with targeted footwork reps to build lateral quickness and compact slides, then track progress with short video clips. Tie footwork to transition defense timing so it travels to live possessions.
