Isolation basketball plays: weekly coach workflow
Coaching guide to isolation basketball plays: when to iso, spacing rules, and a practical weekly workflow to plan, diagram, review video, and scout matchups.
Key takeaways
- Scout opponents weekly and choose 1–2 iso looks that fit your roster.
- Diagram simple sequences on the whiteboard and lock in a concise flow for handlers.
- Progress iso installation: 1v1 drill → 1v1 vs help → 2v2 spacing → 5v5 later.
- Allocate video time to highlight footwork, spacing, and reads; reinforce with clips.
- Track outcomes with a simple rubric and update scouting notes and playlists weekly.
What isolation basketball plays are and when to use them
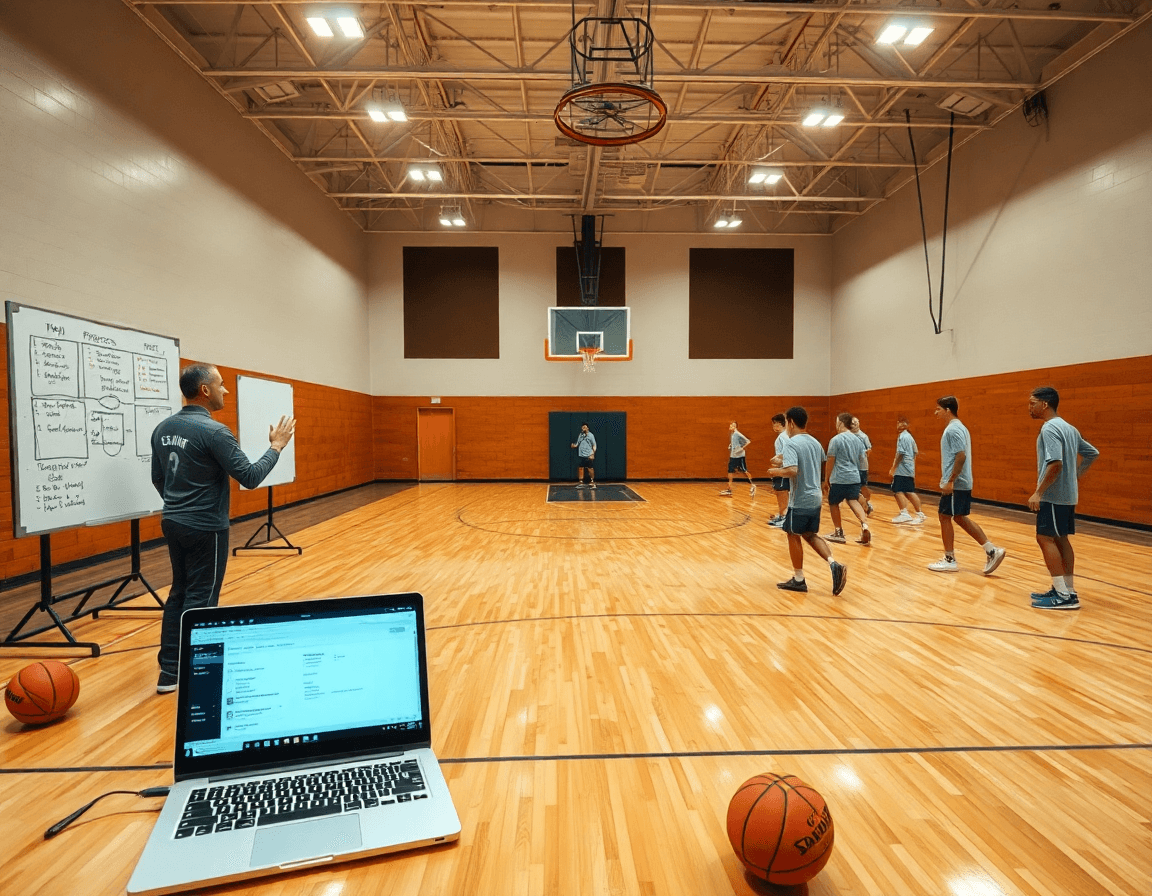
Isolation basketball plays are designed to put the ball in the hands of our best ball handler and create a clean one-on-one scoring opportunity. The primary goals are to create space, exploit a favorable matchup, and let the handler read the defense for a drive, pull-up, or kick-out. Timing and spacing are everything: players must maintain proper spacing and be ready to swing or drive if help over-commits. In your weekly plan, identify 1–2 iso looks per opponent and install them with a simple, repeatable routine. I store these options in the planning library and review the clips during team breakout sessions.
Common scenarios: late shot clock sequences, a hot hand, end-of-quarter, or a defensive mismatch. Use iso plays when you want a quick, high-percentage look or when the defense has overhelp. I diagram the options on the whiteboard, labeling read steps: drive, pull-up, or kick-out. Spacing tells the defender where help can arrive; if help over-commits, the drive or the kick-out becomes available. Clear out iso sets can simplify handling the ball and keep the floor balanced while your best shooter or ball handler works.
Practical tie-ins: diagram and store iso options in your planning library and pull short video clips for coaching points. Use scouting notes to flag opponent tendencies that hint at isolation opportunities. Create shareable playlists for players to review after practice and make these clips a regular part of your weekly workflow. This approach keeps your iso offense consistent and lets you measure progress as the week unfolds.

Weekly workflow: installing isolation plays in practice
To answer how to install iso plays into your weekly workflow, you map it with your plan libraries. Step 1: scout the upcoming opponent and pick 1–2 iso looks that suit your roster. Use your scouting notes to identify matchup advantages and where an isolation opportunity can unlock a bucket. This is how you install isolation basketball plays into your weekly plan.
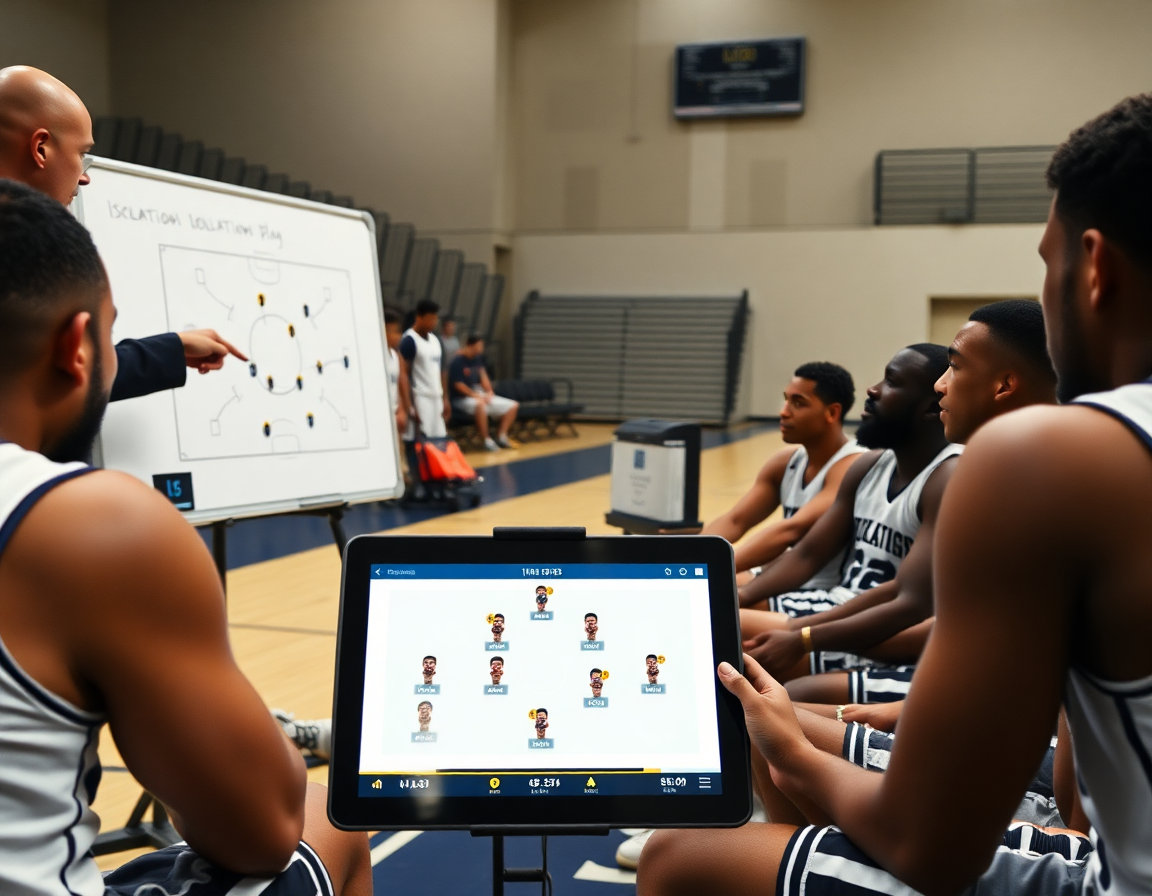
Step 2: create simple diagrams and a short sequence for each iso look. On the whiteboard, sketch the actions and housekeeping positions, then lock in a concise flow for the ball handler. Keep the diagrams clean and the sequence short enough that players can internalize the reads during practice without overthinking.
Step 3: install with a progression: 1v1 drill → 1v1 vs. help defense → 2v2 spacing → 5v5 late-game reps. Tie each stage to your drill progression so the team builds comfort from a single isolation entry to a game-ready decision under pressure. Your weekly plan should reflect this ladder, with clear criteria for advancing.
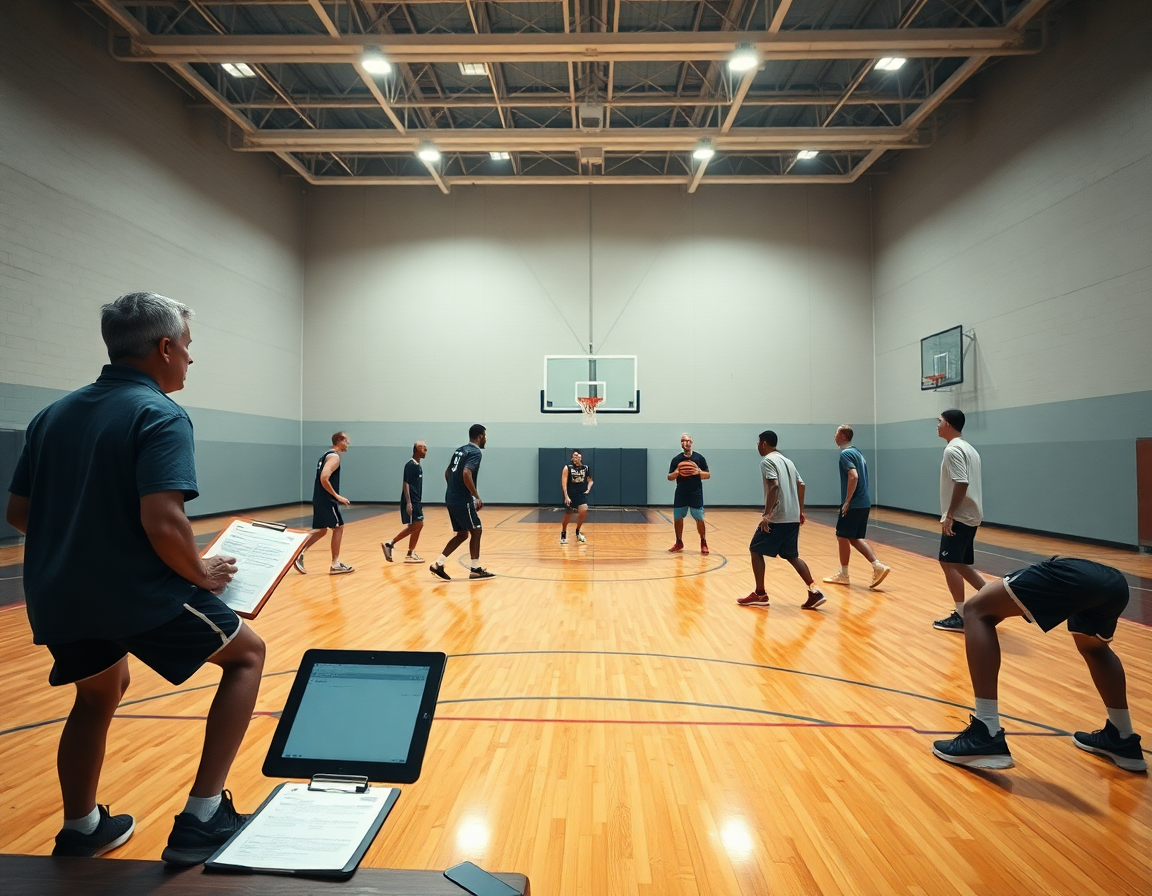
Step 4: allocate dedicated video time to highlight footwork, spacing, and decision making. A few minutes of targeted clips per iso look can accelerate improvement. Use video clips to spotlight the pivot footwork, the spacing cues, and the read options that matter most in tight moments—the stuff coaches want to see repeated.
Step 5: track outcomes with a simple rubric (touches, shots, turnovers, defense pressure). Quick metrics keep you honest and help refine the iso package midweek without drowning in data. Feature the notes in the plan so assistants see the same targets.
Step 6: update scouting and playlists for players to review before games. After you’ve tested a look, drop in updated scouting notes and generate new playlists for video review. The goal is a clean loop: plan, diagram, practice, review, adjust.
Spacing and floor rules for effective isolation
In isolation basketball plays, spacing is not just placement—it's your anti-clog. When you map out the week in the plan for practice, the first priority is establishing clean lanes and options for the ball handler. The goal is to create predictable space without crowding the drive, so your iso sets stay flexible. Think in terms of spacing and clear out, with top, wing, and corner areas each carrying a purpose.
Wing and bigs have to stay ready to space, while screening options give the ball handler viable routes. On the tactical whiteboard, I diagram a few setups that keep floor balance intact: a clean top-to-wing gap, one clear lane down the middle, and corners that don’t clog the action. This avoids unnecessary traffic near the lane and keeps the ball handler with room to attack.
Defenders will try to compress space as soon as iso begins, so you must counter with quick resets and outlet passes to reset the offense. Use your scouting notes to anticipate pressure patterns and have a built-in reset option in your quarter-by-quarter plan. The playbook should translate into a tempo that lets you reget the ball to the right side, maintaining spacing while you re-enter the iso look.
Drill ideas revolve around 4-out/1-in or 5-out concepts, emphasizing correct step timing and non-linear cuts. In practice, we run a progression: space the floor, execute the 4-out/1-in sequence, then add a quick reset to a new iso look. After each session, players review a short video clip in their playlists to reinforce spacing habits and decision timelines.
Iso variations and counters to teach your players
Set up this week’s iso variations in the practice plan. The core packages to install are: Basic Isolation; Isolation with Pick-and-Roll; Iso with Off-Ball Screen; Iso with High Screen; and Side Isolation. Start with ball-handling and footwork, then layer in reads and counters. On the whiteboard, diagram spacing and entry points for the ball handler. Build a quick library of diagrams you can share with assistants and attach a scouting note for the opponent’s help angle.
Matchup exploitation centers the teaching. Call out mismatch exploitation—target weaker on-ball defenders, use screens to manufacture favorable angles, and read help tendencies. Keep the floor spaced so the ball handler can attack from different angles. For older, more skilled teams, introduce a few extra reads; for younger groups, keep it simple and emphasize decision-making in the drive and kick.
Defensive counters demand prep. Expect double teams, early help, and occasional switches. Plan counters with quick ball reversals and purposeful resets to the opposite side. In your scouting notes, note how the opponent guards iso sequences and where rotations tend to break down. This feeds the next week’s adjustments and keeps iso variations responsive rather than rigid.
Drill progression ties it together. Emphasize ball-handling, footwork, and decision making—when to attack versus when to pass. Run a three-stage progression for each variation: isolated moves, live 1v1 with a defender, and a live drill that adds a helper rotation. The workflow shines here: a quick short video clip of a clean rep to a player playlist, plus a scouting note that flags what to watch in the next session.
Review and adjust iso outcomes using video and scouting reports
During weekly film work, we lean into video review iso clips from game footage and practice reps to evaluate iso possessions. We’re checking decision making, shot selection, and how defenses pressure the ball handler. Are our players maintaining spacing? Is the attack showing variety, or does it stall into a predictable iso?
Link iso outcomes to scouting iso: After we pull clips, we cross-check with our scouting iso notes. If the opponent overplays ball handlers or hedges on screens, we adjust our iso targets and note which players to iso against specific looks. In CourtSensei, you tag each clip to scouting notes and keep the data aligned with opponent tendencies and where our isolation plays fit best.
From there we build playlists for players and units: a collection of clean iso reps—ball handlers vs their primary matchup, plus unit reviews of spacing and help decision points. Share these playlists ahead of the film session, and use them in the plan to reinforce the keys that show up on tape.
Feedback loops drive progress: players watch clips, coaches annotate keys on the whiteboard, and the plan adjusts accordingly. If we see a dip against a certain defense, we tune iso drills, tweak shot options, and tighten the clock to emphasize the decision points.
Keep a running changelog of what iso looks work best against specific defenses, so the staff and players track trends over the season. This living document links outcomes to scouting notes and video, helping us decide when to lean on a one-on-one attack, a clear out, or a patient iso against a matchup.
Iso readiness checklist for the week
I keep isolation basketball plays flowing this way with a simple, recurring frame: the weekly iso checklist. In the plan, roster readiness comes first: make sure our best ball handler is healthy, confident in iso reads, and aligned with the scouting report. If that player is unavailable, I map a clear backup and drop quick notes into the library under the iso tag so assistants stay in sync. This keeps iso readiness high.
On the floor, we lock in spacing and footwork. We drill correct floor spacing and footwork patterns during the warm-up and then bring those patterns into isolated sets. The whiteboard diagrams get labeled with spacing keys as we walk through reads, keeping the emphasis on how spacing creates driving lanes and kick-out angles.
Decision-making drills mimic late-shot-clock moments and kick-out reads. We run quick, forced-read sequences where the ball handler chooses between attack, pull-up, or pass-back to the top of the arc. Each rep is followed by a quick debrief from the staff and a short video clip to highlight the decision point.
Installation cadence: we schedule 2–3 iso reps in practice with clear objectives, so players grow comfortable with the reads and footwork under pressure. These reps populate the practice plan iso library, and we track progress with a simple scouting note that flags where the defense is forcing the ball handler away from the preferred reads.
Video plan: assign short clips for individual review and group discussion. We pull clips of go-to iso reads, paint reads, and decision moments, add notes on the whiteboard, and share with players via a playlist. The player sees a targeted clip after each iso rep, accelerating improvement.
Scouting alignment: confirm opponent tendencies and target matchups for iso looks. Our scouting notes map which defenders give the most trouble on isolations, and we pair those insights with a few explicit iso targets for this week.
If you build plans like this every week, CourtSensei keeps your drill library, whiteboard, and video clips in one place — try it free.
FAQ
What does iso mean in basketball, and when should you use it?
Iso, short for isolation, means the ball handler works one-on-one against a defender to create a clean scoring chance. Use it when you have a favorable matchup, the defense overhelps, or the shot clock is winding down. Build 1–2 iso looks per opponent in your weekly plan, store them in your planning library, and review clips during breakout sessions.
When should you run an isolation play?
Run an isolation when you need a quick, high-percentage bucket or when the defense overhelps and your matchup tilts in your favor. Late-shot-clock situations and clear mismatches are prime moments. Don’t default to iso every possession—let scouting notes guide you, and use clean spacing to keep options open.
How do you set up an isolation play?
Set up iso by diagramming an entry and a simple 1v1 sequence. On the whiteboard, sketch actions and positions, then lock in a clean flow for the ball handler. Install with a progression: 1v1 → 1v1 vs help → 2v2 spacing → 5v5 late-game reps. Tie each stage to your drill progression and store this in your planning library.
Where on the court should iso occur, and how does spacing help?
Iso is most effective from wings or the top of the key where defenders must decide. Use crisp spacing to create driving lanes and open kick options, avoiding crowding the lane. Plan layouts like 4-out/1-in or 5-out, and reset quickly if pressure arrives.
What moves are commonly used in iso plays?
Common iso moves center on getting separation: hard drives, pull-up jumpers, and quick step-backs. Add counters like crossovers or up-fakes to keep defenders off balance. Emphasize tight footwork and balance so reads stay sharp under pressure.
Is isolation offense effective or inefficient?
Isolation can be efficient in the right moments, but it’s not a stand-alone plan. It shines when you have a trusted handler and a clear matchup edge, especially late in games. Use a simple rubric to track touches, makes, and turnovers, and balance iso with movement to prevent predictability.
Why is isolation used more in the playoffs?
Playoff defenses tighten, so isolation can unlock a bucket when a clear matchup exists. The approach relies on a trusted handler and favorable switches, with built-in counters and resets to avoid stagnation. Use iso sparingly and anchor it to your late-game plan to maintain balance.
