Mastering Pick and Roll Defense: Weekly Coach Plan
A weekly coach blueprint to defend the pick and roll: coverages, drills, scouting notes, and video workflows to sharpen team defense.
Key takeaways
- Establish a baseline and a weekly plan for P&R defense to align scouting, practice, and adjustments.
- Define the core coverages: drop coverage, switch, ice, and hedge/Blitz; map shells, rotations, and cues.
- Build a practical workflow: plan templates, whiteboard diagrams, and exporting PDFs; attach video clips to reinforce reads.
- In practice, start with shell defense 2-on-2, then progress to 3-on-3/4-on-4; emphasize decision points and rotations.
- Track practice results, adjust cycles, and share scouting reports; create a shared plan and PDFs for meetings.
Why pick and roll defense deserves a weekly plan
P&R is the most frequently invoked action in games, and a weekly plan compounds the effect of every rep. With a solid weekly P&R defense plan, you align scouting, practice emphasis, and in-game adjustments across coverages like drop, switch, ice, and hedge/Blitz. Start with the idea: establish a baseline every week, then tailor by opponent tendencies and personnel using a repeatable process. This approach keeps your team cohesive and keeps adjustments practical instead of reactive.
Your workflow begins in the plan templates. Set a baseline defense for the week and map out when to lean into a different look. Decide how you’ll mix in drop coverage, a switch, or an aggressive hedge, and denote game-time levers in the plan so assistants know when to cue rotati ons on the floor. Everything from the scouting report to practice emphasis should flow from that baseline, not from last game’s emotions.
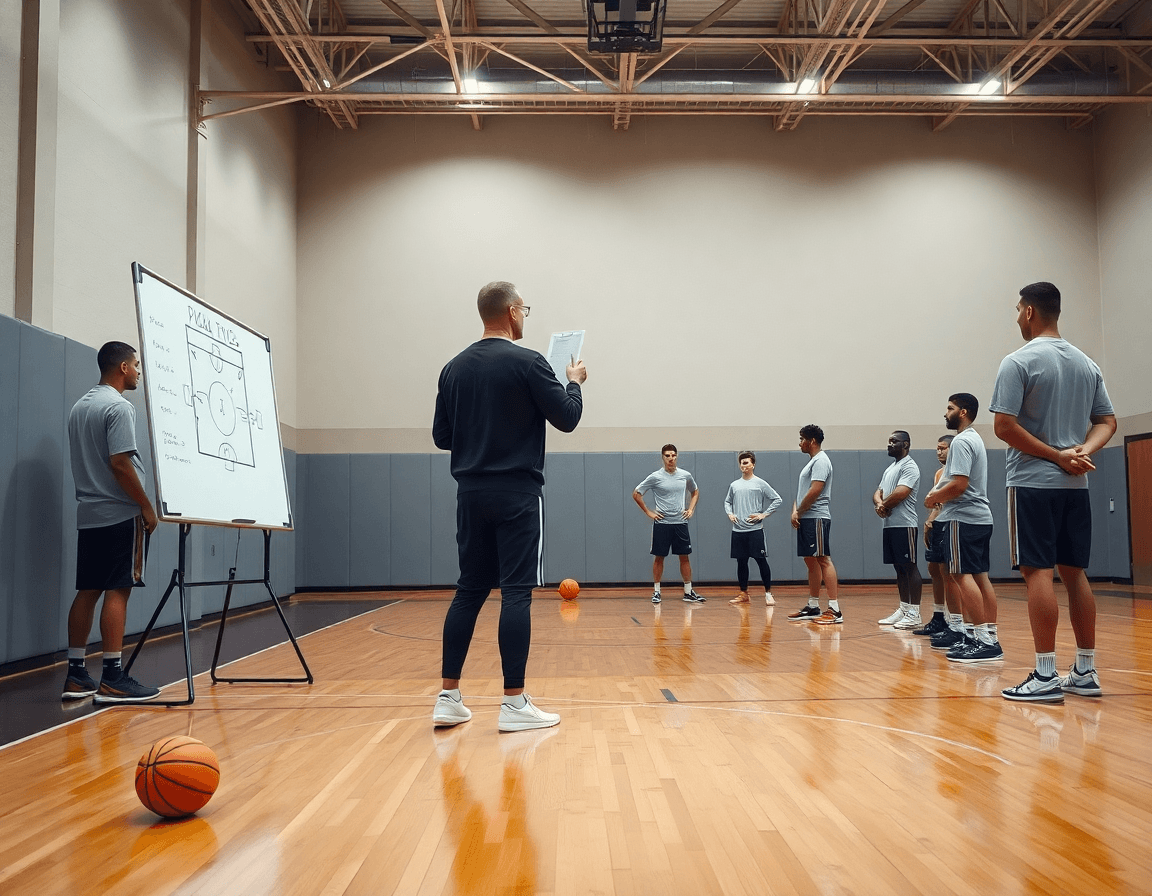
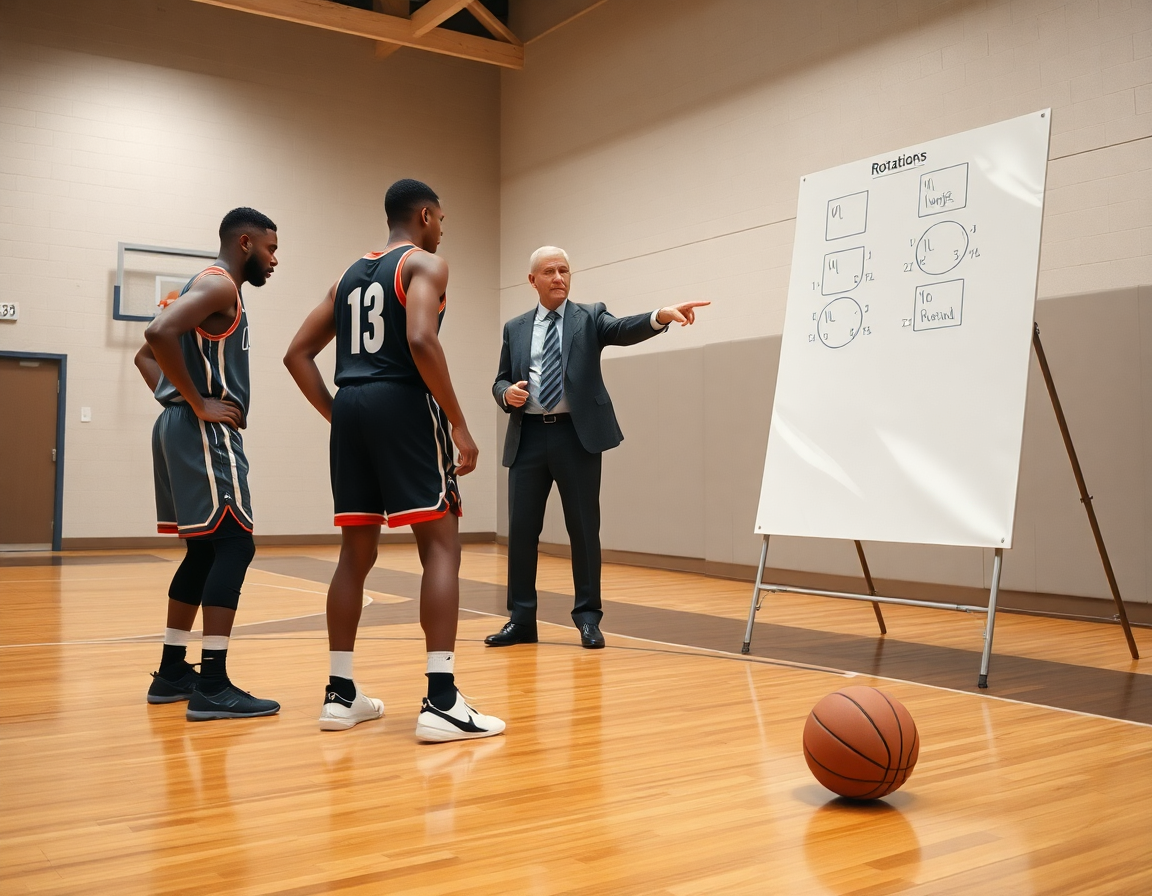
On the taktička tabla, you diagram rotations for the ball handler and screener, labeling necessary actions (BLOB/SLOB/ATO/PnR) and the near-future moves for help, recover, and recovery lanes. A clean whiteboard session translates quickly to the court, and you can export those diagrams into PDF for the staff.
Video clips then reinforce reads. Short clips highlighting ball handlers’ options, how the screener manipulates space, and the bigs’ roll reads become a targeted playlist for players. Pair that with scouting reports to tailor to who you’ll see—spot tendencies like where the defender hedges most or where the roller breaks pressure. By the end of the week, your players have a shareable library you can reference in the huddle and in film sessions.
Key coverages to master for coaches
Key coverage to master starts with drop coverage. In this setup, the on-ball defender chases over and the big protects the rim, keeping the paint clear. The main risk is mid-range pull-ups from the ball handler. In your weekly plan, map this shell against spacing-heavy teams, diagram the rotations on the whiteboard, and stitch together clips that show the reads for the ball handler and screener.
Next, switch on pick and roll. This matchup-driven approach preserves possessions, but it can create mismatches you’ll have to live with down the floor. Use it when your guard can stay in front, your big has the quick feet, and the clock is tight. In the plan, assign the switch, communicate the mismatch signals, and pull video that shows how the screener and roller should react as the ball changes sides. A scouting note will tell you which opponents will try to exploit cross-matches.
Then comes ice defense (Down/Blue). The goal is to force the ball handler toward the sideline and load help from the weak side. It works well vs spacing, but you need crisp cues so rotations don’t drift. In your weekly workflow, this is a good candidate for a quick decision-and-teach video: show the exact sideline funnel and where the screener must slip to. Use the scouting report to decide when to ice and when to stay in a more conservative shell, especially if the ball handler is patient and the screener can slip.
Don’t forget hedge/Blitz. Hedge gives hard containment with a ready recovery; blitz traps can swing momentum but risk weak-side openness. Use it against aggressive ball handlers or when you’re hunting a live-ball turnover and the clock allows a setup. In practice, label the cue words on the board, drill a fix-from-read, and store a short video clip for players to study reads for the roller and ball handler.

A practical workflow to translate scouting into practice
Here's a practical way to translate scouting into practice this week for pick and roll defense. I start by collecting opponent P&R tendencies from film and notes, then summarize patterns—ball handler reads, screener actions, roller actions. I pull scouting reports on the opponent to feed our plan templates and the initial shell work we’ll run.
From that scouting, I choose 2–3 coverages to emphasize this week based on opponent tendencies and our personnel. If they attack the ball handler with speed, we might lean toward an aggressive hedge or even a quick switch when fit. If their screener and roller are pop-out threats, we’ll mix in drop and ice reads to keep gaps tight while teaching proper rotations. The goal is to land a coherent message to players without overloading them.
I build a weekly practice around shell work, decision-making drills, and live reps implementing the chosen coverages. Start with a 10‑minute shell sequence that forces decisions at each read, then phase into 3v3 and 4v4 reps where rotations against the ball handler, screener, and roller are highlighted. Use short video clips to show correct reads and misreads, so players can connect footwork to outcomes.
Create a shared plan with assistants, diagram rotations on the whiteboard, and export for meetings and PDFs. Attach scouting reports on opponents and share playlists for players to review film reads on their own time. Track what works in practice and adjust for the next game; document results for quick reference to guide the next cycle of scouting and planning.

Drills and progression to teach P&R defense
Start with shell defense 2-on-2 to teach containment, communication, and rotations without live ball pressure. This is the core of P&R defensive drills in our weekly workflow: I drop a quick whiteboard diagram, set a couple of baseline rotations, and save the routine in the training plan for assistants to run. The focus is simple: keep the ball handler in front, deny a clean angle for the screener, and force the action into the right gaps so we can hear who’s calling out switches and drops.
Next, progress to 3-on-3 and 4-on-4 to practice decision points (when to tag, switch, or drop) with ball handlers and rollers. Run a drop coverage drill to emphasize vertical containment and a switch on pick and roll drill to stress communication when the ball handler probes and the screener options change. Track outcomes in the plan—who exchanges, who communicates, who gaps the drive—and let video clips illustrate both correct reads and common misreads.
Finally, introduce 5-on-5 to simulate game flow; layer in specific coverages (Drop, Ice, Switch) and rotations. In practice, I map each coverage on the whiteboard and pull a few short video clips from the weekly playlist to show exact reads on the ball handler and screener. Use scouting notes to tailor side-to-side rotations against the opponent, then reinforce with short-roll reads and rim-protection cues to sharpen decision-making and spacing. The goal is a cohesive week where players internalize the plan, then execute with confidence when the defense is tested in game-like reps.
Using video and diagrams to teach and verify
During the weekly plan, I lean on a robust clip library to show ball-handler reads, screener actions, and roller angles for each coverage in our pick and roll defense. We tag clips by drop coverage, switch on PnR, hedge, and ice so the staff and players pull exactly what we need before we meet. These video clips for P&R defense become the baseline for what we expect in practice and on game film.
In the plan, I diagram rotations on the whiteboard with BLOB/SLOB/ATO/PnR terminology. This is where the teaching happens: we show the exact rotation if the ball-handler attacks, if the screener slips or pops, or if the roller flashes to the rim. The whiteboard diagrams P&R keep the action concrete, so players can see, not just hear, what they’re responsible for during back-side rotations or ball-strong side pressure.
Then I build playlists for game film—short clips for individual players and collective clips for the whole team. A guard can study ball-handler reads, a big can study roller angles and screener actions, and the scout team can compare how different coverages show up in real game clips. These playlists for game film become a constant reference as we tune timing and communication in practice.
Finally, I export diagrams and clip packs as PDFs or shareable links so staff and players can reference them when scouting or prepping for practice. The ability to grab a PDF of a rotation or a link to a clip pack keeps our weekly workflow tight, fast, and scalable.
Checklist: weekly blueprint you can export
This week’s exportable blueprint is your weekly checklist for the pick and roll defense. It ties together the plan templates, the rotations sketched on the whiteboard, and the short video clips players will study. Think of it as the shareable backbone of your practice plan checklist, the P&R defense checklist you can hand off to assistants and players alike.
Scouting summary of opponent pick-and-roll tendencies: cut to the chase with how they attack shooters and rollers, where they prefer ball handlers, and common reads your team must anticipate. Include a quick note on the drop, hedge, or switch patterns you expect to see in the game plan.
Coverage plan for the week: which variants to emphasize (drop, switch on pick and roll, hedge, or ice) and in what situations they fit best. Map these to specific lineups and in-game triggers you’ll coach from the bench.
Drill sequence and progression aligned to plan: start with shell work and closeouts, move to live reads, then situational reps. Each session should feed into the weekly objectives on the whiteboard, so the flow is obvious to staff and players.
Rotation responsibilities and communication plan for assistants: who communicates ball handler and screener reads, who cues the hedge, who relays switch calls, and how the staff stays synchronized during live ball.
Video clips and diagrams prepared for both staff and players: concise clips that illustrate reads and rotations, plus whiteboard diagrams you’ll reference in team meetings.
Exported plan and clips shared as PDFs/links for accessibility: a clean PDF of the plan plus a sharable link to the video library so players can review on their own time. This is your practical, exportable edge in the weekly cycle.
If you build plans like this every week, CourtSensei keeps your drill library, whiteboard, and video clips in one place — try it free.
FAQ
What are the main pick-and-roll coverages you should master this week?
Coaches focus on four core P&R coverages: drop coverage, switch, ice defense (Down/Blue), and hedge/Blitz. Use them as your baseline, then tailor by opponent and personnel. In practice, map when to lean into each look, cue rotations, and keep communication crisp. A repeatable sequence helps players know where to be without overloading them.
How does drop coverage work and why is it a weekly staple?
In drop, the on-ball defender fights over the screen while the big protects the rim. It tightens the space for the roller and discourages pop-outs, but mid-range pull-ups become the risk. Build your week with shell work and rotations to keep gaps tight, supported by clips that show ball-handler reads and screener angles.
When is switching on a ball screen most appropriate, and what signals do you use?
Switching preserves possessions when your guards can stay in front and your big has quick feet. It’s situational—early in the clock, against teams with viable cross-matches, or when you need immediate disruption. In your plan, assign the switch, name mismatch signals, and pull video that shows screener/roller reactions.
What’s the difference between hedge and blitz in P&R defense, and when should you use them?
A hedge is hard containment with a quick recovery; a blitz is a trap that can swing momentum but opens weak-side space. Use hedge against quick ball handlers to slow decision-making; deploy blitz selectively when you’re chasing a live-ball turnover and clock allows a setup. Label cues, drill reads, and keep the roller ready for recovery.
What is ICE coverage and when is it most effective?
ICE (Down/Blue) drives the ball handler toward the sideline and loads help from the weak side. It works well against spacing teams, but rotations must be tight to avoid slips. In your week, run quick decision-and-teach clips to show the sideline funnel and where the screener should slip, then decide when to stay in a conservative shell.
Which P&R coverage yields the fewest points per possession, and why is the answer not one-size-fits-all?
There isn’t a universal winner; results depend on personnel and opponent tendencies. In many plans, disciplined drop or ice with clean rotations limits clean looks best. Your weekly plan should test 2–3 coverages, track results, and adjust based on scouting and game film.
