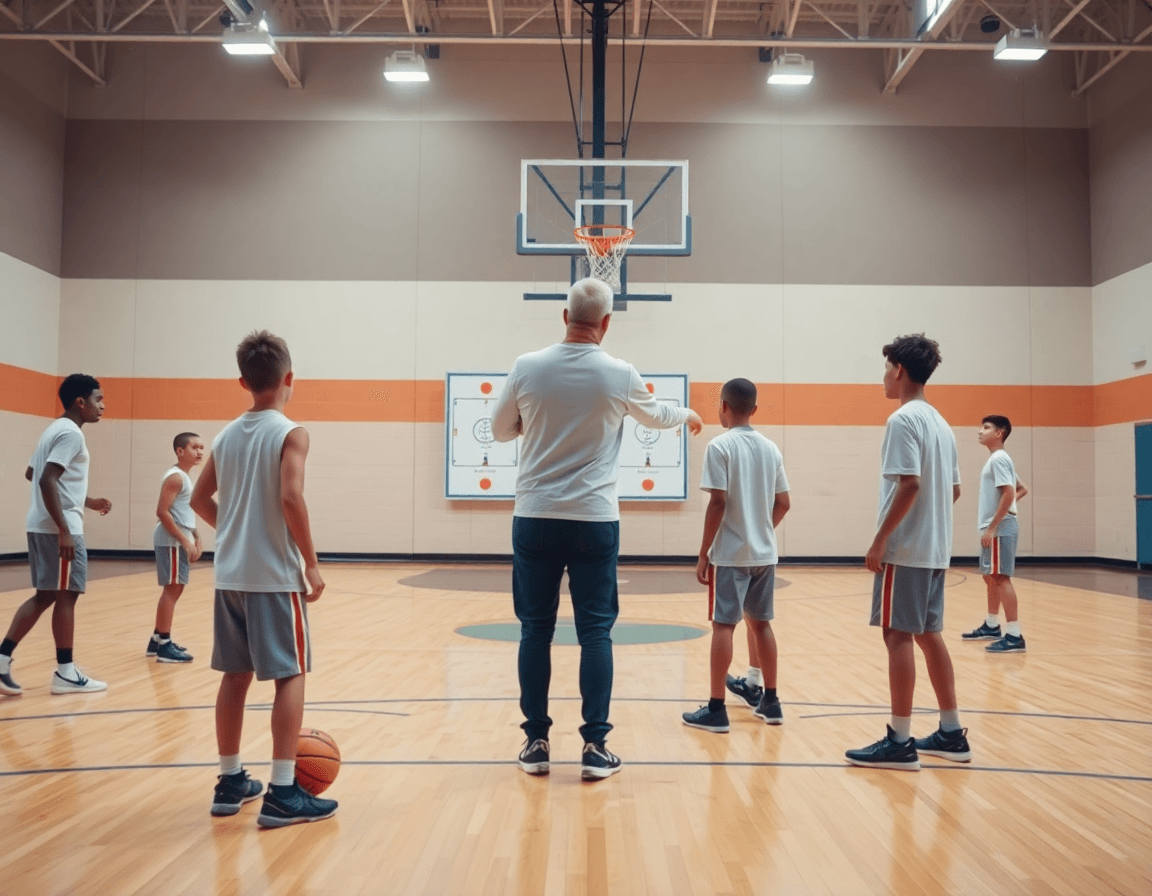
Pick and Roll Drills for Youth Basketball
Practical pick-and-roll drills for youth basketball: progression, spacing, and reads, plus a coach-friendly weekly workflow with integrated video, playbook, and notes.

Key takeaways
- Prioritize the why: teach the ball handler reads and screener spacing before footwork.
- Use 1-on-0 to 2-on-0 progressions to ingrain timing, space, and reads early.
- Build a library of pick-and-roll drills tied to reads, options, and playbook notes.
- Emphasize spacing and timing to create driving lanes and clear reads under pressure.
- Treat decision-making as a weekly library: read the defense and choose attack, flare, or roll.
Start with the why: fundamentals of the pick-and-roll for youth
In youth basketball, the how starts with the why. Ground the pick-and-roll in core concepts that your players can read and react to under pressure. Define the ball handler as the playmaker who must read the defender’s stance and choose the best option, and define the screener as the screen-setter who preserves spacing and creates angles for the ball handler. As the defender reacts, the reads they face—pull, roll, or pop—shape every decision you’re teaching. Build this understanding before you worry about footwork or passes.
Use simple progressions to build technique before defenders enter the drill. Start with 1-on-0 and 2-on-0 progressions to ingrain timing, space, and decision paths without pressure. Let players feel the pocket pass, the hedge, and the slip at slow speeds, then layer in pace. The goal is that, when defenders do challenge, the reads become automatic rather than improvisational. Keep coaching focused on decision-making and spacing, not just technique.
In your coaching workspace, frame this as a weekly plan that grows into a library of actions. You can create a library of pick-and-roll drills, draw and animate actions, and build playbooks for different age groups. Upload short clips of each progression, then attach scouting notes to every action to guide game prep. When you’re drawing up the plan for the week, link the drill to the read, the ball handler option, and the screener angle—so the players see how the action translates from practice to game tempo.
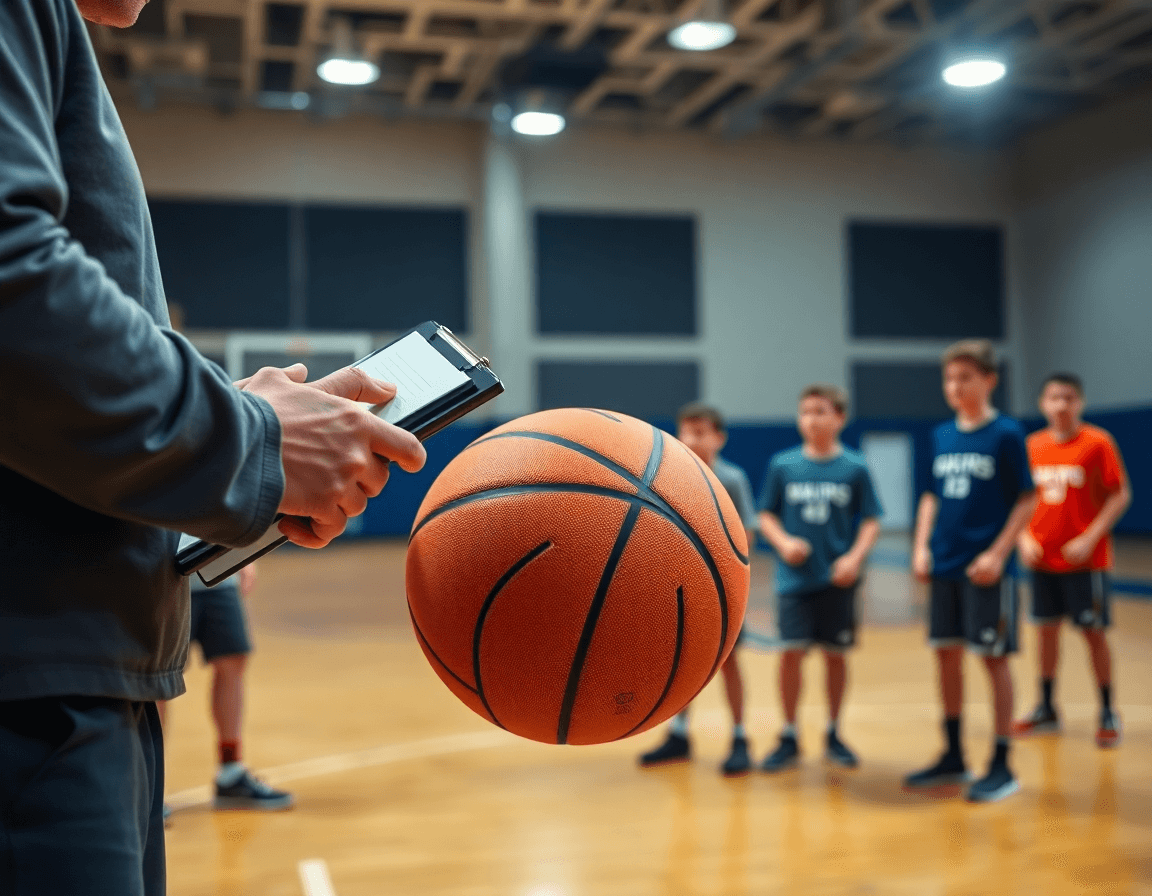
Progression sequence: 1-on-0 to 2-on-2 reps
In the weekly plan for pick-and-roll drills, you guide coaches through a deliberate progression from 1-on-0 to 2-on-2 reps. Build a library of actions in your coaching workspace—draw and animate the ball screen, assemble playbooks, upload clips, and attach scouting notes for game prep. The aim is to sharpen reads and timing for a driving lane, a pass option, or a shot.
1-on-0: start with the ball handler reading the screen and developing the rhythm of a quick attack. The screener sets the screen, and the ball handler practices options: driving the lane, dropping a pass to the roller, or swinging to the weak side. The objective here is decision timing and spacing.
2-on-0: bring in the screener and the ball handler, still no defense. Now emphasize the timing of the screen, the choice to roll or pop, and the passes that feed the rolling player. The objective is solid action timing and spacing to create a clean read for the next decision.
2v2 rollout: this is a concrete example to build comfort with reads and timing. The offense runs the action with two ball handlers and two defenders to simulate pressure, focusing on reads: can the handler split the defense, does the screener seal, and does the roller find the gaps. The objective remains clear: create dependable options off the ball screen and keep the tempo consistent.
With defenders added: now you add live defenders to challenge the options. The drive, pass to the screener rolling, or kick to the shooter all count, but the emphasis is decision-making under pressure and completion of the action in rhythm. Tie this phase to the driving lane, pass option, or shot objective.
Level-specific adjustments: as players grow, dial back or up the pace and complexity. Younger groups benefit from bigger spacing, longer decision windows, and simpler screening angles. Older youth can handle tighter curls, quicker passes, and more aggressive hedges. Update the plan in the workspace to reflect these changes.
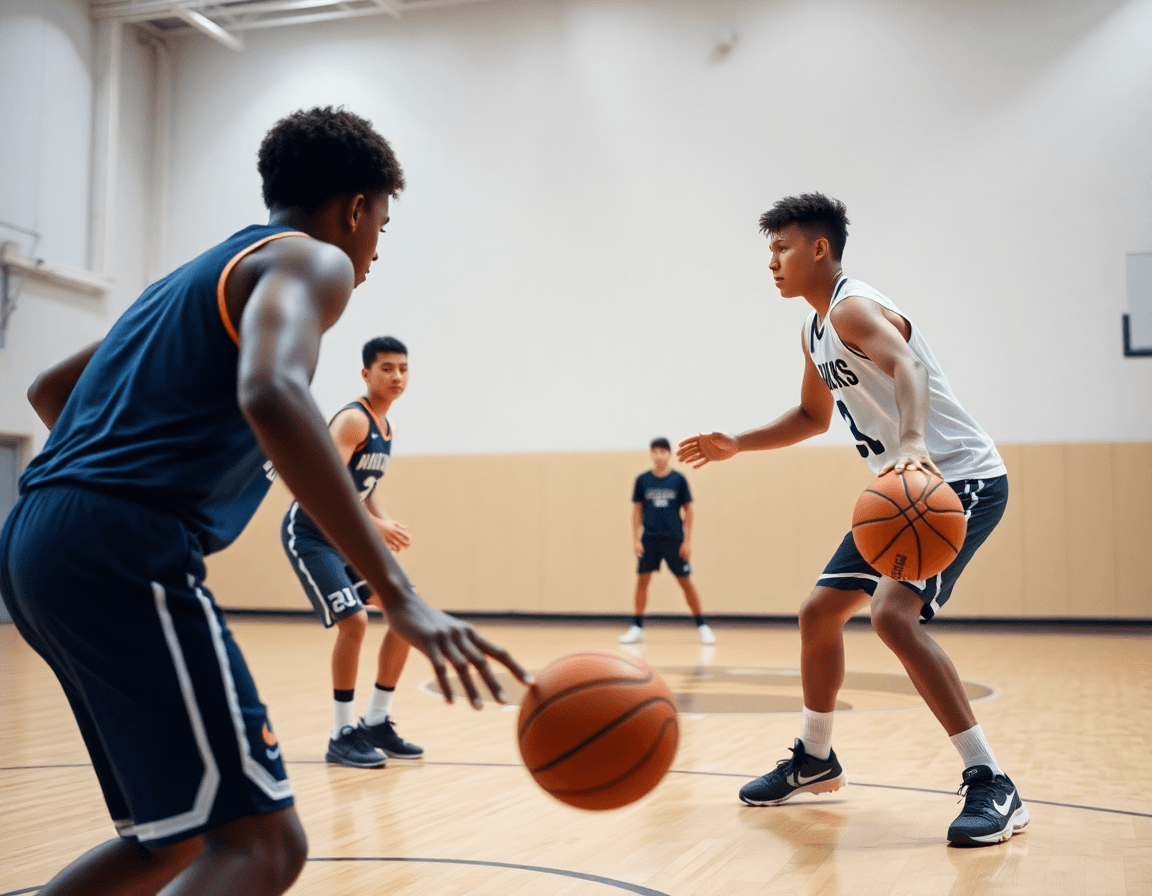
Spacing and timing: building driving lanes
Spacing and timing are how you turn a basic ball-screen into a productive drive for youth teams. Position off-ball players to maximize drive lanes and shot opportunities. In your weekly plan, build a library of pick-and-roll drills that emphasize spacing—where every player stands relative to the ball, the screener, and the roller. Use the floor to map paths for the ball handler, the screener, and the roller so reads are immediate and clear. Treat each drill as a mini-play you can draw, animate, and fold into your playbook.
Timing is the hinge of the action. Coordinate the screener with the roller timing for a clean handoff or roll. Start simple with 2-on-2 sequences to lock in spacing, then add pressure from the defense. Use straightforward reads: if the defender goes under, the drive opens; if the hedge narrows, the roller dives or slips. Build a progression from basic screen-and-roll reads to more complex options that still prioritize a clear lane to the basket.
Adjust spacing for age and skill level to avoid crowding and help reads. For younger players, keep gaps wider and limit the number of options to prevent confusion. For older teams, tighten the spacing gradually and introduce multiple reads off the hedge and floor balance. Use simple drills to reinforce spacing before layering in defense. That way, the drive lane stays clean and your ball-handler can attack with confidence.
With CourtSensei, you can frame this as a weekly workflow: draw and animate the action, assemble a playbook, upload clips, and attach scouting notes to each action for game prep. Build a cohesive library where every spacing and timing drill ties back to the drive to the basket.
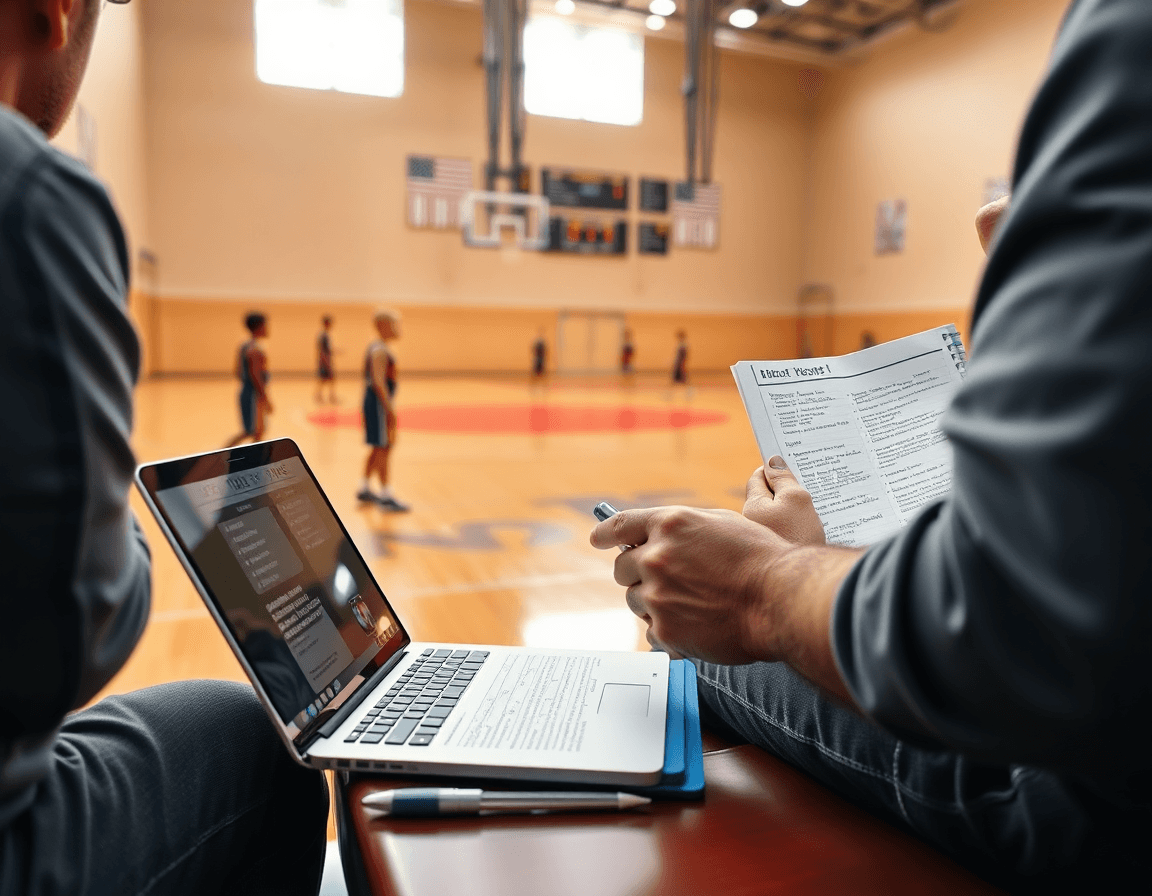
Reading the defense: decision-making on the fly
Set the tone for the week by building a library of pick-and-roll drills that train players to read the defense. In youth basketball, hedge, drop, and switch coverages create the decision points you want your players to master. In the coaching workspace, storyboard each action: screen the ball, read the defense, then choose an option—ball-handler attack, screener flare, or roll to the basket. Each action can be drawn, animated, and saved as a progression, ready to be dropped into a playbook or shared as a clip.
Make communication a core habit. The on-court dialogue between the ball handler and the screener sets the tempo for every action. Use quick clips and annotated notes to reinforce cues, such as calling out hedges or signaling when to slip. Attach scouting notes to each action so the team understands how to attack a hedge vs. a drop or a switch, and how the screen-and-roll rhythm changes with defensive pressure. This is where the playbook comes alive with game-prep context.
Add variations to challenge reads under different defenses. Use hard hedges, drops, switches, and blitzes in the progression to keep players honest. Run short, quick-reaction drills that test timing and decision speed—keep the ball handler ready to pull the trigger after the screen, or to swing to the screener for a skip pass. Tie each variation to a scouting note so adjustments are clear for the next session. The result is a more adaptable read for the pick-and-roll that translates into game situations.
Practical weekly workflow: plan, practice, review
Think of the week in three rings: plan, practice, review. In your coaching workspace, start with a planning session and pull from the plan library to build drill blocks for pick-and-roll actions—ball-screen timing, screener rolls, ball-handler reads, and spacing. Set clear weekly goals: decision speed, spacing discipline, and communication. Allocate time blocks for a typical 60-minute youth session: 10 minutes warm-up, 25 minutes for two drill blocks, 15 minutes of live reps, 10 minutes for feedback. Use notes in the plan library to capture progression steps and keep staff aligned. This routine keeps your week predictable and everyone on the same page.
During practice, run the drill blocks in rotations: Block A, Block B, then situational reps. Use the tactical board to draw and animate actions so players see the exact reads—where the screener steps, where the ball handler turns the corner, where the roll happens. After reps, upload short video clips and keep a few sequences as exemplars; share read-only links with assistants so the team can study the progression without pulling players out of drills.
At the end of the week, hold a quick review: watch the clips with the group, pause at decision points, and tweak the plan in the library for next week. Attach scouting notes to each action to capture opponent tendencies and game-prep ideas—hedging on ball screens, gaps in coverage, and how to attack late-clock setups. Export the weekly plan as a PDF for staff alignment and keep a reference-ready clip library for sideline or film-room use.
Tools and templates to support your plan
Think of your weekly plan as a living library: in your coaching workspace, you can build and annotate a playbook of pick-and-roll actions for different scenarios. Each drill is tagged by setup—ball handler on the wing, screener near the top, drop coverage, or screen-and-roll variations—and linked to notes about spacing, reads, and decision points. This keeps progression clear: from early progressions to tighter timing as you tighten the plan for the week.
Draw and animate plays on the digital board to visualize angles, screen depth, and the roller path. You can perform a PDF export for distribution and organize clips into playlists that mirror your practice sessions. A short video clip attached to each action helps coaches and players see the exact timing of the pass, screen, and roll without leaving the plan.
Share targeted drills with your staff through read-only links. Create a specific drills page or play from your library and give assistants access without altering your master files. This makes it easy to distribute a precise sequence, like "ball screen to rolling screener" or "roller reads the gap," without rewriting or duplicating content.
Finally, connect each drill to supporting scouting materials so game prep reflects opponent tendencies. Attach scouting reports and linking materials to the action, so when you review clips you see how a defender hedges a screen or how rotations alter the read. This alignment keeps your weekly plan relevant to the next matchup.
FAQ
What is the pick-and-roll and why teach it to youth basketball teams?
The pick-and-roll is a two-player action that creates a driving lane off a screen. For youth, teach the ball handler as the decision-maker and the screener as the spacing creator. Start with simple reads—drive, pass to the roller, or swing. Use 1-on-0 to 2-on-0 progressions to build timing before defenders appear. In CourtSensei, frame this as a weekly plan, build a library of drills, draw and animate actions, and attach scouting notes to guide game prep.
What are the most common mistakes coaches make when teaching the pick-and-roll?
Common mistakes include cluttered options, poor spacing, and teaching footwork before reads. Coaches sometimes overload decisions, and hedge too aggressively, closing driving lanes. The fix is simple progressions: start 1-on-0 and 2-on-0 to lock in timing, then add a defender and require the ball handler to choose between drive, pass, or swing. Use clear cues and limited reads at first. In CourtSensei, catalog these missteps in a library of pick-and-roll drills and attach scouting notes for game prep.
How can you teach players to read the defense in the pick-and-roll?
Teach players to read the defense by staging hedge, drop, and switch scenarios. Have the ball handler study the defender’s stance and path, then choose from drive, pass to the roller, or roll/flare. Start with storyboarded actions at slow speed, then add live defenders to keep reads clean under pressure. Use CourtSensei to storyboard every action, draw and animate reads, and attach scouting notes to support game prep.
Should youth teams focus more on the ball handler or the screener?
In youth, focus on the ball handler as the decision-maker first, maintaining spacing and reading the defense. Once timing and reads are solid, bring in the screener to set strong screens and create angles for the handler. A balanced approach keeps options clear and avoids crowding. In CourtSensei, connect each drill to the read and the screener angle in the weekly plan and playbook so players see the action as a shared responsibility.
How do you integrate the pick-and-roll into existing team offense?
To integrate, map pick-and-roll actions into your existing offense as a weekly plan and growing library of plays. Tie reads to ball-screen options, mesh with off-ball movement, and align spacing with your current tempo. Build a library of actions, draw and animate each play, and attach scouting notes for game prep. Use clips to connect practice progress to in-game decisions.
What age is appropriate to start teaching the pick-and-roll in youth basketball?
There’s no single age to start; begin with basics once players grasp spacing and decision-making. Typically, introduce the concept around the 9–12 age range, then scale up to 2-on-2 and 3-on-3 as they progress. Prioritize simple reads over fancy actions, and use stepwise progressions (1-on-0, 2-on-0) to keep rhythm. In CourtSensei, tailor the weekly plan to age range and skill, updating the library as players grow.