Individual Basketball Drills: A Weekly Workflow for Coaches
Coaches: weekly plan to develop individual basketball drills—design, diagram, record, and share solo practice with video feedback to boost ball handling, shooting, and footwork.
Key takeaways
- Establish a dedicated weekly cadence of solo drills to drive ball handling, shooting, and footwork growth.
- Link the weekly plan to a library of drills and level-based progression for each athlete.
- Diagram sequences on the whiteboard, pair drills with quick video clips, and assign playlists for reinforcement.
- Rotate through blocks with short reps, feedback, and resets to boost confidence and cleaner form.
- Sequence drills by difficulty, progress from form shooting to movement, to prevent fatigue and build rhythm.
- Capture short clips for feedback reels, tag by drill, and share through Practice Plans to reinforce learning.
Why weekly solo drills matter for skill development
For me, a weekly cadence of solo drills is non-negotiable. When the calendar flips to each week, I map out a focused micro-cycle that hones the core skills: ball handling, shooting, footwork, and a solid defensive stance. The idea behind solo drills is simple: repetition builds feel, and a steady weekly plan keeps players from stalling between team sessions. When we lock in these routines, players own the reps that translate to practice plans and game nights.
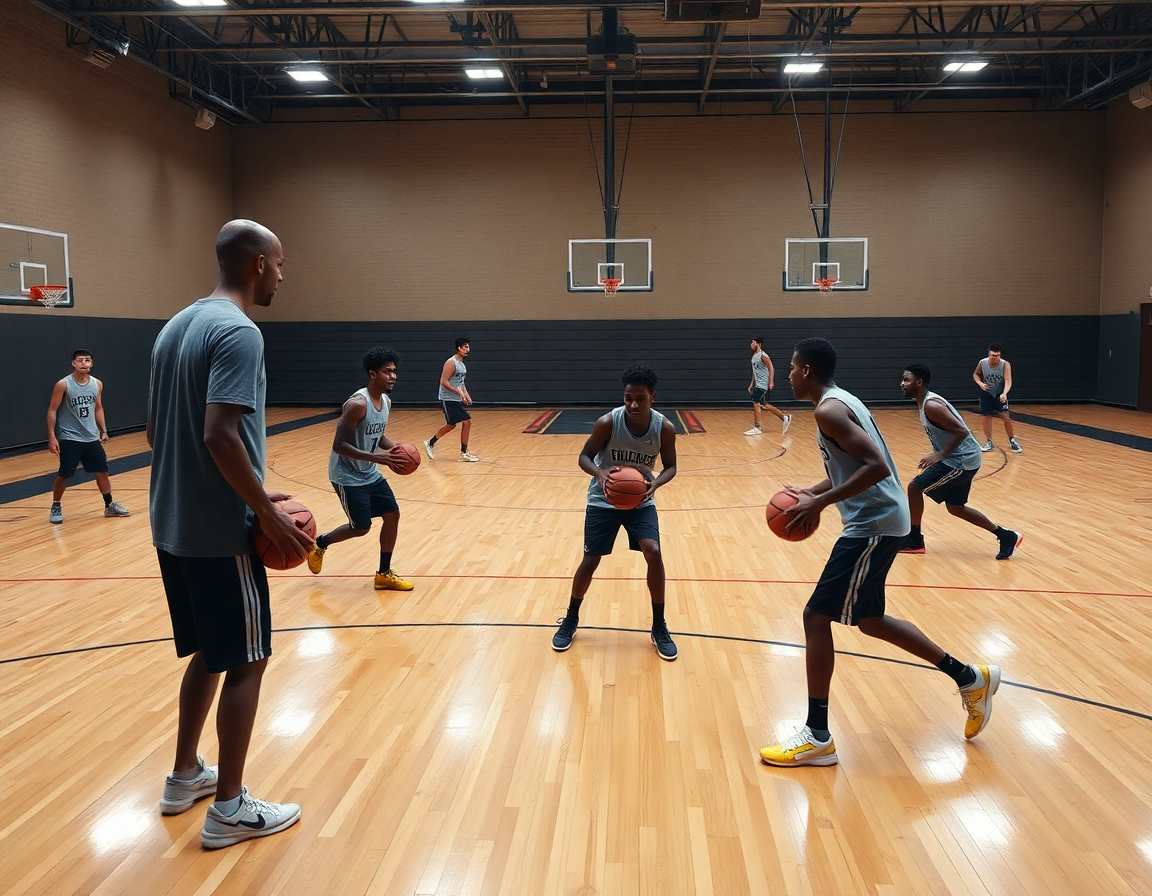
With a weekly plan, I pull from our library of drills to outline progression by athlete and level. A typical week might start with ball-handling sequences like spin outs and wall passes, then move into form shooting and a Mikan drill finish. I keep a few staples handy—chair drill for quick feet, dribble drills in tight spaces, and simple dribble-to-shot progressions—so every player has a path. The goal is that each athlete advances at their pace while the team builds a shared language through the plan.
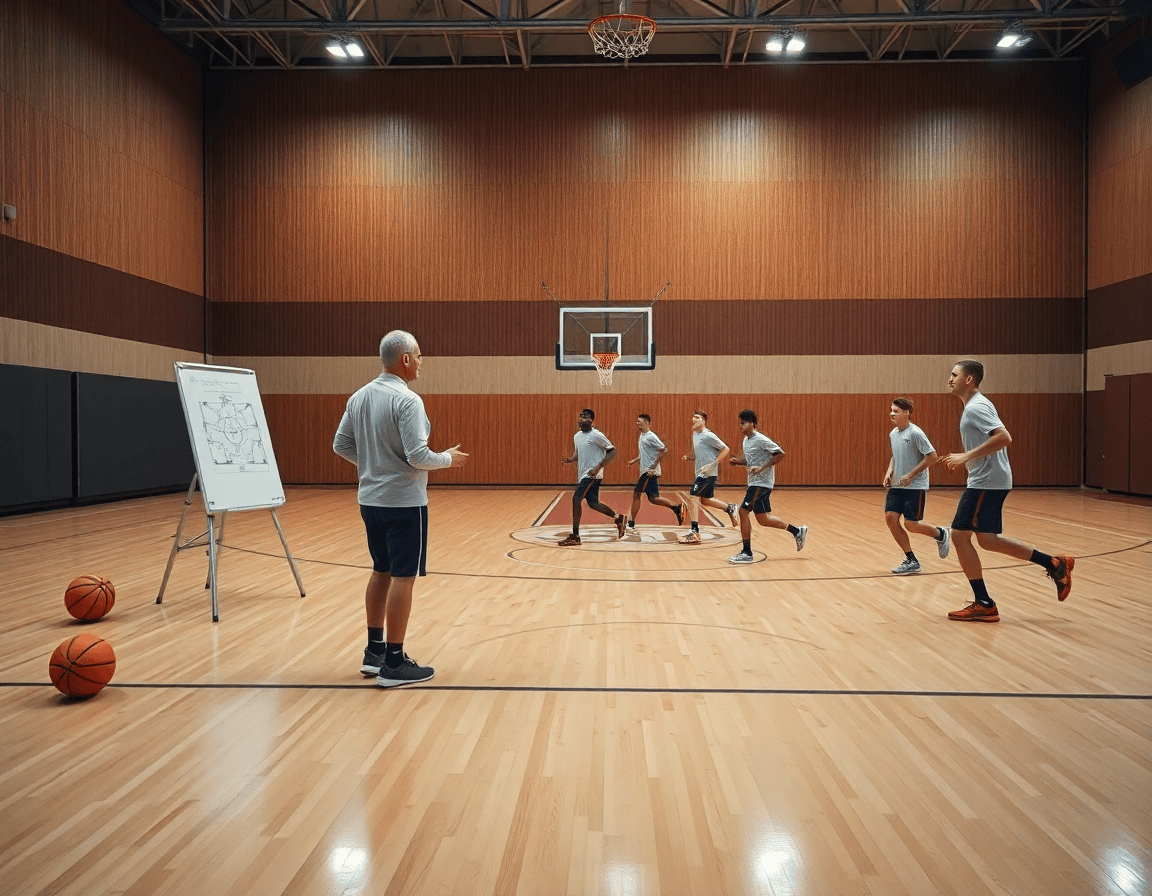
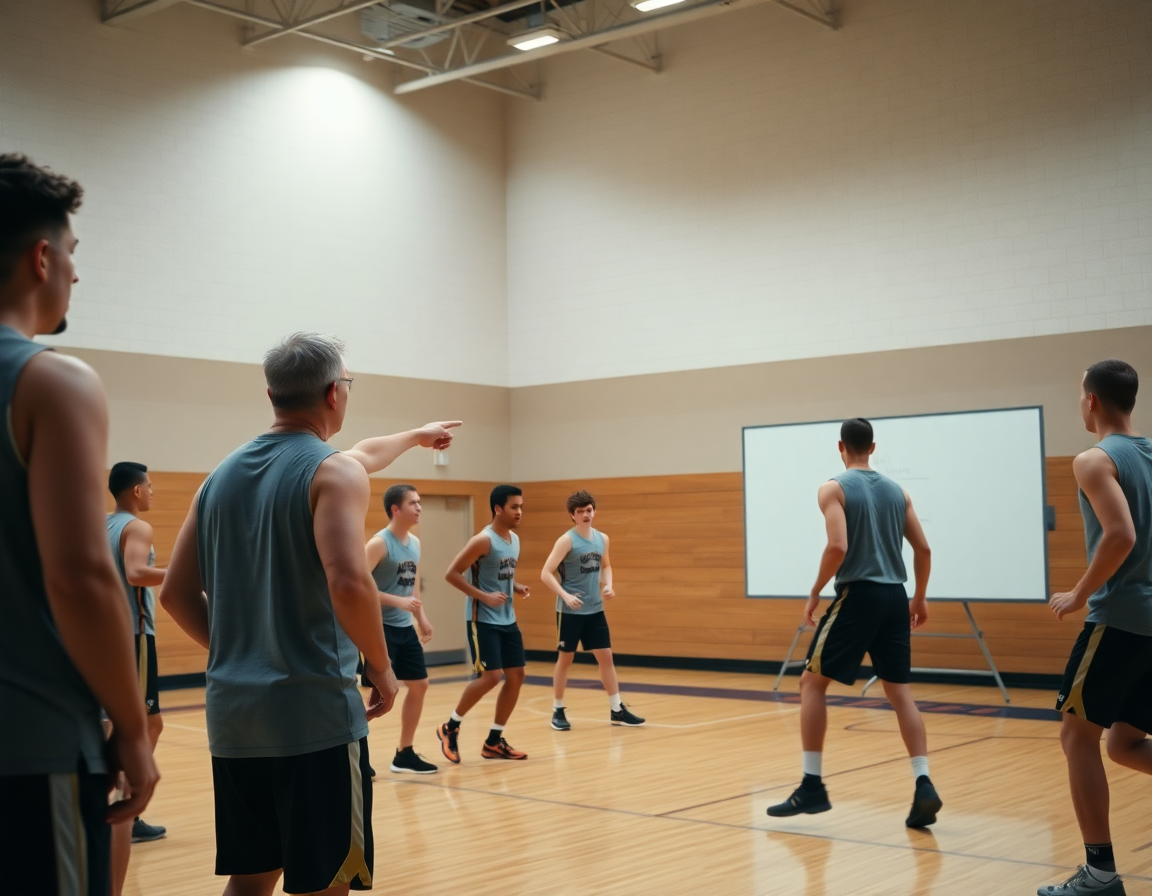
On the court, the workflow comes to life: I diagram the sequence on the whiteboard, assign a quick video clip for each drill block, and drop the pair of drills into a player’s playlists for reinforcement. The video library makes it easy to share clips with players, and the practice plan ties the solo blocks to team sessions. When we rotate through these blocks—short reps, feedback, and quick resets—we see more confident ball handling, smoother form shooting, and cleaner defensive stances in the next week.
Selecting the right solo drills for your weekly plan
As you build your weekly plan, start with one habit per day. Isolate the core skill you want every rep to reinforce, and you’ll see consistency emerge faster. In the plan, label Day 1 around a focused block of solo drills—this is where the week begins to take shape. For example, a tight Day 1 emphasis on a stationary dribble and basic ball handling sets the tone. Keep the cues simple and repeatable so players can own the rhythm. These are individual basketball drills you can run with the squad, including basic dribbling drills that build rhythm and ball security. Use the whiteboard to sketch the setup, and drop in a quick video clip later to show the exact stance and hand placement. This is where planning meets execution.
Mix classic moves with modern patterns to keep players progressing and engaged. Pair a traditional Mikan drill with modern cone drills and finishing patterns to create variety across the week. Add wall passes to simulate sequential reads and quick release concepts when a defender is near. On the board, map the sequence and the reps so assistants know what to cue. Store a handful of representative video clips for each drill and share them with players after practice. When the plan is clear, players can replicate the exact technique during drills and in game prep.
Order drills by difficulty to create a smooth progression over the week. Start with easy handles and form shooting, then layer in movement and decision-making as reps accumulate. Use the plan to segment days from simple to complex so fatigue stays in check and confidence climbs. In your scouting notes, the sequence should read like a ladder: easy ball handling, then pivot footwork, then finishing patterns, then a combined sequence. CourtSensei makes this tangible: assign curated playlists to players, reference the video library for reinforcement, and keep everything tied to the weekly plan.

Practical workflow step: build, diagram, record, and share
Your weekly workflow step begins with building a drill block in your Practice Plans that center on individual basketball drills. Outline 3–4 core moves for the week—think spin outs, chair drill, and Mikan drill—and pair them with a simple progression for ball handling and dribbling drills. For a HS or junior college squad, that block anchors both the skill work and the reps you want players to repeat on their own, from wall passes to form shooting.
Diagram each move on the whiteboard. A clean diagram shows where the defender and space are, the angle of the dribble, and the timing for a cross or a stop. Use the cue dots and arrows to communicate the rhythm, so when you walk off the floor, players can recreate the action at home. This is how you translate a concept into a repeatable sequence for solo drills and rhythm-based work.
Capture short video clips as players run through the drills during practice. Those clips become feedback reels: a quick clip on a mis-timed hesitation or a clean finish from the Mikan drill that you can show in video sessions or send via the library. Tag clips by drill name and store them under the weekly block for easy reference, whether you’re coaching ball handling or shooting off the wall.
Finally, assemble playlists or shareable links so players can reinforce the week on their own. Assign the curated playlists to each player through Practice Plans and share the clips in their home or off-days rotation. This makes it easy for them to revisit chair drill, form shooting, or a sequence of solo drills until the moves feel second nature.
All told, this workflow step links planning, diagramming, and media into a smooth loop that elevates individual basketball drills across your squad.
From plan to action: warm-up, skill blocks, and progression
Start with a dynamic warm-up that primes the chosen skills (footwork ladders, light dribbles, and quick direction changes). In my weekly plan, I label a warm-up block that ties directly to the day’s focus. On the tactical whiteboard I diagram the sequence so assistants know what to cue while players get into a steady rhythm. A quick spin outs sequence or a wall passes rep fits here as prep, and the plan keeps solo drills linked to the tempo.
Two to three skill blocks per session, each with a clear progression—tempo, distance, resistance. Example: Block 1 on ball handling and footwork with two-ball dribbles; Block 2 on form shooting and the Mikan drill from the left block to the rim; Block 3 on finishing with ball protection using wall passes and separation moves. The progression grows with tempo, extends distance, and adds light resistance with a heavier ball if available. I keep diagrams on the whiteboard and capture short video clips to illustrate technique and variations for each block. These are solid solo drills that you can mix into any weekly plan, from ball handling to dribbling drills, form shooting, and finishing sequences—even swapping in chair drill or spin outs as needed.
End with a quick competency check and a plan for next week. Can the player execute the sequence with clean form at game speed? Note the result in the weekly plan and adjust the progression for the coming week. Then assign a tailored playlist with curated solo drills and a short video clip for reinforcement, accessible via a shareable link. This is how a weekly plan feeds directly into in-practice action, right from warm-up to the last rep.
Leveraging video, playlists, and shareable clips to reinforce solo work
During the weekly solo work block, I start by compiling a short video that illustrates correct technique and common flaws. We watch it in the plan of training, pausing at key moments—where the elbow flares during form shooting or the stance wobbles in a spin out. I add a quick voiceover and on-screen annotations to call out details players should copy or fix. That clip lives in our video library, tagged by drill name (wall passes, chair drill, Mikan drill) so I can pull it again next week. This is where the rhythm of solo drills—ball handling, dribbling drills, and form shooting—becomes repeatable.
With the clip in place, I build a player-specific playlists of targeted drills to reinforce the lesson between sessions. A guard might get clips focusing on ball handling and dribbling drills, with elements from spin outs, chair drill, and Mikan drill, plus extra form shooting reps. As I map this on the plan and on the whiteboard, the drills feed directly into the practice block and the video library; when the time comes, the same plan surfaces the recommended sequences for each player. The goal is a clean loop: watch, execute, review, repeat.
Sharing is the bridge to consistency. I generate a central link to the player's shareable space where the video, coaching notes, and playlists live. Assistants see the same clips, add notes, and players can revisit the exact messages we discussed in practice—elevating solo work outside the gym. With shareable clips, every drill—from wall passes to Mikan drill—has a home, so everyone stays aligned on expectations and progress. The workflow stays tight: plan, diagram on the whiteboard, export the clip, assign to the playlist, and share.
Measuring progress and adjusting your weekly cycle
In the weekly cycle, measuring progress is the compass that keeps your individual basketball drills honest. Each drill—whether spin outs, chair drill, solo drills, ball handling, dribbling drills, wall passes, form shooting, or the Mikan drill—has clear expectations for reps, duration, and shot accuracy. When you set up the plan in CourtSensei, you attach metrics to each station, so you can see if your players are trending up across the cycle. This is where the power of a coach-driven workflow shines: you build, you diagram, you review, all within a single system that anchors every drill to real numbers.
During practice, you actively track data in the plan and on the whiteboard. As you run through a session, you log reps and minutes for each drill and note shot results. Afterward, you pull a short video clip from the session—focusing on the form shooting arc, a sequence of wall passes, or a tight Mikan drill moment—and store it in the video library. Share that clip with players via a curated playlist for reinforcement, so they can study the exact technique outside of practice in a consistent way.
Week over week, you compare progress and adjust the weekly cycle accordingly. If mastery is lagging, you push the difficulty—faster pace, added constraints, or reduced rest—to force growth. If a player shows steady improvement, you dial back slightly to keep it competitive. Record qualitative notes and snapshots to inform future planning—hand position on spin outs, footwork on dribble sequences, or a subtle cue from the chair drill. Those insights feed back into your plan, your whiteboard diagrams, and your next round of video clips, keeping the cycle tight and purposeful.
A ready-to-use 4-week progression for individual basketball drills
This is a ready-to-use, 4-week progression for solo drills that slides neatly into your weekly workflow. You plan it once, diagram the flow on the whiteboard, store the clips, and assign reinforced playlists to your players—inside your practice plans and video library. It’s built to scale with your team, from HS to semi-pro, without reinventing the wheel.
Week 1 centers on ball handling and form shooting—emphasize control and balance. Start with the spin outs to smooth rhythm and hand speed, then couple in the chair drill to lock in stance and footwork. Add a few wall passes to simulate passing angles while you’re tired. Finish with focused form shooting from close range, capturing reps on video to compare posture from rep to rep. Tag the clips in the library and drop a short playlist to each player for reinforcement between sessions.
Week 2 moves into offensive moves in tight spaces—cone work and pull-ups. Set up a tight corridor with cones and attack sequences: jab step, hesitation, drive, and a pull-up jumper. Mix in quick pivot shots around the cones to mirror a defender’s challenge. Throughout, keep a dribbling drills rhythm that pressures both hand and footwork. In your plan, assign Week 2 drills to players via a playlist and file the best breakdowns as reference clips for later review.
Week 3 targets footwork, pivots, and defensive slides—change of direction focus. Run through hip-educated pivots, inside-out dribble patterns, and lateral slides with quick recoveries. Use a solo drill like the Mikan drill to thread finishing touches into your footwork sequence. Capture the motion in clips, tag the clips, and re-share to emphasize technique in your weekly plan.
Week 4 merges these skills in a mini solo scrimmage and builds the next cycle. Create a compact game scenario where players execute the week’s moves in succession, then review the video to plan the next progression. This completes the loop: plan, diagram, clip, and assign—all linked to your practice plans and video libraries so every player moves forward with clear, repeatable reps.
If you build plans like this every week, CourtSensei keeps your drill library, whiteboard, and video clips in one place — try it free.
FAQ
What are some solo basketball drills I can do at home?
Start with a quick warm-up, then hit the staples: stationary dribbles, line drills or cones, wall passes, and form shooting from close range. Add the Mikan drill for finishing around the rim and the chair drill to sharpen quick feet. Keep reps short and sharp, track feel, and adjust the progression each week. A simple weekly block makes solo drills practical between team sessions.
How can I improve ball handling without a defender?
Build rhythm with pace control and precision. Do 2-ball dribbles, strong-hand and weak-hand work, and stationary-to-moving sequences. Use closed spaces and wall passes to simulate reading space. Increase reps weekly, but keep form crisp. Focus on improving ball handling through pace, control, and change of direction. Track progress by speed and control.
What does BEEF stand for in shooting form?
BEEF is a shooting-form cue. It stands for Balance, Elbow, Eyes, Follow-through. Use it to diagnose faults: stay balanced, keep the elbow under the ball, keep eyes on the target, and finish with a smooth, high follow-through. Use BEEF each set of form shooting reps to reinforce consistent mechanics.
What is the Mikan drill and why is it useful?
The Mikan drill focuses on finishing from strong angles near the rim using the opposite hand. It builds touch, better footwork around the basket, and finishes that stay under control when contact comes. Pair it with finishing variations and progressive reps to reinforce strong finishes in game-like scenarios.
How many reps should I do in solo drills?
Focus on quality over quantity. Start with 4–6 drill blocks per week, 40–60 reps per block, then build to 60–100 total reps as your form holds. Keep the pace tight and use short resets between blocks. Track feel and control so reps translate into game actions.
Can you practice 1-on-1 moves by yourself?
Yes. Without a defender, simulate space with cones or a line, practice 1-on-1 moves like jab steps, crossovers, hesitations, and finishes. Use a wall or mirror to cue rhythm and footwork. Build a library of sequences you can run solo, then re-run them when space opens.
How should I structure a four-week beginner drill plan?
Think of it as a four-week beginner drill plan. Week 1 focuses on base skills: ball handling and form shooting. Week 2 adds movement and pivots. Week 3 layers finishing patterns and reads. Week 4 adds decision-making and sequence integration. Keep a tight warm-up, label days, and build playlists so players rehearse at home. End with a quick recap clip.
