Youth Shooting Drills: Weekly Plan for Form & Consistency
Coach-focused guide to youth shooting drills: structure, progression, and cues to build form, rhythm, and confidence in weekly practice sessions.
Key takeaways
- Define three weekly objectives: form, rhythm, and shot readiness to guide every drill.
- Limit rotations to 6–8 drills, 8–12 reps each, to preserve quality and energy.
- Start near the rim with form shooting and progress to catch-and-shoot and off-the-dribble.
- Tie each drill to game-like cues and finish lines to boost transfer to games.
- Use short video clips after blocks to reinforce correct elbow under the ball and footwork.
- Create a concise Practice Plan and share with assistants to keep the plan consistent.
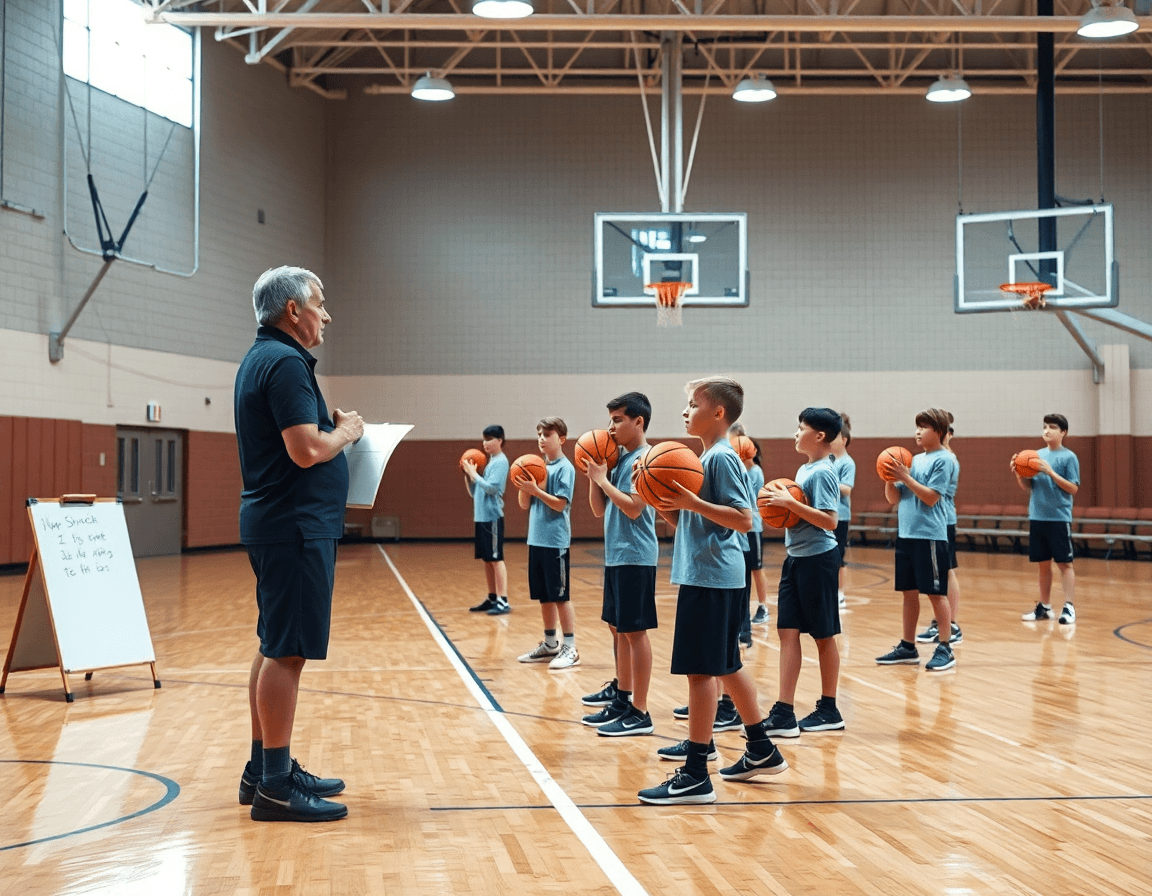
Designing a Weekly Shooting Drill Plan
Set three core weekly objectives: form, rhythm/flow, and shot readiness. For youth shooting drills, a 6- to 8-drill rotation fits neatly into a 20–25 minute session. Build the plan in a simple Practice Plan and drop it into the assistants' library so everyone starts on the same page.
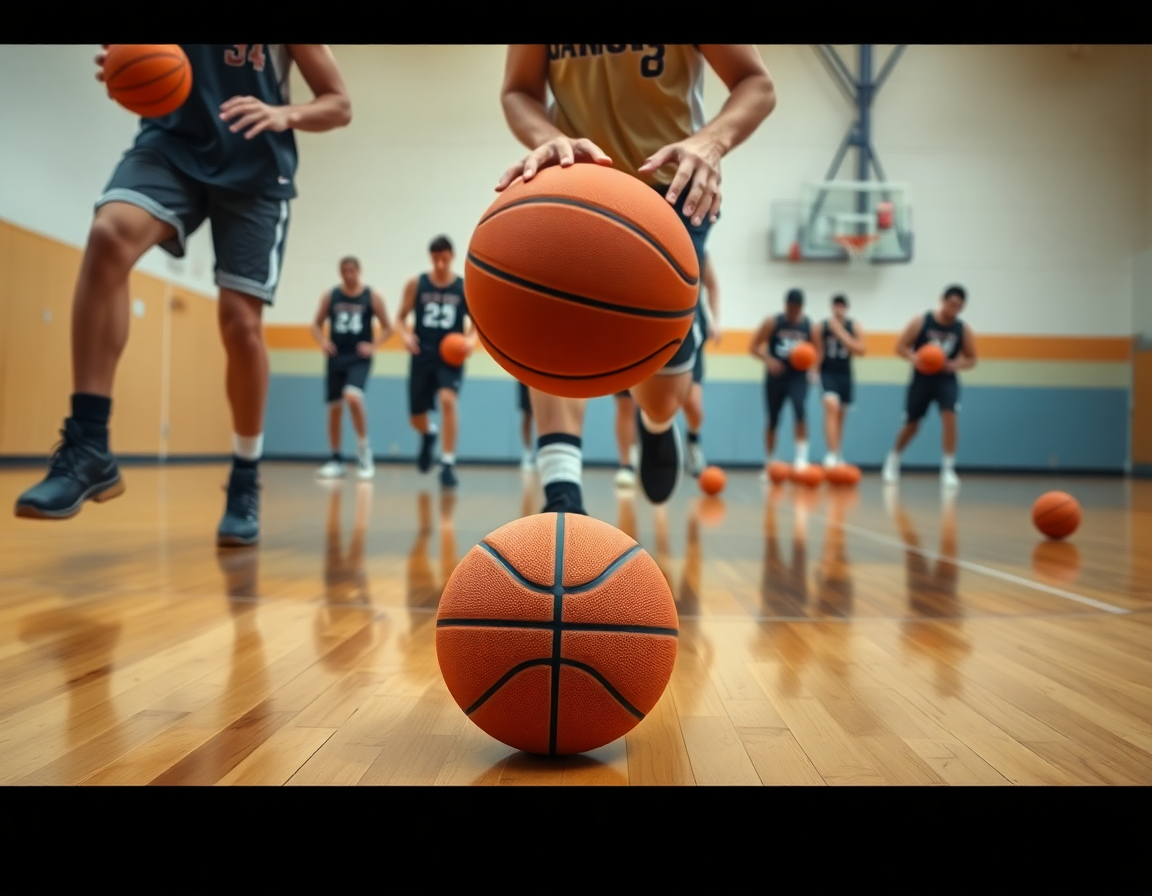
Begin with form shooting near the rim, emphasizing a clean elbow position and the elbow under the ball. Use a progression that includes one-handed form shooting as a bridge to catch-and-shoot and off-the-dribble variants.
Progress through the sequence: form shooting near rim → catch-and-shoot → off-the-dribble → game-like shooting reps. Include a Mikan drill or wall shooting as easy, low-pressure options. Limit reps to keep form sharp and energy high.
Limit reps per drill to maintain quality and energy. A practical target is 8–12 reps before rotating. With the clock running, the rotation stays tight and the team stays engaged. Document the plan in the Practice Plan and share it with assistants to keep the flow smooth.
On the floor, the weekly plan comes to life with a rapid loop: brief whiteboard angles, quick clips after each block, and a short video clip for feedback. Use Video Clips to reinforce form shooting and catch-and-shoot, then update Scouting notes if you’re preparing to face a specific opponent. End with Shareable Clip Playlists for quick player review.
Progression Roadmap: From Form Shooting to Game-Like Reps
Day-by-day progression starts with form shooting at close range. The weekly plan kicks off with form shooting fundamentals, with a quick ramp into one-handed form shooting for younger players who need balance help. I map this on the whiteboard as a ladder: start with close-range form shots, progress to elbows-under-the-ball cues, then into catch-and-shoot with feet set. In the plan, we lock a short, repeatable sequence and pair it with a quick video clip for feedback to assistants. This creates a solid baseline before we add pace.
As players mature, they graduate to finishing moves that keep rhythm and control. We add Mikan drill concepts to stress finishing around the rim, paired with sharpening finishing footwork. The progression stays simple: soft touch on the finish, then a step-through or reverse finish when space allows. I annotate reps on the whiteboard with angles and arrows and pull a highlight clip for review. Each finish ties to a game-like scoring line—layups, floaters, two-foot finishes.
With touch established, we introduce rhythm-based shots and reads off the catch. The next phase includes off-the-dribble pull-ups as players gain rhythm and balance, followed by pull-ups off a drive or screen. We pace these drills to preserve form, reinforcing footwork and balance before we pick up pace. I keep a quick scouting note on the board for each player’s balance points and drop a short video clip to show how the shot arc holds under pressure.
By linking each drill to a game-like scenario, transfer from practice to games becomes clearer. Catch-and-shoot maps to quick-attack spot-ups; off-the-dribble pulls link to late-clock decisions. The weekly rhythm keeps coaching feedback tight: update Practice Plans, drop notes in Scouting Reports, and assemble a Shareable Clip Playlist of the best reps. The loop stays tight and repeatable, which is exactly what keeps youth shooters progressing week after week.
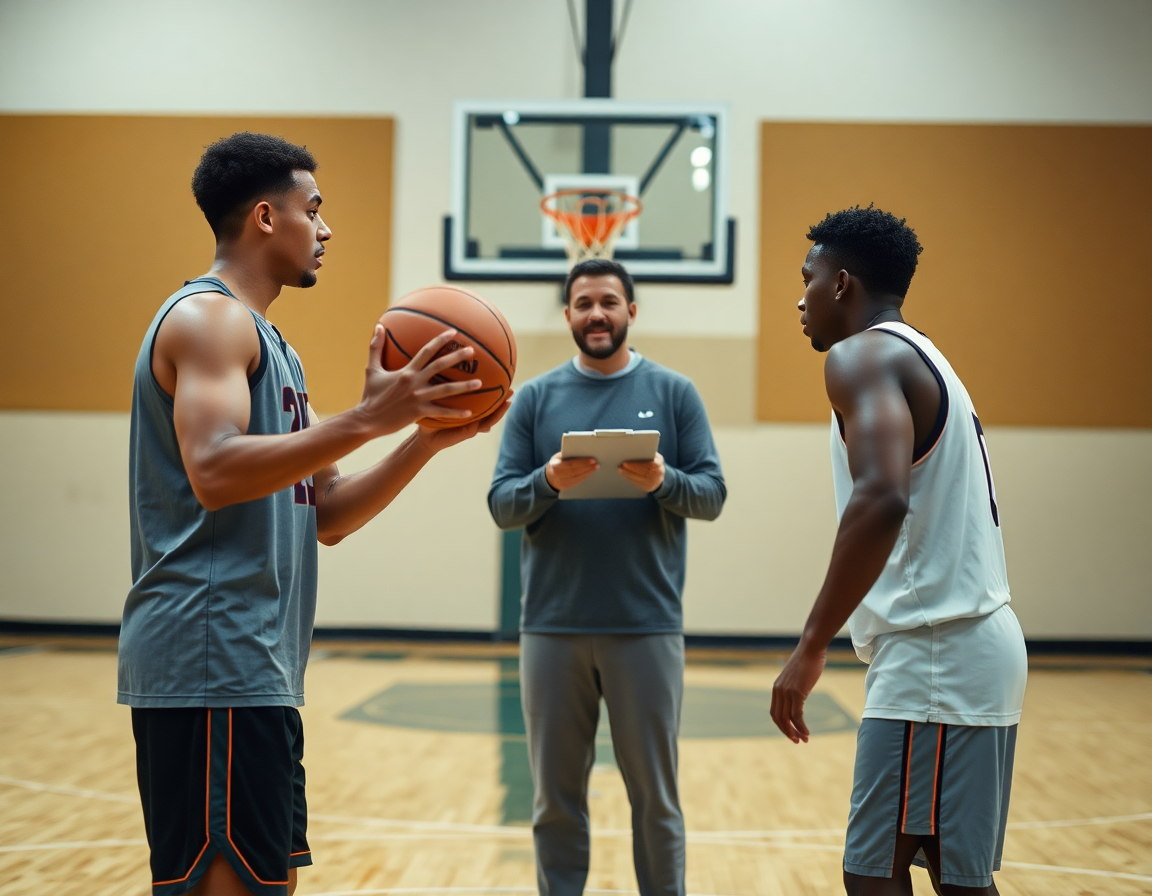
Coaching Cues and Form Checks for Youth Shooters
To coach youth shooters, I rely on a concise cue sheet that travels with every drill. The core cues stay fixed: elbow under the ball, eyes on target, balance, and a clean follow-through to target. These cues anchor our Practice Plans for the week and live on the whiteboard diagram when we walk through catch-and-shoot sequences or form shooting blocks. We also watch for elbow position during reps so players feel the setup, not just the outcome. It’s simple, but it builds a dependable baseline.
Every drill pairs with a quick form-check and an immediate feedback window. After each set, we pause 5-10 seconds for players to self-correct, then we deliver targeted cues aligned with catch-and-shoot or form shooting objectives. I lean on video clips to illustrate the adjustment, then we reproduce a clean rep in the next round. In our weekly plan, that cadence ties directly to Practice Plans and the clips playlist we’ll share with the squad.
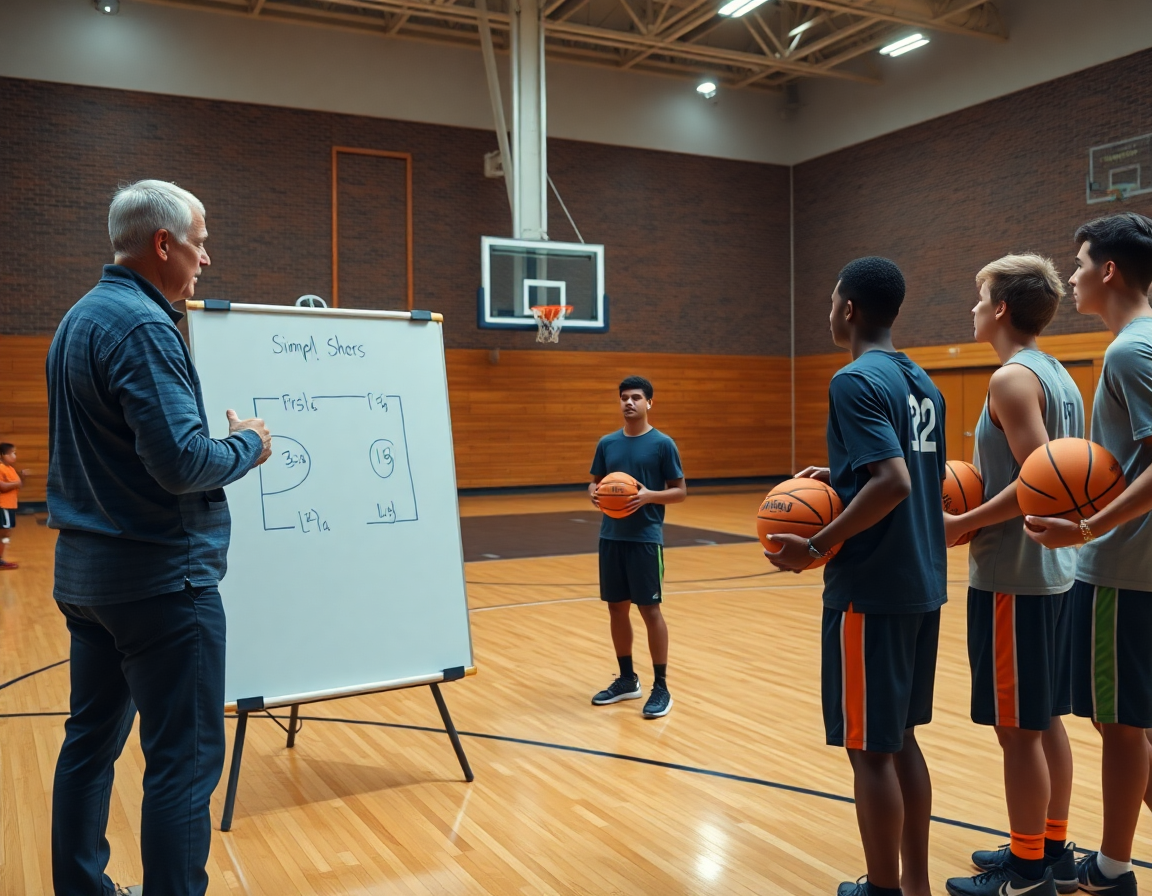
Document cues on a whiteboard diagram to reinforce mechanics. The diagram maps elbow under the ball, target zones for catch-and-shoot, and lines for progressions like the Mikan drill or wall shooting. Having cues labeled on the board lets players glance up between reps and align their motion. It’s not about memorizing every drill; it’s about keeping a consistent look across sessions.
Balance feedback between correction and positive reinforcement to maintain confidence. After a miscue, a quick cue and a nod for good rhythm keeps momentum. Tie this to the target words: catch and shoot and one-handed form shooting when appropriate; the aim is to build consistency without eroding trust. In the weekly plan, we export a clip playlist—a shareable Clip Playlist—that highlights best reps to illustrate proper form and is easy for players to review.
Video Review and Clip Playlists for Faster Improvement
During the weekly shooting block, I grab quick video clips as players work through form shooting and catch-and-shoot reps. Each clip is short—one rep from setup to release—so it’s easy to file into a player-focused playlists for later review. The goal is to turn a few reps into a steady feedback loop that hones a handful of habits by the next session.
When we slow things down, the details show up: elbow position under the ball, correct footwork, and balance through release. We sprinkle in diverse drills—wall shooting, form shooting, and the Mikan drill—to ensure the elbow stays in line and the feet set for rhythm rather than power. Slow-motion clips keep the coaching precise without interrupting flow.
After practice, I share the clip playlists with the shooter so they can watch the sequence between sessions. Seeing the pattern in their own reps helps them fix issues—whether it’s catch-and-shoot tempo, or the elbow under the ball after a drive. This creates a tight loop of feedback that travels with a player all week.
Within the weekly plan, I pull up relevant video clips on the fly during station work or small-group periods. A couple of quick looks during drills like Mikan or wall shooting can move a player from almost there to solid form shooting. The result is faster improvement across the youth shooting drills and a steadier routine by week’s end.
Scouting and Practice Integration: Turn Opponent Trends into Drills
During scouting reviews, I watch how opponents close out and what decisions follow. Are closeouts shallow, or do defenders threaten a drift into the drive? Do players drop to contest, or retreat into space for a rapid jumper? These trends shape our weekly drills, honing read closeouts and crisp decision-making under pressure so our shooters stay confident when the defense converges.
Translate those scouting notes into targeted shooting reps and decision points. In Practice Plans I tag each drill by the read closeouts and by the decision path: catch-and-shoot from the wing after a quick closeout, or off the dribble pull-up with a defender contesting. We map cues to form elements—elbow under the ball, elbow position, and a compact shooting pocket—so players know exactly what to adjust in the moment. We mix scouting notes with targeted shooting reps to keep form sharp and decisions fast.
Create scout-based plays or variations to practice in a drill rotation. For a week focused on reads and counters, the rotation might run: 1) catch-and-shoot after a drive-and-kick, 2) off the dribble pull-up vs a quick closeout, 3) Mikan drill finishing with emphasis on rhythm and placement. This approach turns opponent trends into practical reps, so players face real-speed decision points in a controlled setting. The flow keeps the group moving and the feedback tight.
Keep scouting insights accessible via a whiteboard diagram or a quick PDF guide. On the floor, I sketch tendencies with arrows on a whiteboard; later I export a concise PDF guide for the staff and players. We also assemble a Shareable Clip Playlist, linking clips of read-closeout sequences and the ideal off the dribble pull-up to reinforce the plan. This is where the plan meets the film.
60-Minute Practice Template: A Practical Workflow
During a typical week, I lock in a 60-minute shooting block in Practice Plans and chart it on the Whiteboard. We start 0–5 minutes with warm-up and form shooting near the rim, emphasizing rhythm and the elbow under the ball. form shooting and elbow under the ball anchor the tempo.
Progression drill 1 focuses on close-range form and balance. We drill close-range form and balance from two feet in the paint, then step out to a wider stance to simulate game-level footwork and recognize how tiny adjustments drive the release.
Progression drill 2 moves to catch-and-shoot with feet set. Players receive a pass and square up, emphasizing a clean catch, proper elbow position, and a quick, quiet release to keep rhythm consistent down the line. We pair this with a quick check of foot alignment before the shot.
Progression drill 3 adds off-the-dribble or pull-up sequences. We mimic angle changes, teaching decision-making under pressure while keeping the off-the-dribble and pull-up sequences smooth and repeatable.
Competitive circuit around the arc with light pressure turns practice into game-like shooting drills. Five spots, quick reads, and mobility work—players learn to identify space and pace under subtle defense. Competitive circuit and arc shape the competitive mindset in a controlled setting.
After the circuit, we do a quick video check and corrections (clip review). I tag key reps in Video Clips and highlight adjustments for the group in the next huddle. clip review and Video Clips keep feedback fast and actionable.
From 40 to 54, reps emphasize quality and rhythm. We slow down between shots, reinforce fundamentals, blend form shooting with catch-and-shoot reps, and track progress in the practice dashboard, so the team feels the tempo shift with every rep. Mikan drill acts as a touchstone for soft hands when finishing.
54–60: Wrap-up and reflection; we note adjustments for next session in Practice Plans, add scouting notes for the next opponent, and publish a shareable clip playlist for the team. wrap-up and shareable clip playlist keep the cycle tight and teachable.
Measuring Progress and Making Adjustments
Measuring progress in shooting drills for youth isn't a mystery. We use a simple rubric: form quality, rhythm/tempo, and decision-making per rep. In the weekly plan I map drills that address each area and attach them to Practice Plans so assistants know exactly what to run. On the whiteboard, I sketch a quick progression: start with form shooting close to the rim with elbows under the ball, then move to catch-and-shoot at game distance, finishing with a few off-the-dribble attempts. This keeps training focused and auditable.
During the first session, we hit a 2-minute block of form shooting, then compare to a baseline clip later in the week. Use before/after clips to visualize technique improvements—watch elbow under the ball position and release rhythm, and note any progress in balance or footwork. We tag key moments with terms like form shooting in the video notes.
To keep it concrete, we track reps and progress using clip playlists and practice notes. Each rep logged in the notes gets a quick grade; the best clips go into a Shareable Clip Playlist so players can study their motion. I’ll annotate the whiteboard with the first step into the shot and the follow-through, creating a clean feedback loop that travels with the player between sessions.
Based on observed strengths and needs, I adjust next week’s plan. If form remains solid but tempo wavers, I add wall shooting and the Mikan drill to rebuild touch. If players struggle with catch-and-shoot under pressure, we emphasize catch and shoot and elbow position drills, and weave in one-handed form shooting to build balance. The weekly plan stays intact, but the content shifts to push the right skills at the right times.
If you build plans like this every week, CourtSensei keeps your drill library, whiteboard, and video clips in one place — try it free.
FAQ
What are the best shooting drills for youth basketball?
Use a 6–8 drill rotation in a tight 20–25 minute block. Start with form shooting near the rim, then progress to catch-and-shoot and finally off-the-dribble reps. Add a simple Mikan or wall drill for low pressure. Keep each drill at 8–12 reps to maintain quality and energy, then cycle back to the start for continuity.
How do I teach shooting form to young players?
Start with simple, repeatable cues: keep the elbow under the ball, eyes on target, and a balanced base with a clean follow-through. Use one-handed form shooting as a bridge to catch-and-shoot. Pair drills with quick feedback and short video clips to reinforce the setup. Keep the cues visible on a whiteboard for consistency.
How far from the basket should youth players shoot?
Start at close-range form shots to build balance and rhythm, then gradually extend as players gain control. Focus on catch-and-shoot with feet set and a proper arc; distances matter less than mechanics. Introduce small outward steps only after balance is solid, and adjust per player to avoid breakdowns.
When should I introduce off the dribble shooting to youth players?
Introduce off-the-dribble shooting after form and rhythm are established. Start with simple pulls off a set, then add drive-and-pulls as balance and footwork improve. Keep pace slow enough to maintain mechanics, using space and game-like cues. Reinforce with video feedback and a short whiteboard recap after each block.
Can video analysis improve youth basketball shooting?
Yes. Short video clips during the block reinforce correct mechanics by showing a single rep from setup to release. Build a shareable clip playlist for players to review later, keyed to cues like elbow under the ball, proper footwork, and balance. The quick feedback loop helps players self-correct and apply changes in the next session.
How should I structure a youth shooting practice?
Structure around a concise weekly Practice Plan and a tight rotation of 6–8 drills in 20–25 minutes. Start with form work near the rim, then move to catch-and-shoot, then off-the-dribble as balance solidifies. End with quick video feedback and a shareable clip playlist to reinforce what to repeat.
