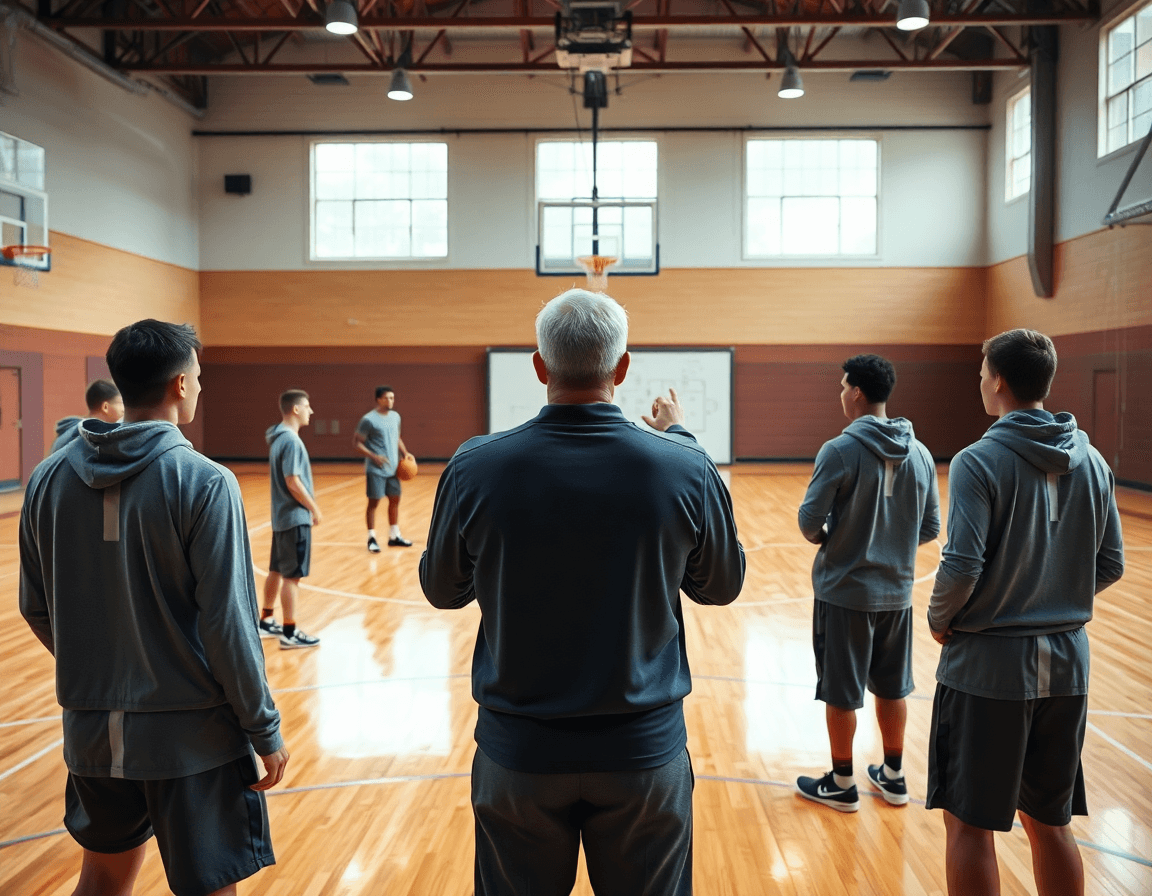
Basketball Play Calling Signals: Coach's Guide
A coach-focused guide to teaching basketball play calling signals, outlining a workflow: plan plays, signaling practice, and organize video clips.

Key takeaways
- Treat signals as part of the weekly plan; map each signal to a specific offensive or defensive call.
- Create simple decoding charts for players; use consistent terminology across practices to reduce on-court confusion.
- Build a clear weekly signal workflow; lock a signal library and map to specific situations.
- Use video to teach signals; build playlists and link clips to diagrams for quick, consistent review.
- Integrate signals into practice cadence: pre-practice setup, in-practice execution, post-practice refinement; maintain consistency.
- Log scouting notes and attach to the signal library for quick recall against similar opponents.
Frame signals within a weekly coaching plan
Frame signals within a weekly coaching plan by treating them as part of your signal planning, not afterthoughts. Map each signal to a specific offensive play or defensive call to ensure on-court clarity. Create simple decoding charts for players to reference during games and timeouts. Use consistent terminology across practice plans to reduce confusion. Schedule signal practice into the weekly calendar, aligning with upcoming opponents or game scenarios. Example: outline one offensive signal family and one defensive call for the week.
With CourtSensei's coaching workspace, you can store and reinforce these signals alongside your plays. Build and link your signal families to the plays in your plan, draw and animate the actions, then attach scouting notes to each signal so prep is centralized. Organize associated videos into playlists and share readable links with staff and players for quick reference during timeouts or on the sideline. This workflow keeps signal planning aligned with the weekly signaling plan and makes practice drills more deliberate.
For the week, outline an offensive signal family around a side-ball action and a defensive call for ball-screen defense. In practice, run a quick decoding session with the decoding chart, then show a brief video clip and add it to a playlist that walks players through the action. After practice, log scouting notes and attach them to the signal so when you face a similar opponent, you can pull up the same plan quickly.

Diagram and cue plays with signal diagrams
To map plays, use the drawing tools to support play diagramming by linking each offensive set to a signal cue. Create a clean diagram and attach the cue as a visible tag on it. This keeps the sideline language consistent: the action and the signal live on the same canvas. As you plan and build plays, you can animate the movements and store them in the playbook alongside scouting notes for quick reference during timeouts.
Next, build a modular playbook with signal-led progressions that can be nested by situation. Use playbook diagrams to group transitions, early offense, and late-clock sets, each with a dedicated cue. Attach multiple signal cues to a single play to teach alternatives without clutter. In practice, a coach can walk a squad through a sequence using a cue, then advance to the next progression when the scenario changes.
Keep a clear, visual link between the cue and the action to aid teaching and recall. Tie each diagram to a short video clip that demonstrates the cue in motion, and link the clip to the play diagram. You can also attach scouting notes and organize clips into playlists so staff and players see the same language, and shareable readable links keep everyone on the same page.
Example scenarios: a directional signal paired with a screen call for a pick-and-roll, an isolation calls on late-clock, or a simple play number signal for a baseline set. These signal-led calls become easier to teach when the cue sits directly on the diagram, and the action is visible in the linked clip.
Practical Workflow Step: Integrate Signals into Your Weekly Practice
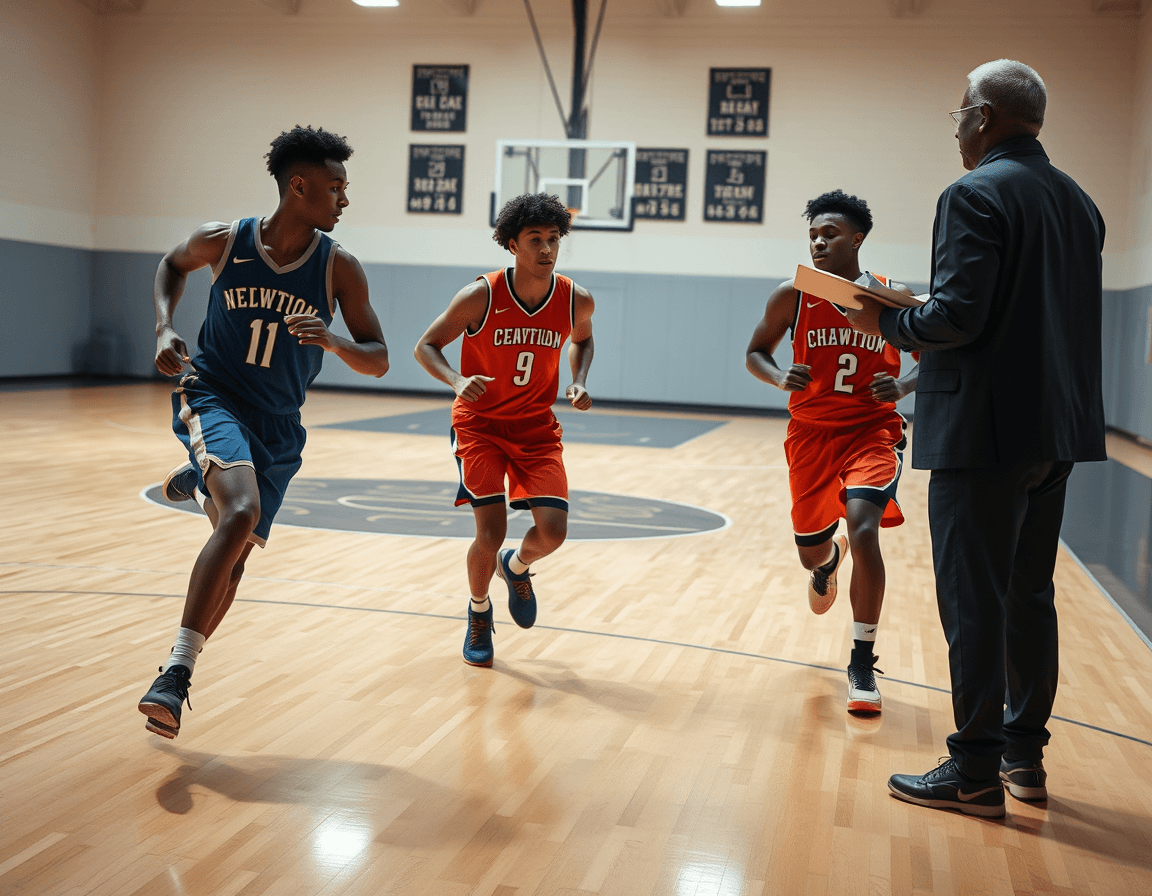
Pre-practice: confirm which signals will be used and who relays them to on-court players. This is the signal workflow step that sets the tone for the week. In CourtSensei, lock in the signal library: play number signals, directional signals, isolation calls, and coach hand signals, and assign the on-floor messenger. Use a templated plan to map each signal to a specific situation, sequence, and player responsibilities.
In-practice: run 2-3 signal families with walk-throughs, then live reps to build rhythm. Use the coaching workspace to draw and animate actions for offensive play calls and defensive assignments signals, so players see the link between the hand signal and the movement. Build playlists of video examples that demonstrate how a signal translates on the floor, from start clock cues to directional signals. Share readable links with staff and players for quick review.
Post-practice: debrief, adjust diagrams, and update the signal library as needed. After each session, note what worked and what clashed with tempo and crowd control. Attach scouting notes to the action library and ensure the start clock and directional signals reflect the week’s tweaks.
Use a templated plan so staff can follow and reinforce consistency across sessions. A simple weekly cadence—pre-practice setup, in-practice execution, post-practice refinement—keeps the coach signaling routine predictable. When you codify this into CourtSensei, you support weekly practice integration across your staff, ensuring everyone speaks the same language through play number signals, isolation calls, and screen calls.
Use video to teach, practice, and disguise signals
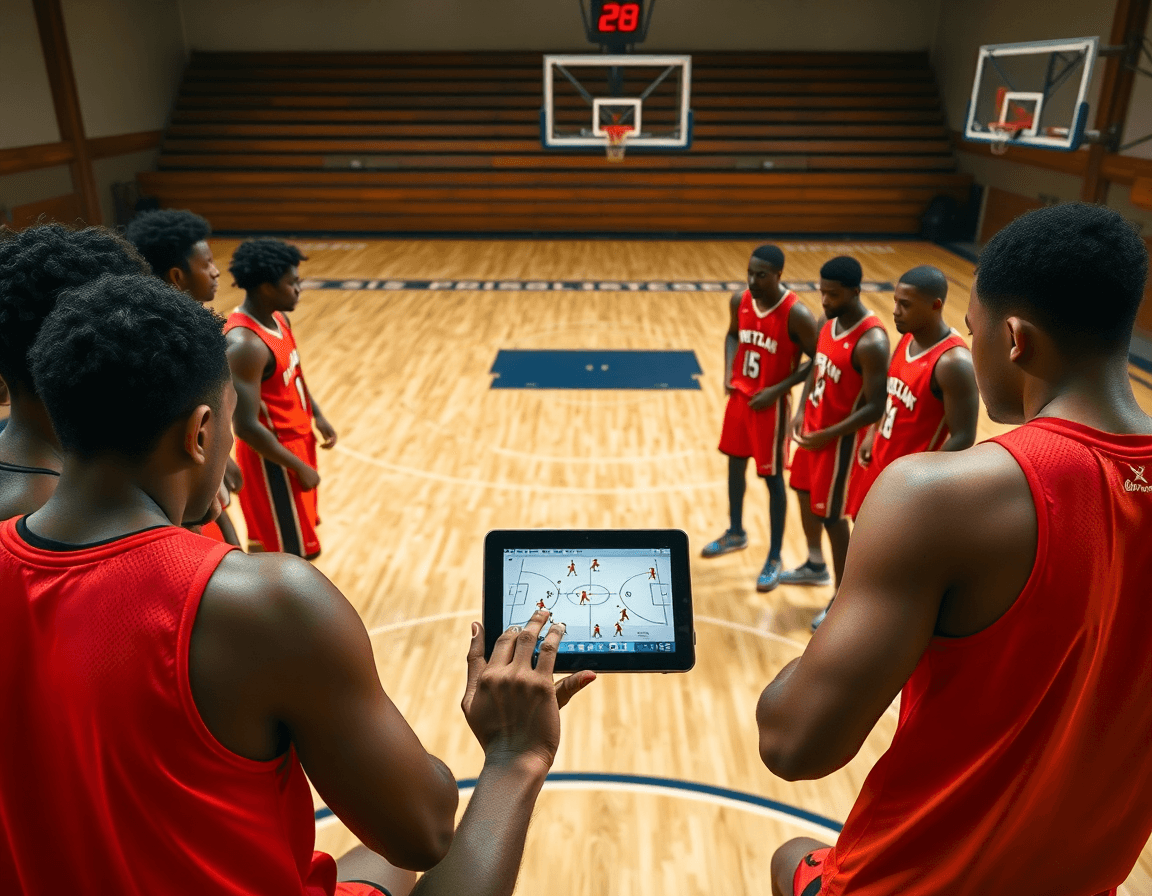
Video is a powerful tool for teaching basketball play calling signals. In your weekly drill design, upload relevant drills and game footage to build a ready-to-use signal library that lives in the coaching workspace. Seeing a real sequence—timing, flow, and the action—helps players recognize how signals translate into on-court action. When you review film, the focus is on teaching signals with video, not on generic concepts.
Manually clip sequences that show signaling timings and actions (no auto-tagging). This keeps you in control of what constitutes a signal and how it’s presented on the board or in a quick clip. Use the drawing and animation tools to highlight the moment a signal is given and the corresponding movement, so players can study the cue without ambiguity. Attach these clips to the relevant play entries, and keep notes in the same workspace to reinforce what each signal means.
Create playlists for different signal families and assign them to specific practice days. For example, have a playlist for play number signals, another for directional signals, and a third for isolation or screen calls. Tying each playlist to a schedule helps you build muscle memory and a consistent cadence across drills, warmups, and scrimmages. Share readable links for staff and players to review, and pair each clip with scouting notes that address offensive assignments and defensive responses.
Incorporate decoy or disguising signals in practice to protect play calls while training players. Mix in decoys during walkthroughs, then reveal the real signals on the fly during controlled scrimmages, reinforcing quick recognition without tipping off the defense. This approach aligns with your video for signals workflow and keeps the learning tight and transferable.
Organize scouting notes and game prep around signals
Organize your weekly scouting around signals. Build opponent scouting reports that note scouting signals and opponent signal tendencies, plus the on-court reactions they trigger. Attach short video clips to each entry and link them to the relevant play or drill inside your coaching workspace. With this structure, tendencies stay visible during the plan for the week, helping you anticipate defensive switches or counter covers when those cues appear. The result is a clean reference for both defensive assignments signals and offensive play calls.
Link scouting material to playbooks and drills for quick access during prep. When a trend emerges—like a repeat directional signal before a double screen—tie the scouting note to the exact play-number signals or screen calls in your library. This lets you walk through the plan quickly, so you can show players the intent and have coaches with an immediate reference for each action. Connecting the dots between scouting reports and the tactical actions keeps preparation tight and repeatable.
Use game-prep notes to plan how to counter or safely disguise your own signals. Map counter options, whether to switch from a direct cue to a decoy cue or to vary the rhythm of a sequence, and attach those notes to the corresponding scouting material. This keeps the focus on the tactical objective rather than the signal itself, while still allowing you to practice the timing and spacing that matter.
Keep all signal-related intel organized within the coaching workspace for easy reference. Store scouting reports, video clips, and playbooks in one place, and share readable links for staff and players. That workflow supports a consistent, countdown-ready game-prep routine and makes it simple to pull the right contrast or counter into a given week’s plan.
Share, archive, and protect your signals with playlists
In your weekly plan, build curated playlists of drills, plays, and clips that teach each signal family—from directional cues to play-number signals, isolation calls, and screen actions. These playlists become the backbone of your coaching workflow, letting you sequence on-court reps, short video clips, and scouting notes into a clear progression. They link a cue to a specific offensive or defensive action, ready for practice.
Share read-only links with assistants or staff while maintaining control over edits. This is where signal sharing shines: coaches can review a well-structured library without risking changes to the calls, while signal security helps protect the core play calls. Each link keeps context intact—play, clip, and scouting note—so teammates can study the signal family without altering it.
Archive older signals to keep the library lean and focused on current concepts. Move outdated plays and their drills into an archive folder, along with the associated notes and clips. When the season shifts, this keeps players learning the most relevant offensive play calls and defensive assignments signals, without wading through stale material. A clean archive helps every scout and coach stay sharp.
Establish guardrails to protect play calls while preserving access for learning. Use permission levels so edits stay controlled, yet staff can study through clearly labeled playlists and their attached scouting notes. Link each signal to a specific clip in the plan so a coach on game night can reference the directional signal, the start clock cue, and the counter-move from the screen call. That balance keeps the library secure and teachable.
FAQ
What are coach hand signals in basketball, and why do they matter?
Coach hand signals are concise gestures that cue plays, align players, and cut through sideline chatter. They pair with a pre-planned offense or defense to improve timing and decision-making under pressure. For coaches, a consistent signal set reduces misreads during timeouts and live sequences. In CourtSensei, you can store these signals with your plays, link each cue to the action, and reinforce them with diagrams, clips, and notes.
How can you frame signals within a weekly coaching plan?
Frame signals within a weekly coaching plan by linking each cue to a specific offensive or defensive call. Create a simple decoding charts for players to reference during games and timeouts. Keep terminology consistent to reduce confusion. Schedule signal practice in the weekly calendar, matching upcoming opponents or scenarios. Example: outline one offensive signal family and one defensive call for the week.
How do you diagram and cue plays with signal diagrams?
Use drawing tools to map each offensive set to a signal cue. Create clean signal diagrams and attach the cue as a visible tag on the diagram. This keeps sideline language consistent: the action and the signal live on the same canvas. Build a modular playbook with signal-led progressions and attach multiple signal cues to a single play.
What is a practical workflow for integrating signals into practice?
Pre-practice: confirm which signals will be used and who relays them. This sets the tone for the week. In CourtSensei, lock in the signal library and assign the on-floor messenger. Use a templated plan to map each signal to a situation, sequence, and player responsibilities. In practice, run 2-3 signal families with walk-throughs, then live reps, to build rhythm and clarity.
How can video support teaching, practicing, and disguising signals?
Video is a powerful tool for teaching signals. Upload drills and game footage to build a ready-to-use signal library that lives in the coaching workspace. Show sequences that illustrate timing, flow, and the cue. Manually clip sequences that show signaling timing and actions (no auto-tagging) to keep control over how signals are presented. Create playlists for different signal families and share readable links.
What are common offensive play-call signals coaches use, and how should they be taught?
Common offensive signals include play-number signals and directional cues (with isolation calls for late-clock situations). Teach them in a weekly sequence, link each cue to a specific play, and test recognition under pressure. In CourtSensei, attach the signal to the corresponding play diagrams and video clips so reps reinforce the language.