
3-2 Sliding Zone Defense: Weekly Plan
Master the 3-2 sliding zone defense with a weekly coach-driven plan: drills, diagrams, video clips, and scouting notes in your coaching space.

Key takeaways
- Lock core roles in a consistent weekly sequence for the 3-2 sliding zone defense.
- Use a short, labeled diagram or animation to visualize rotations and gaps.
- Build drill progressions with quick video clips to reinforce Rotations and high-post coverage.
- Define weekly objectives: paint protection, perimeter pressure, and rotation discipline to guide reps.
- Plan matchup-driven adjustments in scouting notes and link cues to the weekly plan.
3-2 Sliding Zone Defense: Core Rotations and Cues
Within a 3-2 sliding zone defense, the frame rests on three lines—top, wings, and posts. The top defender slides through the middle; the strong-side defender covers the high post; the wings deny ball reversals to the corner. This alignment compresses driving lanes and makes post entries tougher. In your weekly plan, lock these roles into a consistent sequence so reps mirror the same rhythm. A quick diagram or animation helps visualize the rotations and gaps.
Rotations to master start with the top defender: slide through the middle as the ball moves, while the weak-side defender drops to the back line. The strong-side stays attached to the high post, and the wings deny skip passes to the corner. When executed as a unit, this sequence collapses shooters’ options and clamps driving lanes. Build these into drill progressions in your training plan, with a short video clip for each phase in your library. The concept of Rotations hinges on keeping the high post covered as the ball hops from side to side.
Cues to drive the rotations: pressure at the ball, deny quick reversals, clamp the long corner, and protect the posts. Teach players to read the ball handler’s eyes and anticipate passes, so the top slides and wings fill the gaps before the ball arrives. Tie these cues to scouting notes and game-prep sheets, so adjustments can be made without rewriting the plan. A labeled diagram helps everyone lock onto the right spots, making the week’s teaching more efficient.
Visualization is your ally. With diagrams and animation, you can show how the top slides through the middle, the strong-side covers the high post, and the wings deny the corner. Create a short clip of a sequence, then export a PDF page for staff meetings. Save these visuals in the coaching workspace so the group can study the flow during the week while you tune the rotations.
Weekly Setup: Objectives, Personnel, and Matchups
Define your defensive objectives for the week around the 3-2 sliding zone defense: paint protection, perimeter pressure, and rotation discipline. These goals guide every drill and help you measure progress across five practice days. Tie each objective to specific cues and transitions so players know what to prioritize in live reps.
Assign roles: who handles the top slide, who fronts the post, and who denies reversals on the wings. In a sliding 3-2, designate a communicator for rotations and a backline anchor. Clarify responsibilities for ball pressure, gap control, and help-and-recover so the unit moves with purpose.
Plan on-paper matchups and personnel adjustments based on upcoming opponents. Map a guard to pressure the ball at the top, pair a longer wing to deny reversals, and decide who fronts the high post and protects the low post. Think through how the defense handles skip passes and corner traps when offenses stretch the floor.
Lay out the weekly plan in the coaching workspace so drills, diagrams, and video stay tied to the same goal. Create a Practice Plan with a sliding 3-2 drill progression, add diagrams for the top slide and wing deny, and attach quick-cut video clips that show proper rotations. This keeps your playbook, training plans, and scouting notes synchronized.
Use scouting notes to tailor rotations and cues for specific offenses. As you prep for a week against a team with rapid ball movement, adjust rotations to block skip passes and assign tougher on-ball pressure. Record cues for each defense scenario and link them to the weekly plan for easy reference in film review.
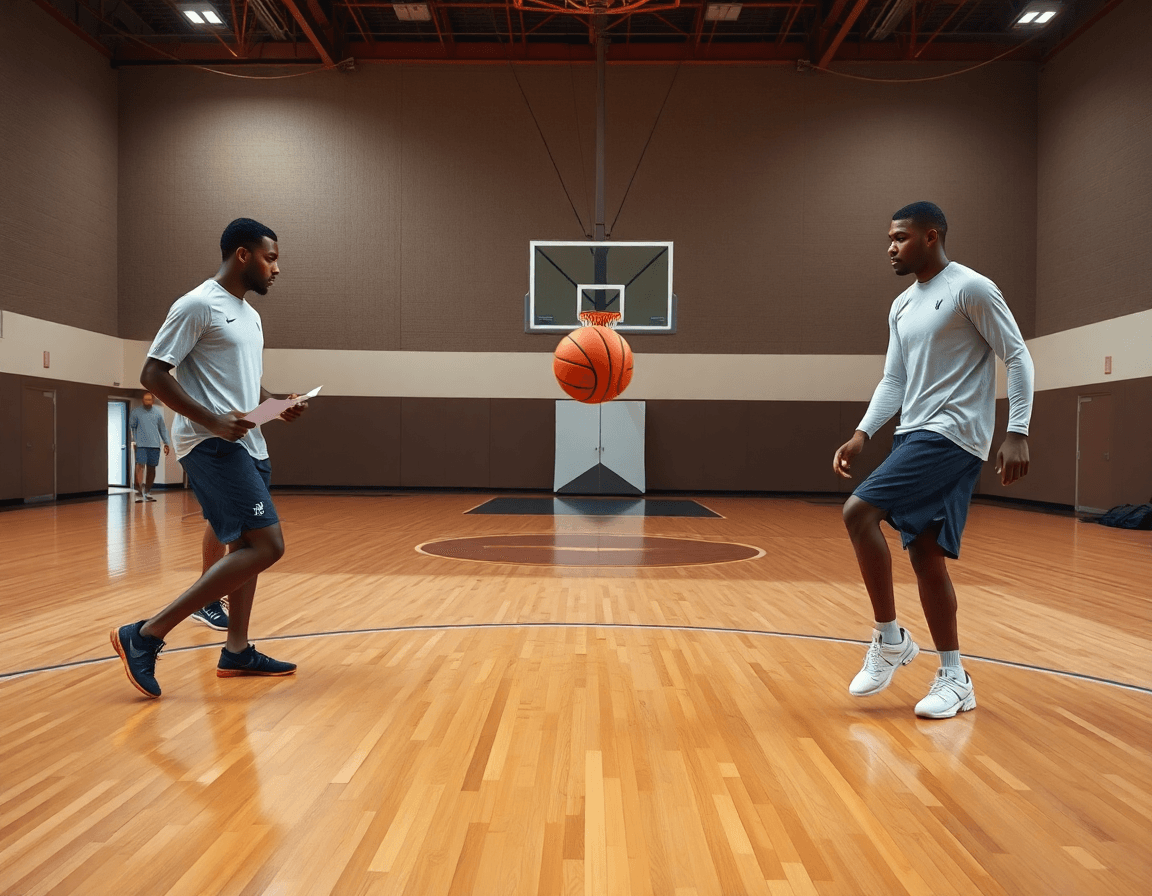
Drill Progression: From Fundamentals to Sliding Rotations
Start with the fundamentals: solid stance, and clean slide mechanics to keep length as you move laterally. In a 3-2 sliding zone defense, the goal is to stay between the ball and the target while maintaining proper spacing. Design your weekly plan around these drills, diagram them on the board, and save them to the library for quick access in your coaching workspace.
Progress to rotation into and out of the 3-2 alignment, with proper spacing and ball denial. Emphasize longer recoveries on the weak side and tighter closeouts on the strong side to prevent easy skips. This phase tightens the perimeter pressure without sacrificing team balance.
Install the core drills: top-ball pressure, wing denial, corner traps, and high-post rotations. Tag each drill with the guard-your-spacing principle and link them to the 3-2 slide in your playbook. Use short video clips to show example positions at the high post defense and how to swing a skip pass.
Advance to live-rotation drills with passes and ball reversals to simulate in-game actions. Use a quick sequence: defender meets the ball at the wing, denial on the perimeter, then a skip pass triggers a quick rotation. Capture reps with a brief clip and attach it to the corresponding playlist for review.
Store drills in the library, assign to playlists, and track progress across practice blocks.
Diagramming and Building the Playbook for Rotation Chains
In a 3-2 sliding zone defense, the clarity of your defensive map starts with strong visuals. Use diagrams to plot the movement paths of each position across top, wing, corner, and post areas, so players can see how rotation chains unfold as the ball moves. The diagrams should highlight who slides to the ball, who shifts to the weak side, and where traps or recoveries engage. Keeping these chains visually explicit reduces indecision on the floor and makes the playbook repeatable during tight moments. Focus on crisp connections between zones and the ball, not every individual movement. Bold terms like rotation chains and diagrams help keep the plan accessible at a glance.
Next, build a dedicated playbook for 3-2 sliding zone rotations and variations by ball location. Map common scenarios—top density, wing swing, or corner pressure—and show preferred paths for each defender based on ball position. This approach helps you teach consistent rotations under pressure and adapt to different offenses without reinventing the wheel each week. Include notes on when to angle toward the ball, when to punch gaps, and how to rotate toward the high post or low post as cues change. Pair the concepts with simple, repeatable decision trees so assistants can coach from the sideline with confidence. The result is a cohesive set of rotations that your staff can reference during practice and in games.
Finally, export PDFs for printouts or distribute digitally to staff and players. Link diagrams to coaching notes and video clips to reinforce teaching points. When a diagram triggers a coaching note or a short clip shows a specific rotation, players can quickly connect the image to action. This tight linkage—from diagram to note to clip—helps your weekly plan stay consistent across drills, walkthroughs, and live reps, keeping everyone aligned on the core rotations of the 3-2 sliding zone.

Video Workflow: Clip, Edit, and Share Rotations
Within the weekly plan for a 3-2 sliding zone defense, the video workflow ties planning, diagramming, and review into one coaching workspace. Start by uploading full-game footage and identifying key rotation moments—top slide on ball reversal, post defense on the strong side, and wing denial on drives. Tag these moments against your sliding zone concepts and link them to the high post and perimeter pressure areas. The goal is to visualize where the defense holds up and where rotations need sharpening.
Next, clip and categorize practice-ready sequences. The clip library stores every rotation moment from drills that train the above actions; label clips by rotation type (top slide, post defense, wing denial) and by position (high post, low post, corner trap). Build playlists for drills and reviews—one for on-ball pressures, another for post rotations, and a third for review sessions after scrimmages. This keeps the sliding 3-2 plan accessible during practice and film study.
Finally, create read-only shareable links for assistants and players to reinforce correct rotations. Share targeted clips and playlists to lock in the look of the defense when switching to a drop or to a pressure moment on skip passes. Use these links in scouting notes and weekly reviews to reinforce rotations in the plan and on the court, ensuring everyone sees the same sequence from top slide to perimeter pressure.
Practical Weekly Workflow: From Plan to Practice to Prep
The coach starts by setting a weekly objective around the 3-2 sliding zone, targeting key goals like tighter perimeter pressure, solid rotations around the high post, and timely corner traps. This anchors the plan for the week and keeps the focus on the sliding 3-2’s rhythm rather than isolated drills.
Next, build a mini-plan in the training library and assign drills to specific days. For example, Day 1 could emphasize shell work and ball-pressure angles; Day 2 might focus on rotating to the high post and closing passing lanes; Day 3 includes live-ball reps with the defense communicating rotation cues. A clear practice plan ensures players know what to expect and when to execute transitions.
Diagram rotation chains and create drill playlists for practice. Map each rotation: weak-side defender dropping to the corner trap, middle defender pressuring the high post, backline guard stepping to deny skip passes. Link these rotations into a sequence of clips and drills that flow into a cohesive practice—every player sees a path from stance to movement to rotation.
Schedule practice blocks and assign responsibilities to staff and players. Designate who handles rotation charts, who runs each station, and which players are responsible for signaling switches. Clear practice blocks and roles reduce confusion and keep the focus on execution during live reps.
Upload game/practice footage, clip key moments, and tag for quick review. Capture a few decisive moments—miscommunications at the low post, wrong rotation at the skip pass, or a failed perimeter pressure sequence—and tag them for rapid feedback during film review.
Compile scouting notes, adjust rotations for upcoming opponents, and share prep materials. Translate opponent tendencies—especially tendencies to attack with skip passes or high-post passes—into rotation tweaks and share updated notes with the staff for game prep.
Post-practice review and update PDFs/prints for the next session. A concise recap plus updated PDFs ensures the next week’s wall diagrams, rotation charts, and play playlists stay aligned with the evolving plan. This ties together the weekly workflow, the practice plan, and scouting prep into a continuous cycle.
FAQ
What is the 3-2 zone defense in basketball?
The 3-2 zone defense places three players across the top and two back-line defenders. The top defender slides through the middle as the ball moves; the strong-side defender stays attached to the high post; the wings deny ball reversals to the corner. It compresses driving lanes and makes post entries tougher. In your weekly plan, lock these roles into a consistent sequence so reps mirror the same rhythm. A quick diagram or animation helps visualize the rotations and gaps.
How does the 3-2 zone rotate when the ball is at the top?
As the ball arrives at the top, emphasis falls on the Rotations. The top defender slides through the middle, the weak-side defender drops to the back line, the strong-side stays on the high post, and the wings deny skip passes to the corner. Practice this as a unit, with drills and short video clips in your library showing each phase. The goal is to keep the high post protected while the ball moves.
How does the 3-2 zone rotate when the ball is on the wing?
When the ball is on the wing, the top slides through, the wings tighten wing denial to the corner, and the backline shifts to cover gaps. The defense aims to prevent easy skips to the opposite wing while preserving spacing. Build this into your drill progression and add a short clip in the playlist that demonstrates a wing-to-top rotation, plus a cue like “read the pass, slide to fill.”
How does the 3-2 zone rotate when the ball is in the corner?
For a ball in the corner, you emphasize corner denial and compacting skip passes while the top slides and the wings stay connected to the baseline. The backline helps seal the perimeter and prevents immediate post-entry. Use a labeled diagram to show how the rotation chains unfold from corner to top and how traps are triggered. Link this to the playbook page and a short clip for staff review.
What is the 3-2 sliding zone variation?
3-2 sliding zone variation adjusts to shooter spacing and ball location. The core idea remains the same: keep the high post covered, compress driving lanes, and deny reversals, but you’ll modify who fronts a post or who cheats the weak side based on opponent patterns. Document these tweaks in your scouting notes, and save example clips in the library for quick access.
What are the advantages and disadvantages of the 3-2 zone defense?
Advantages of the 3-2 sliding zone include tighter gaps and tougher post entries, with compact lanes that slow presses. A key disadvantage is vulnerability to skip passes and corner threes if rotations slip. Use your weekly plan to emphasize perimeter pressure and disciplined rotations, then link cues to game-prep sheets and scouting notes. Keep short clips in the library to illustrate how to handle quick ball reversals in live reps.